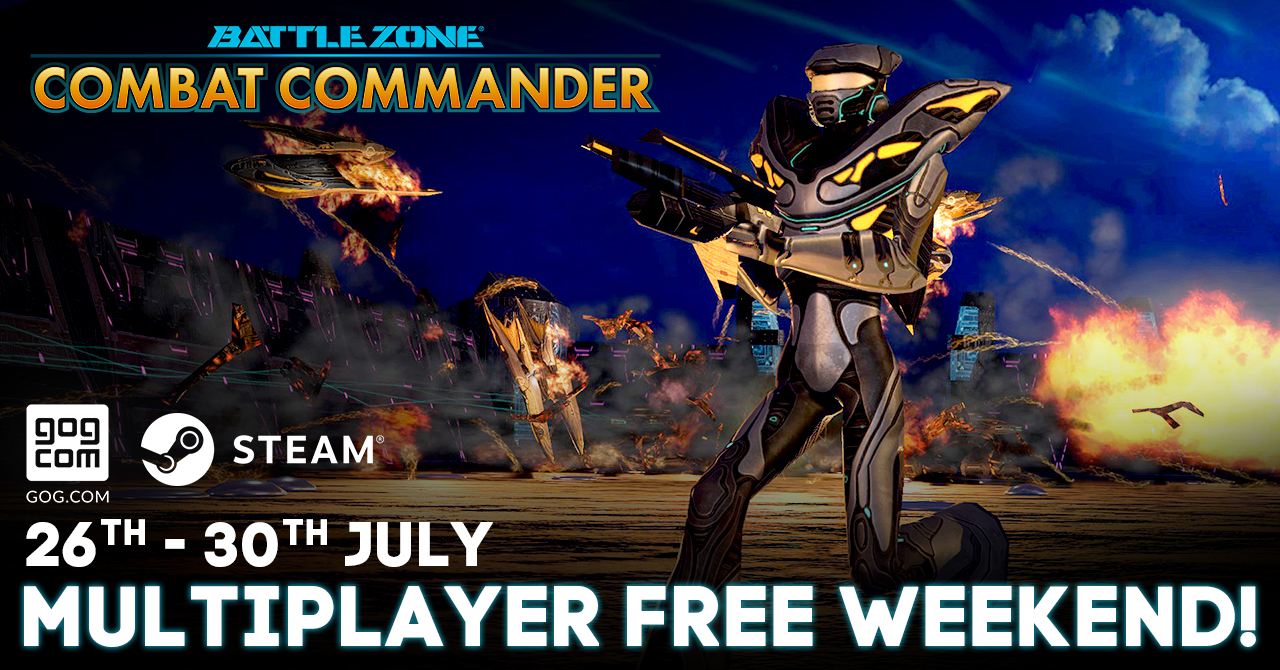
Multiplayer Free Weekend | 26th - 30th July 2018
Posted 26th July 2018
See details on the Multiplayer Free Weekend and sale
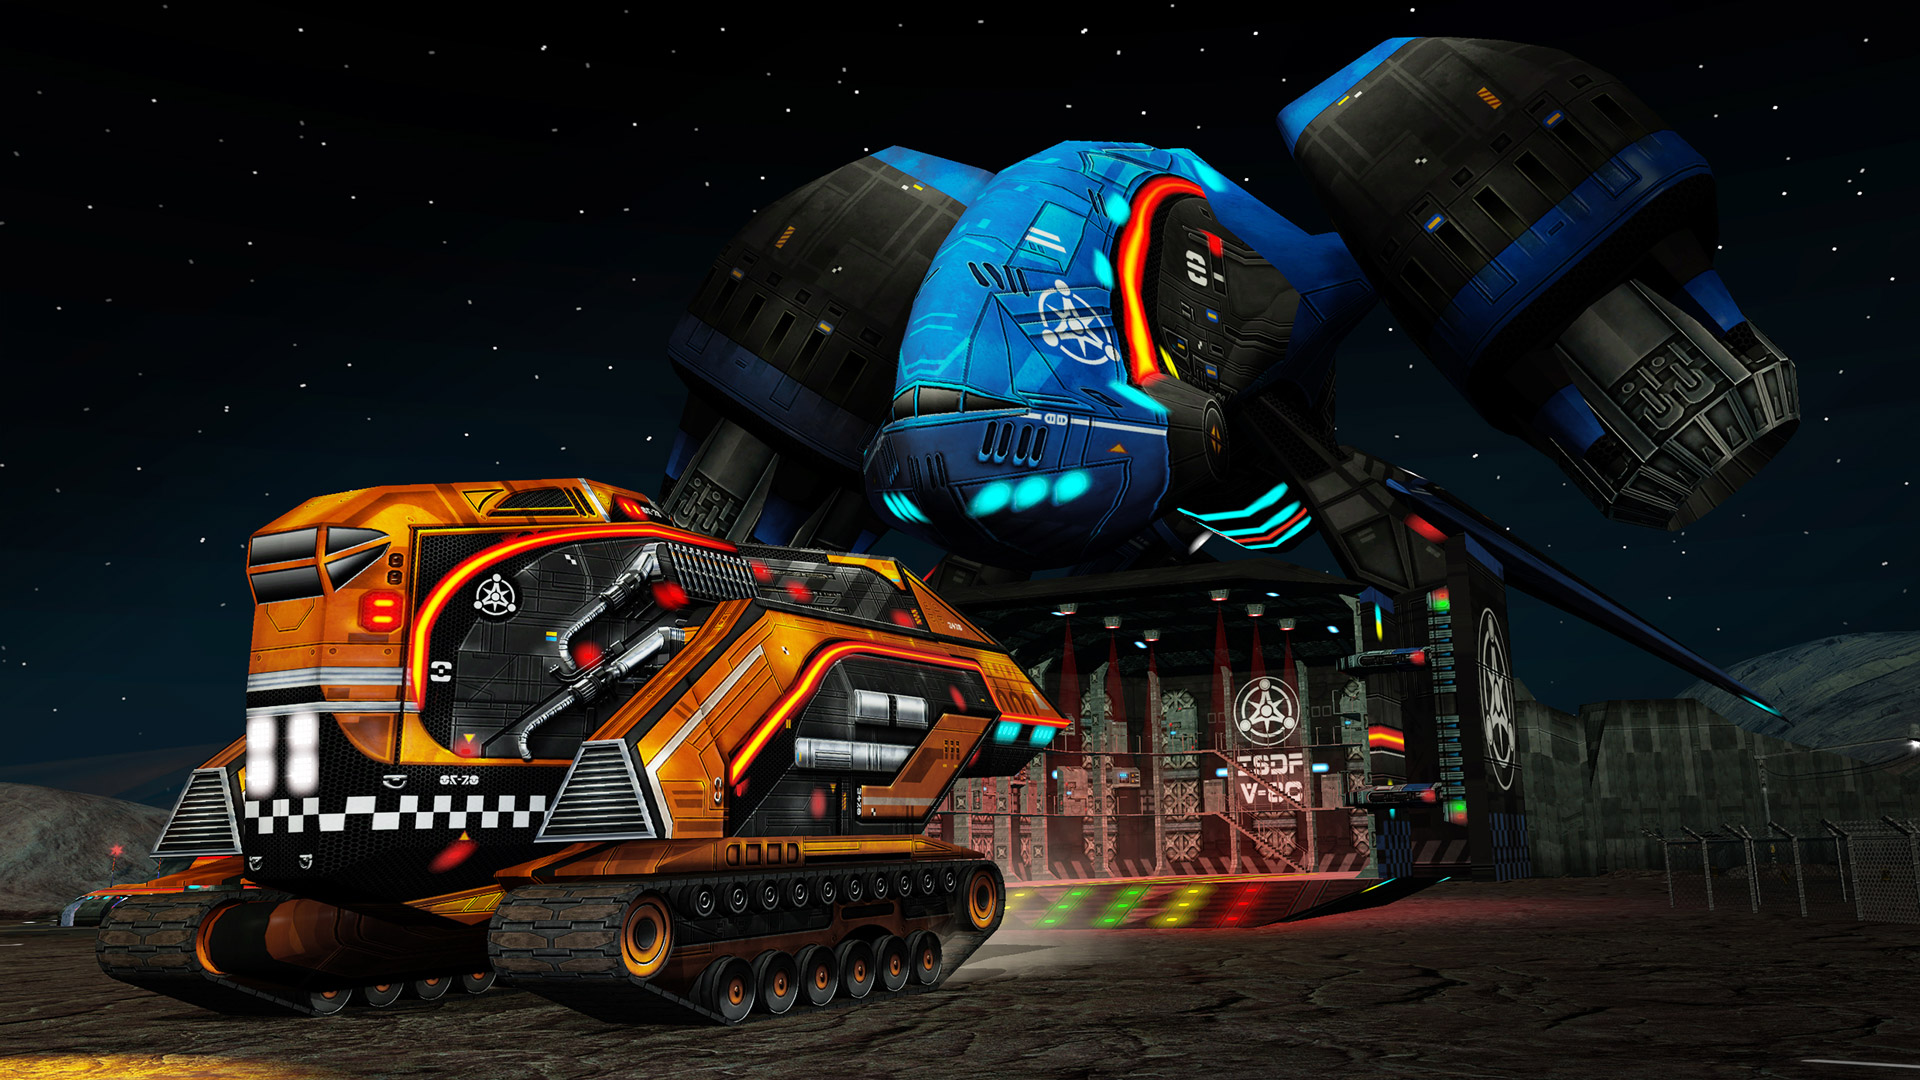
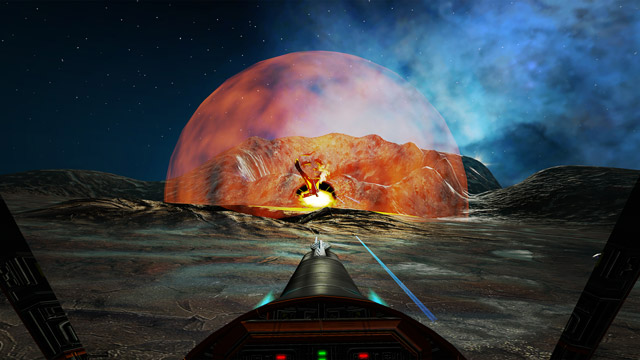
Once arch enemies, the US and Russia abandon their space race and unite their forces in the face of impending alien attack. Combining to form the elite International Space Defence Force, they recruit you to help lead resistance, before total devastation is unleashed on the human race.
The solar system is at war. Take command.
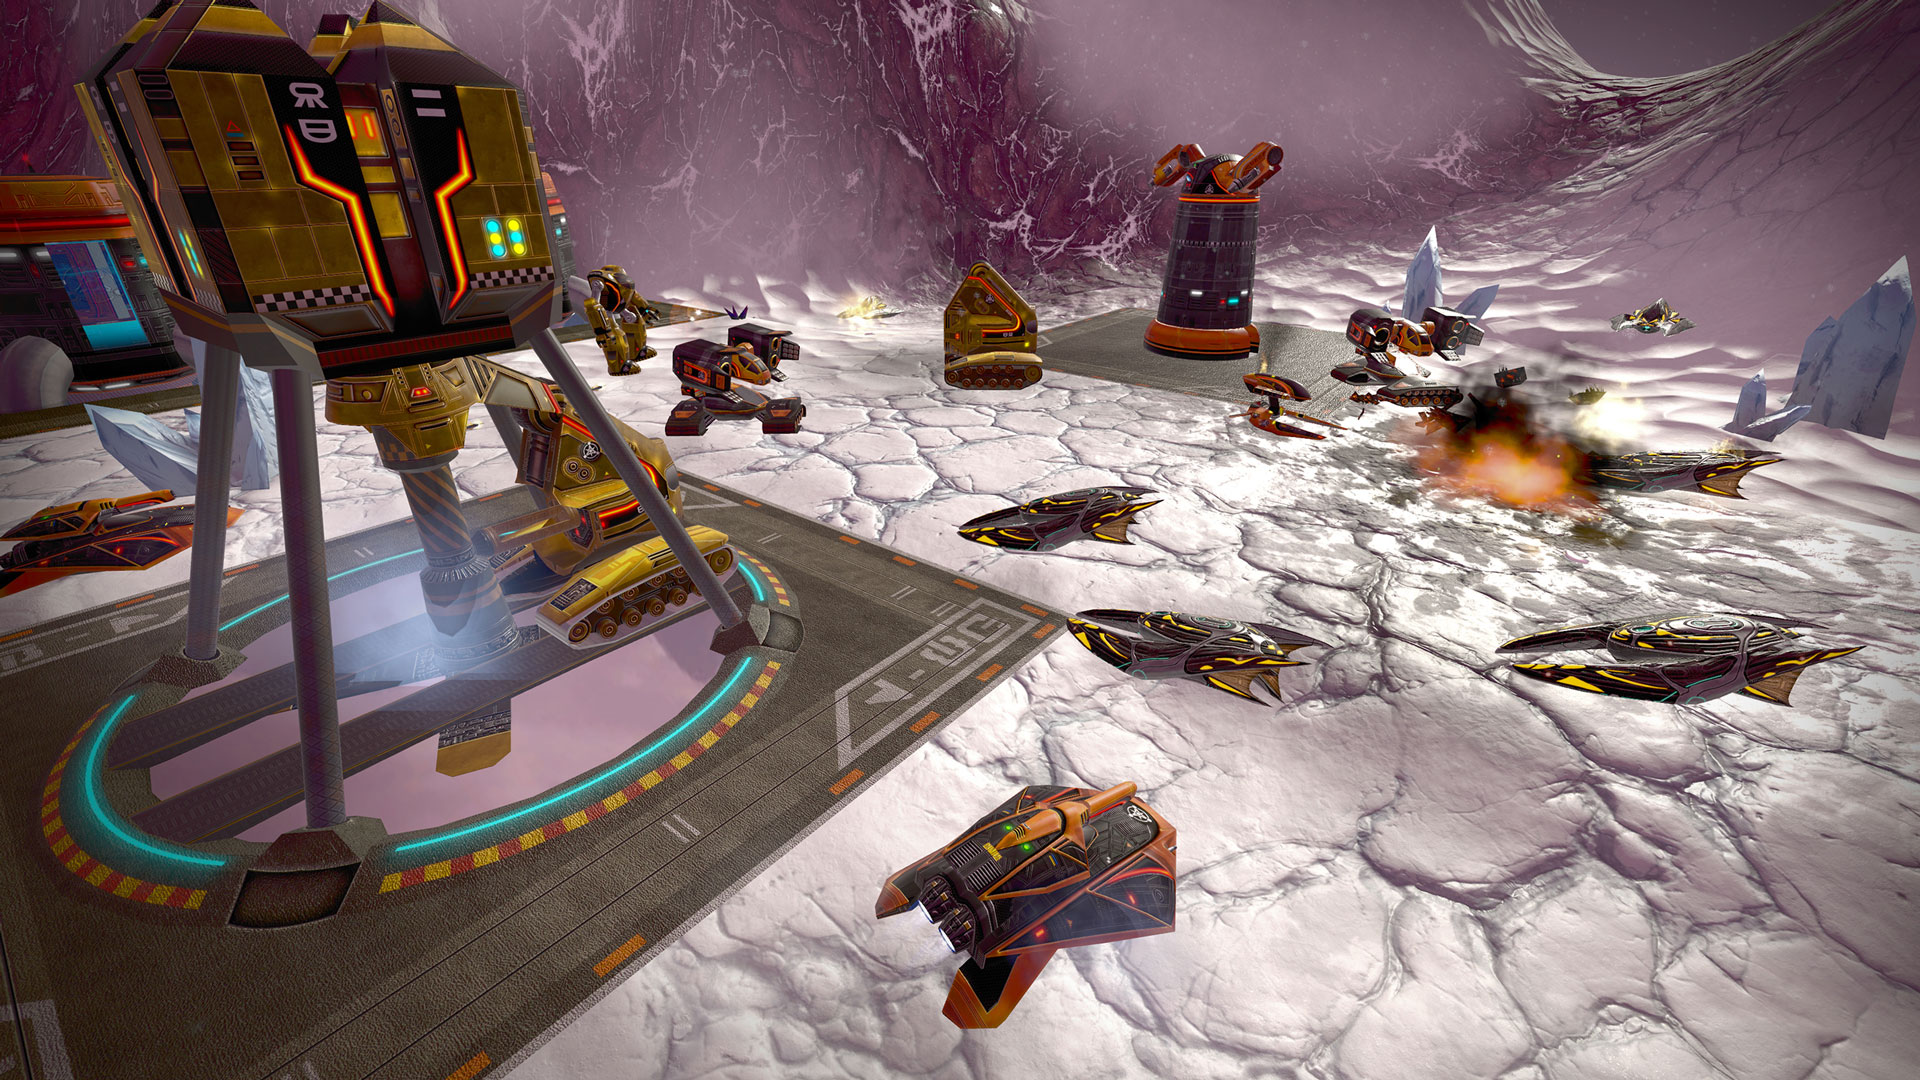
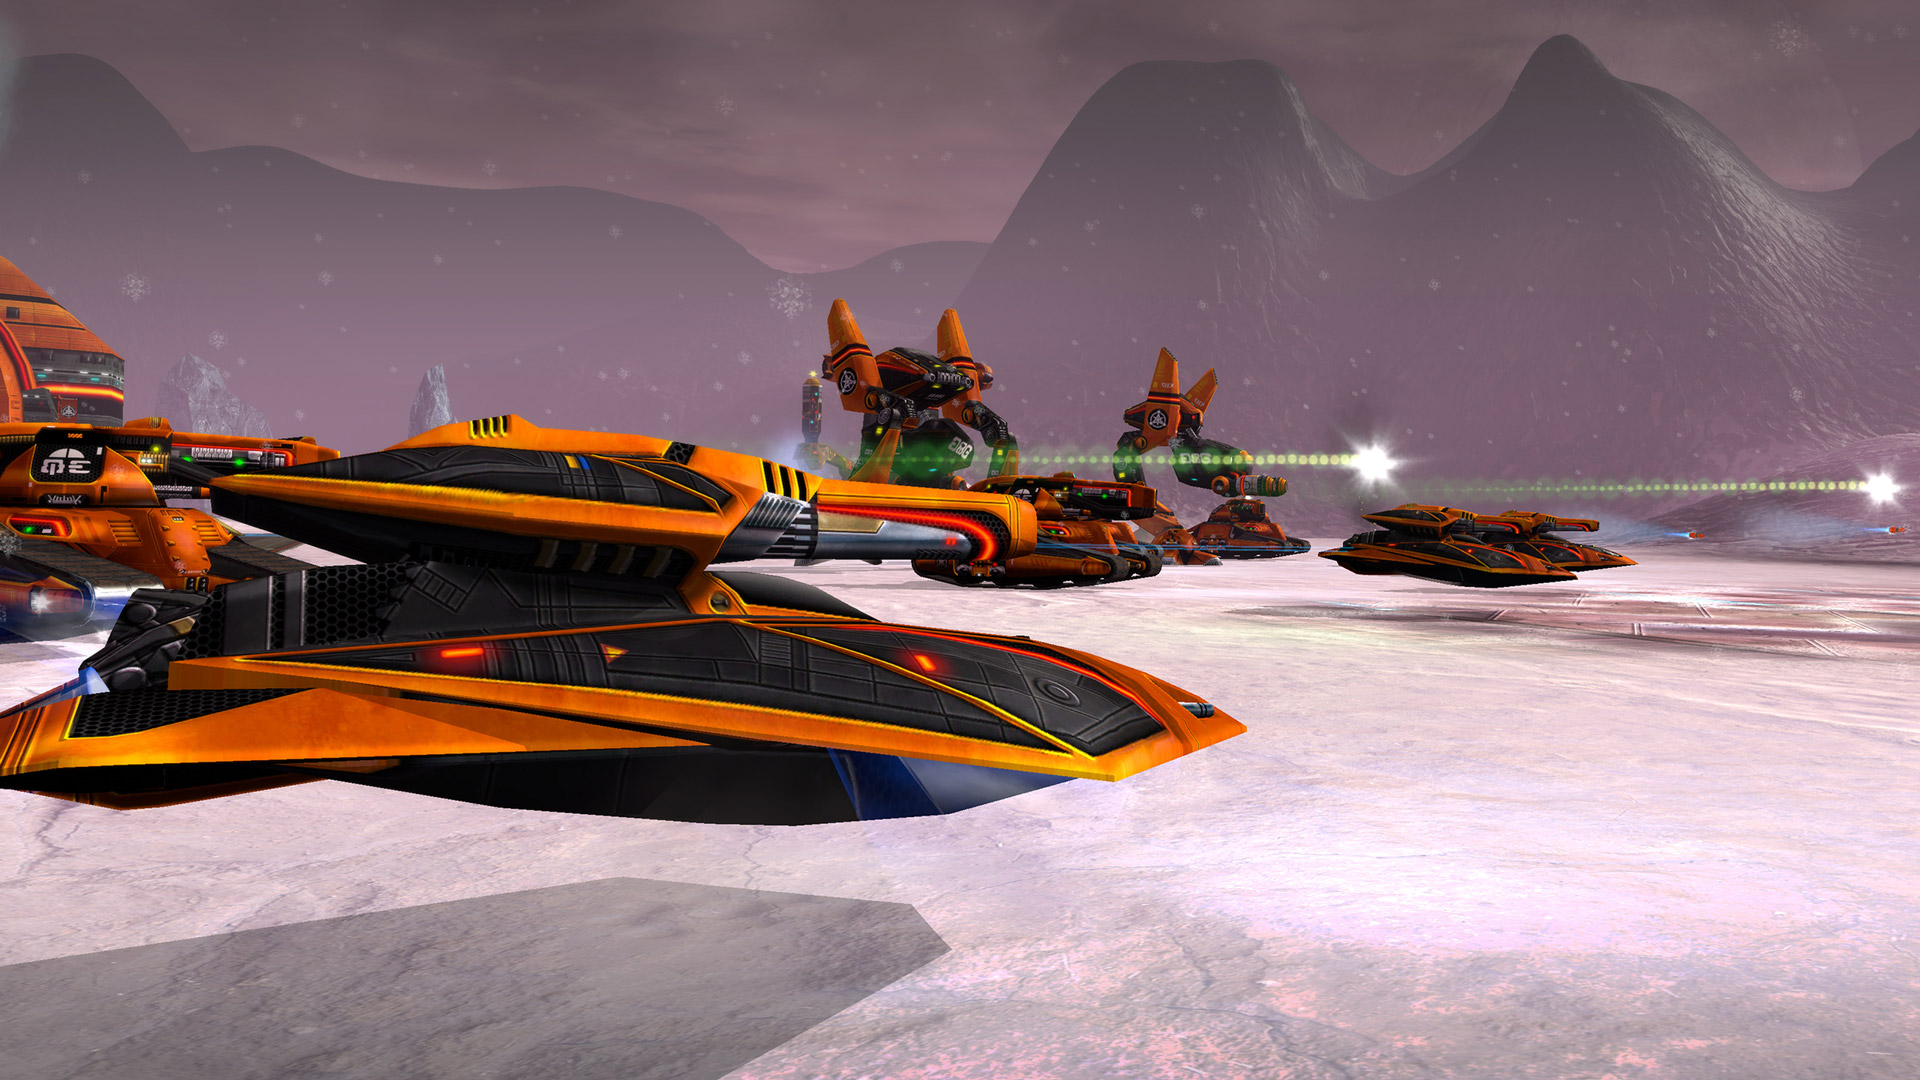
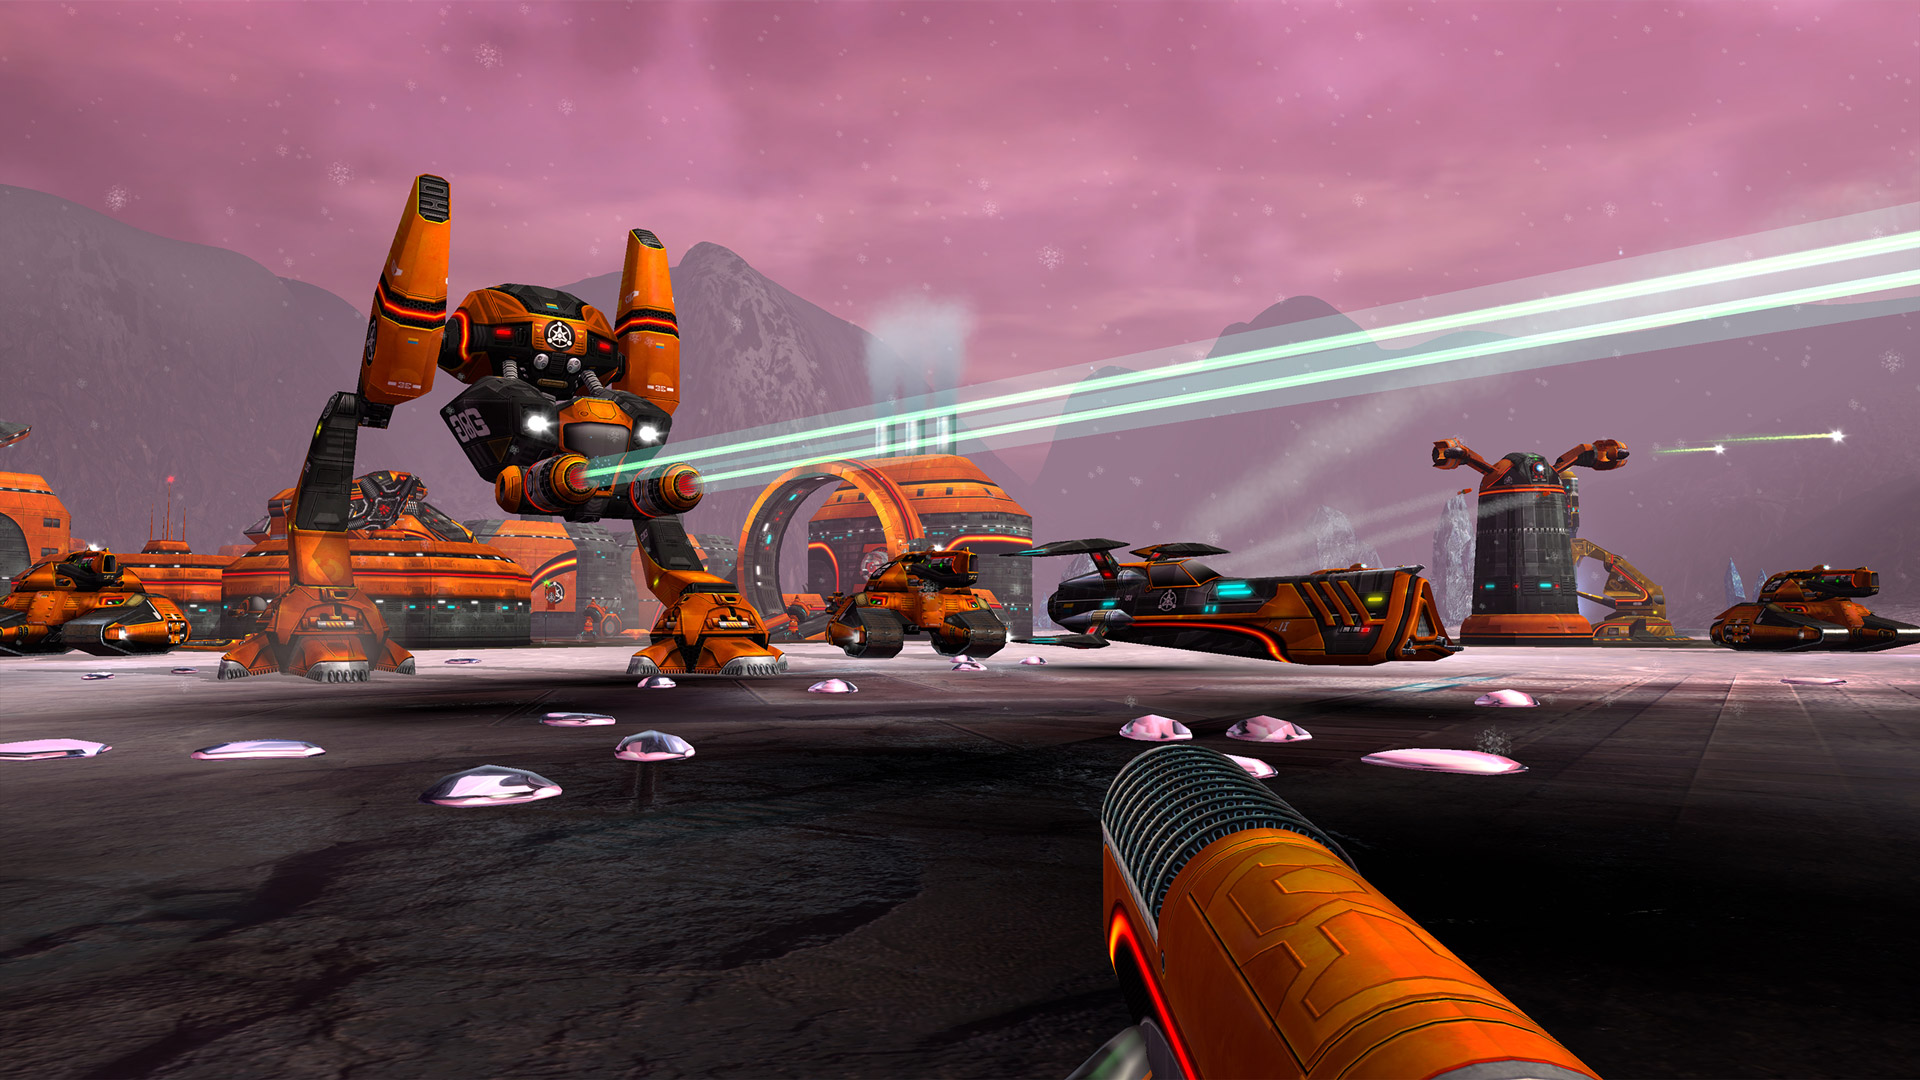
Battlezone: Combat Commander remasters FPS-RTS classic Battlezone II with slick new visuals, brand new achievements, Steam Workshop support and much more!
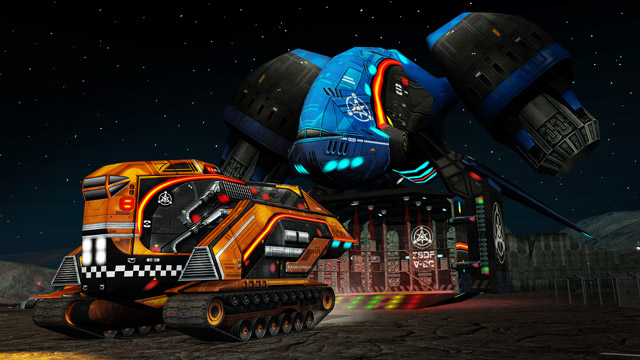
Fight across 24 intense missions, over 6 exotic living worlds, scavenging the battlefield for crucial bio-metal used to create powerful units, towering defenses, and vital facilities.

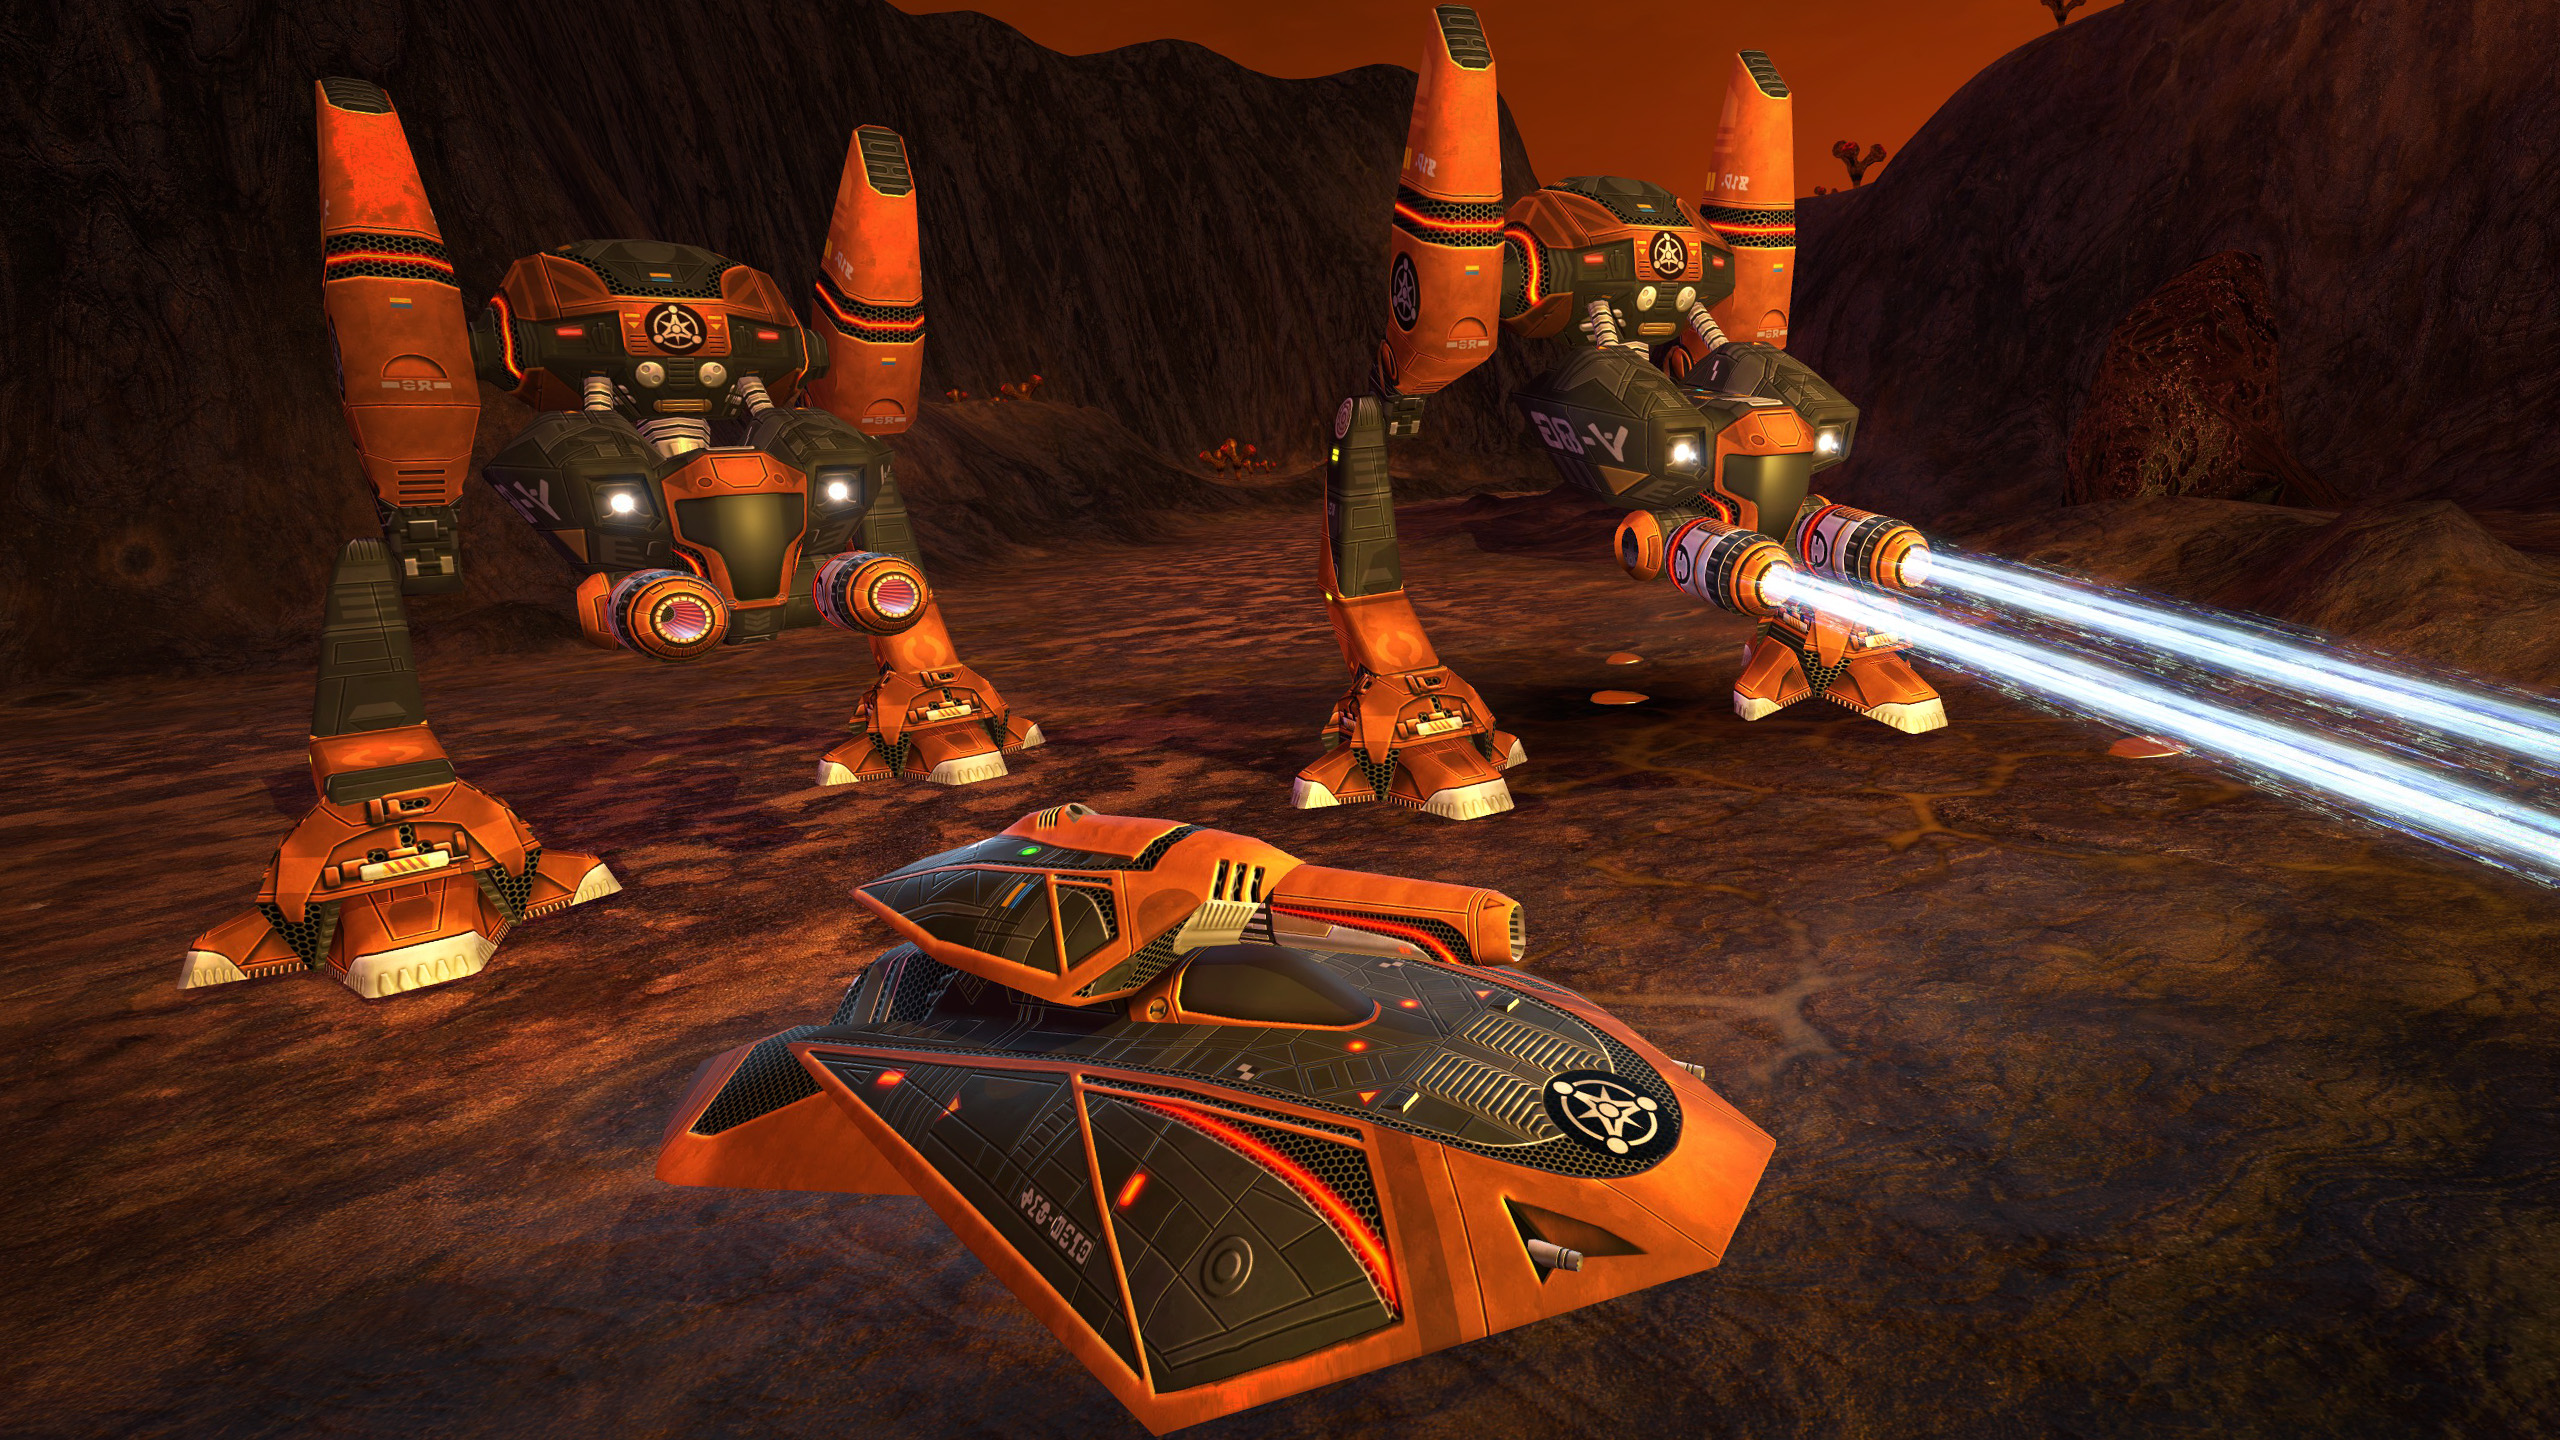
Units learn and improve as they gain combat experience - new units fight like recruits, while experienced units are a lot more effective in combat, using strafing manoeuvres, choosing weapons to suit the situation, or even retreating when necessary.
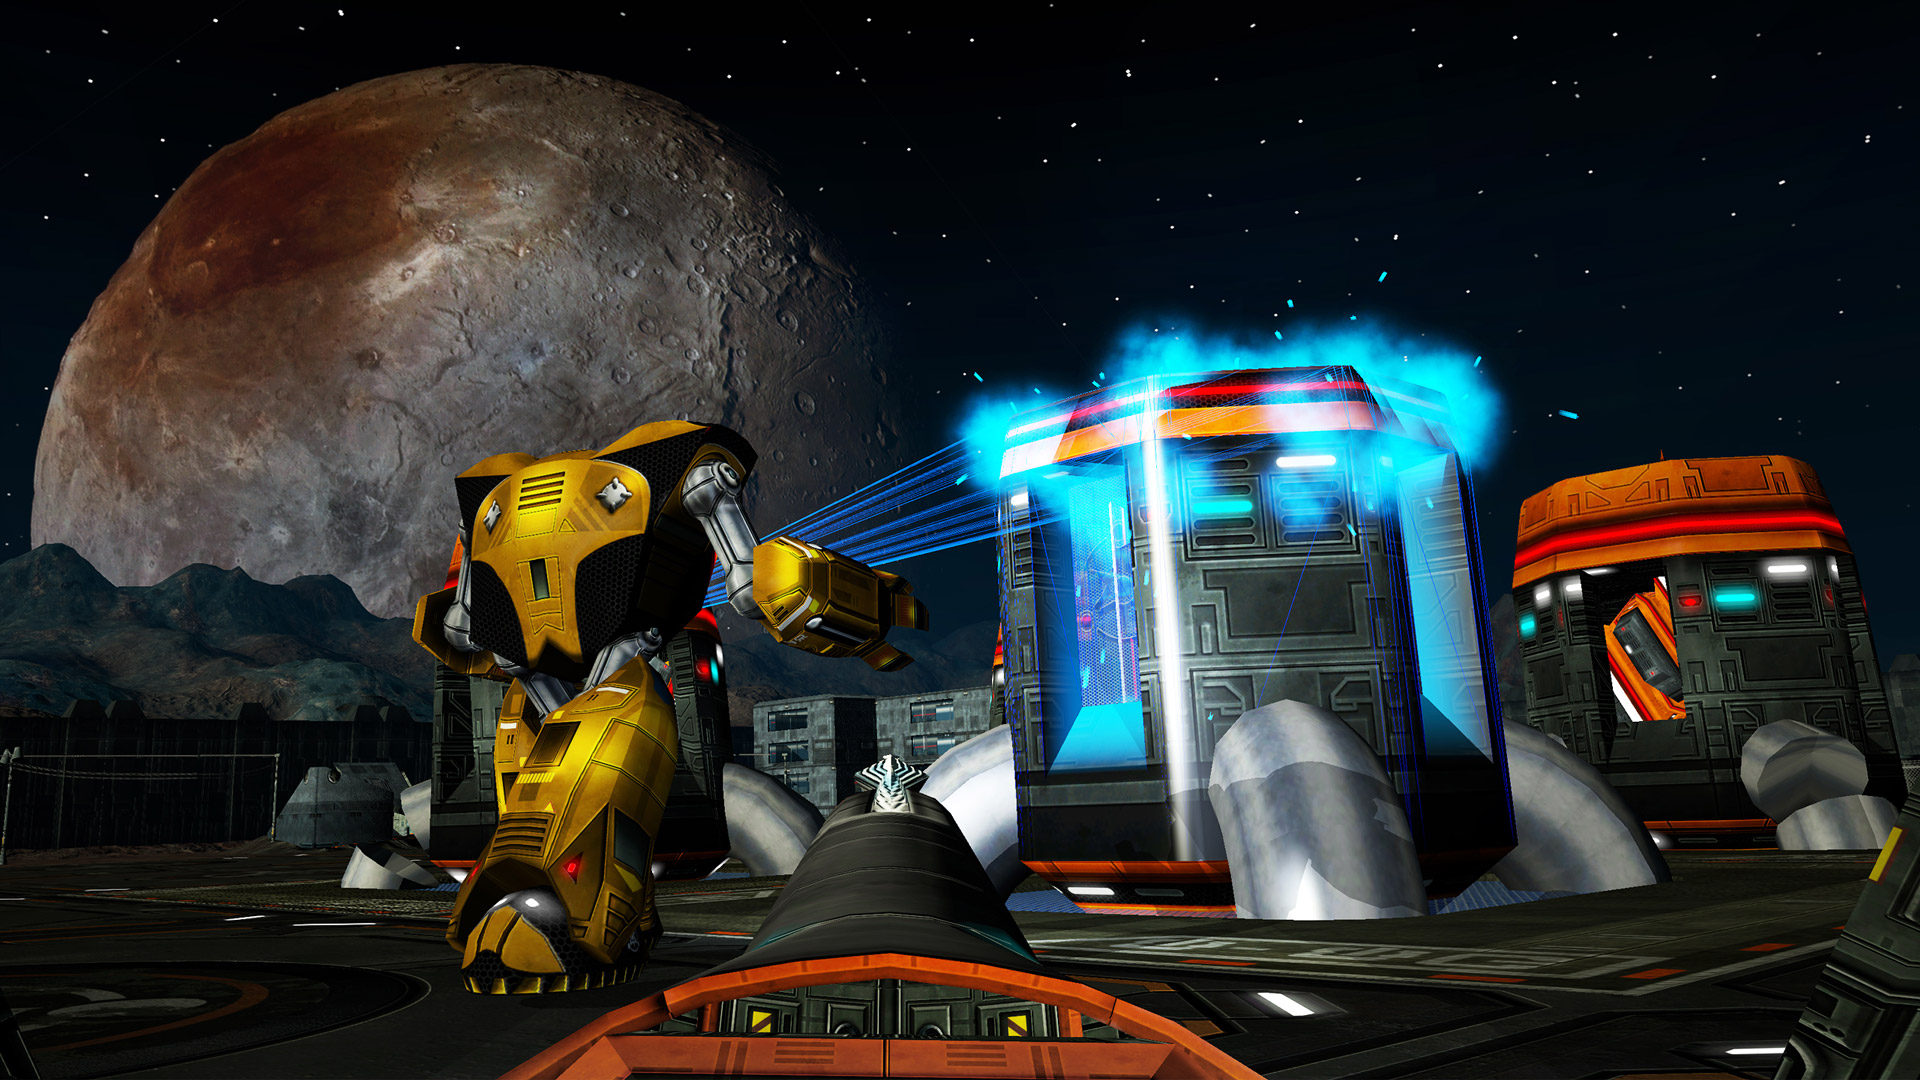
Experience Battlezone: Combat Commander like never before, with an all new DX11 renderer, shader based rendering, and a completely retextured and upscaled terrain.

Invite your friends for a cross-play multiplayer experience, including the classic Deathmatch mode, and a co-operative mode ‘MPI’ where players must work together to win by managing their offence, defence, and scrap collection.
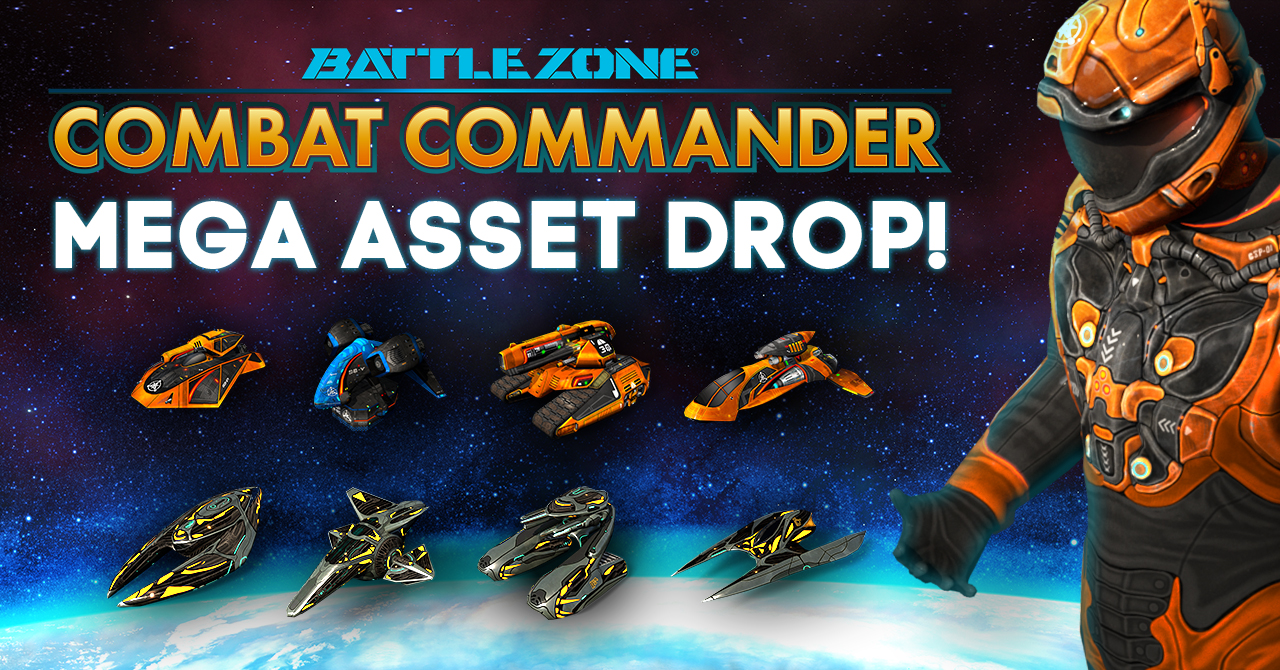
Enjoy unique community generated content with support for mods, such as new singleplayer and multiplayer map mods, new vehicles, HUDs, assets, custom scripts and much more.

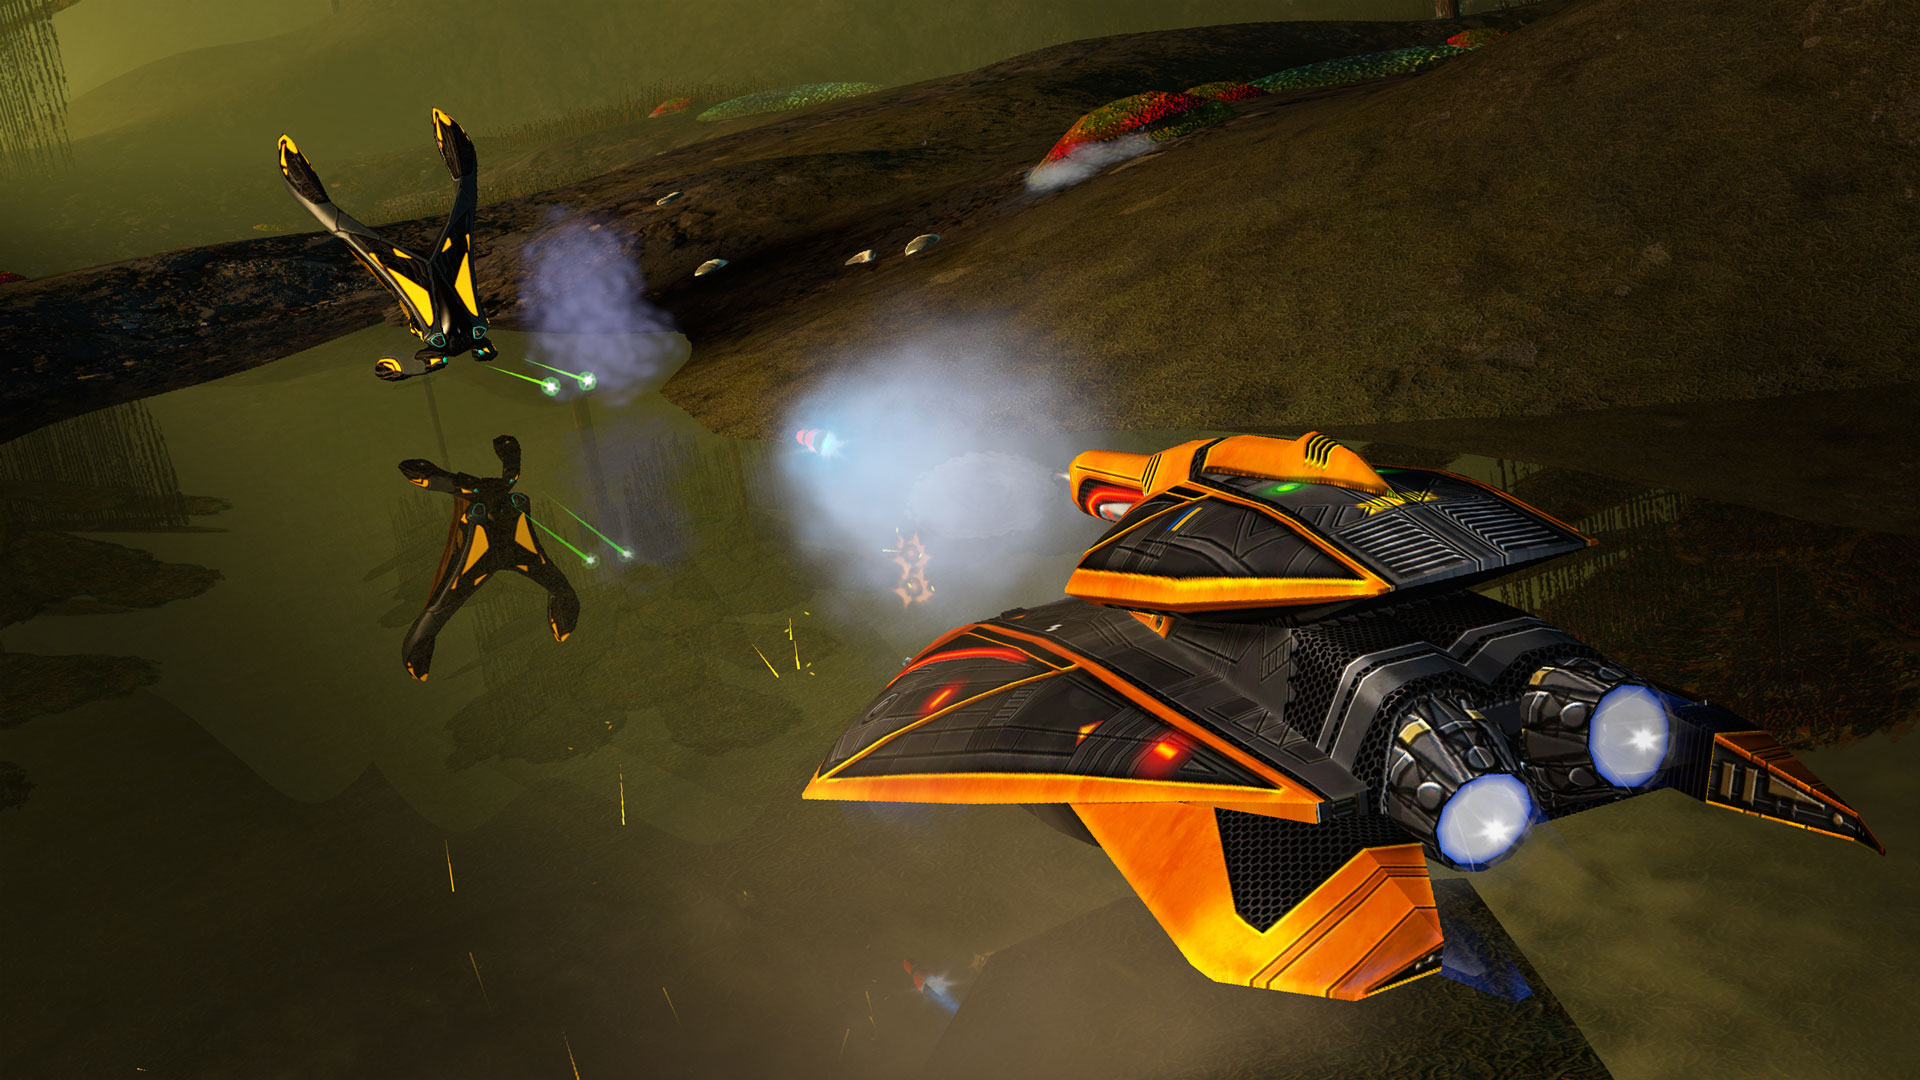
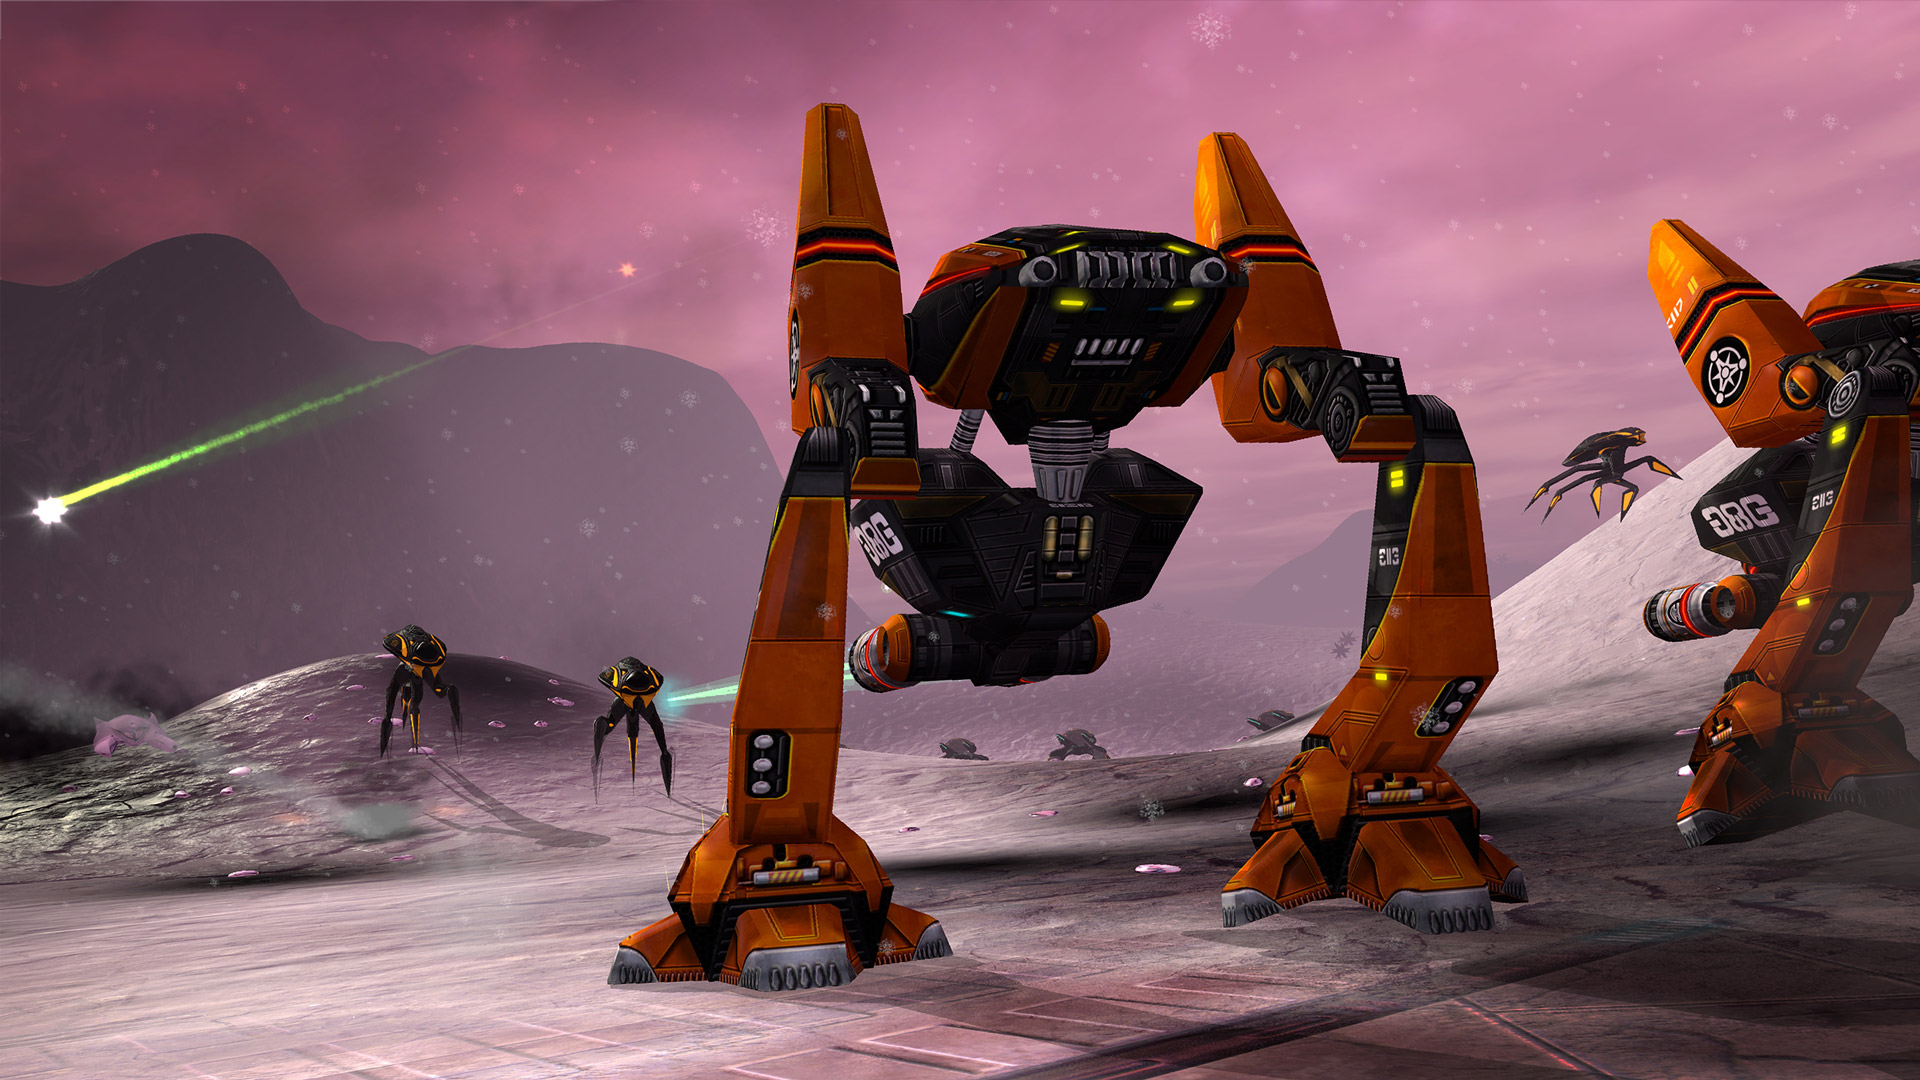
Control of over 30 unique unit types, from lethal tanks and tough ground units, to towering walkers and relentless air-support, and face off against the enemy in intense first-person combat.
1st March 2018
Hover
SpeedSlow
ArmorLight
Cost45
Turn RateMedium
Hull Capacity2500
Ammo Capacity3000
Image Signature100%
Heat Signature10%
Radar Signature10%
The limitations of the Ion Guns of the Guardians mean they are of little threat to you. Two can be taken out by a Tank without any need to replenish ammo or repair any damage taken.The danger lies when Guardians are in greater numbers so putting units in between you and the others mean you take less damage.
Using Guardians is generally not recommended. Accessing Guardians is only usually as a result of having been blown out of another vehicle and need to use its increased mobility to escape. Getting out of dodge is advised as you will need to protect yourself against units that come after you. This may be futile however as Turrets amd Guardians use AI better than most.
Hauler:
Hover
SpeedSlow
ArmorLight
Cost30
Turn RateLow
Hull Capacity2500
Ammo Capacity1200
Image Signature200%
Heat Signature10%
Radar Signature200%
As Haulers are slow moving and have light armour there isn't a great deal to worry about when up against them. Issue arise more when dealing the units guarding them.
Pilot Tips:
You have to order Haulers rather than being able to pilot them yourself. They need to be protected intensely during mission where they are required.
Healer:
Treaded
SpeedSlow
ArmorLight
Cost50
Turn RateHigh
Hull Capacity3000
Ammo Capacity1200
Image Signature100%
Heat Signature10%
Radar Signature0%
Heavy units and Gun Spires can pose major issues when supported by Healers. Taking them out as early on as possible is advised as they greatly increase the difficulty of destroying enemy units.
Healers can be huge assets to your units. Your heavy units become a force of nature as they are much harder to dispatch and your defensice structures are almost impentetrable. Gun Spires should be backed up and well as having them support heavy units. As Warriors and other faster units benefit from their speed, it could be advised to not have Healers support as they slow them down limiting effectiveness.
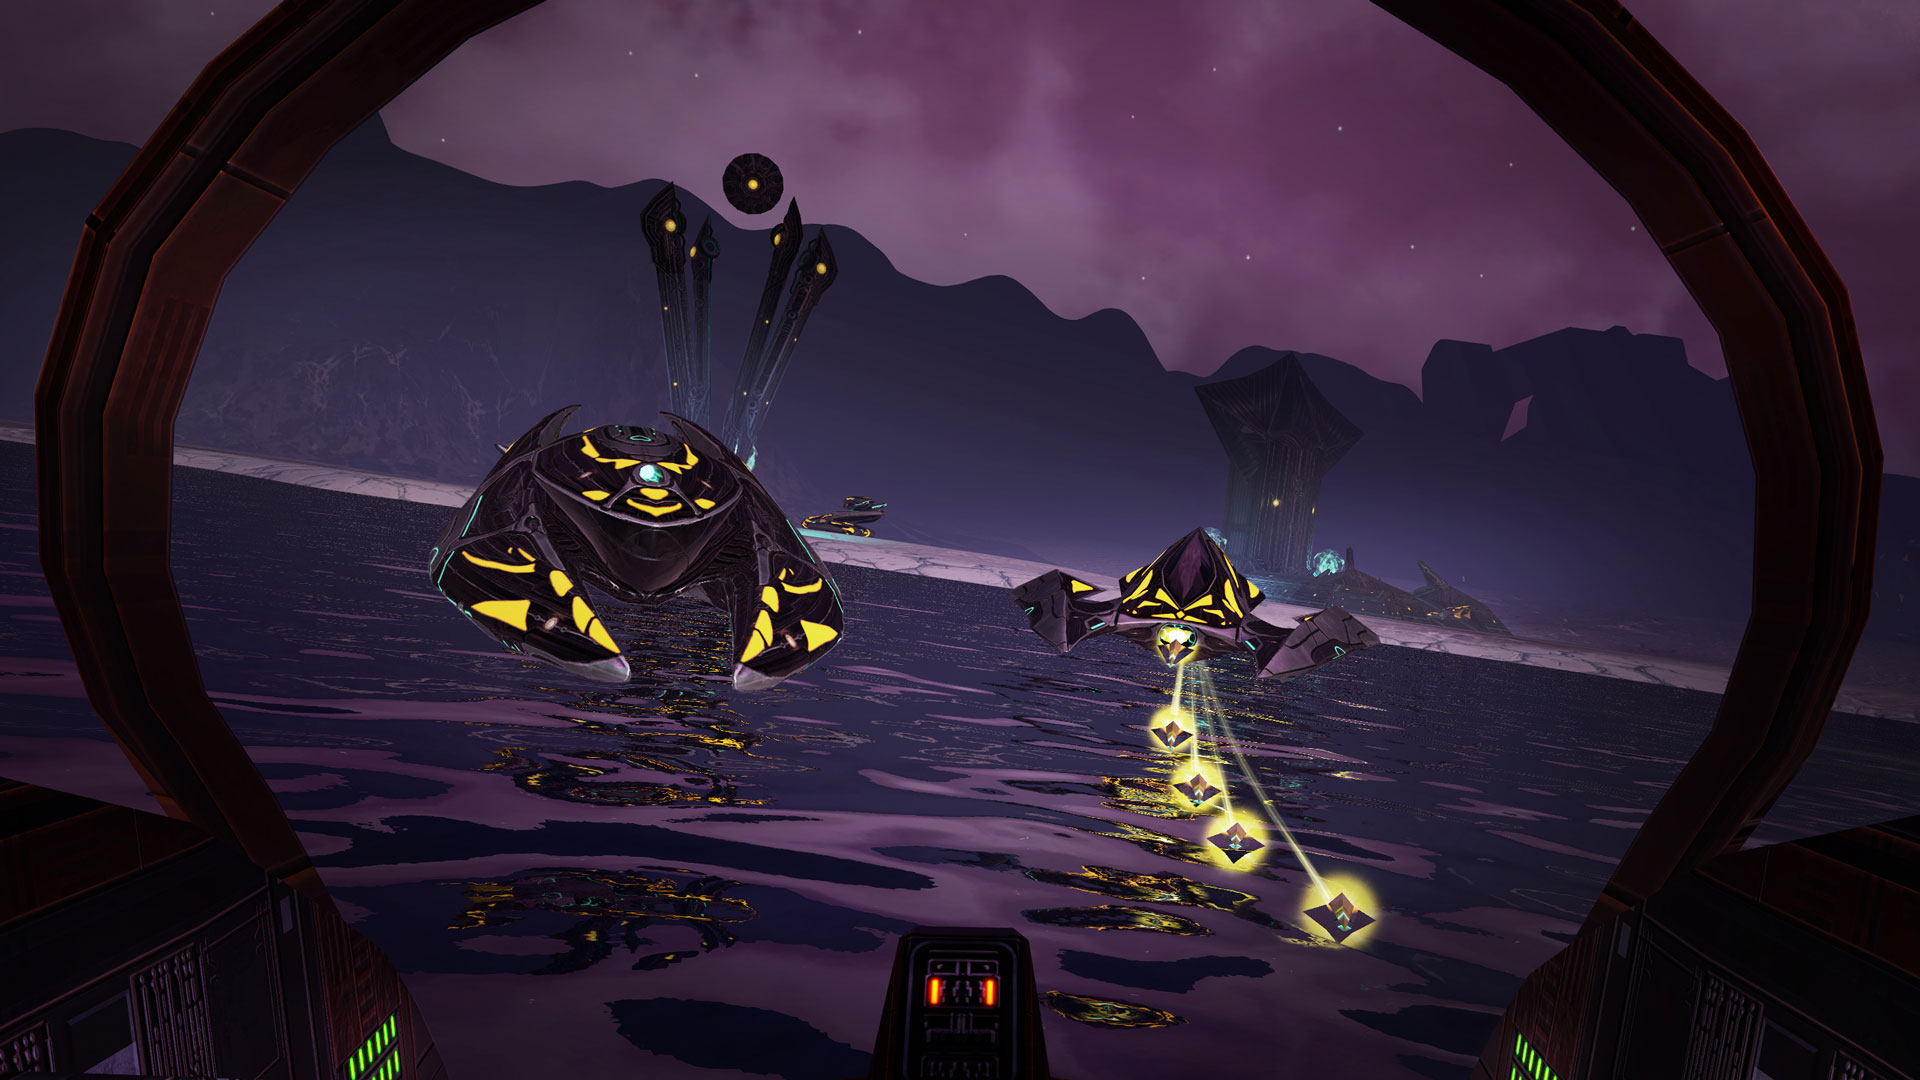
Scion Units – From the Forge.
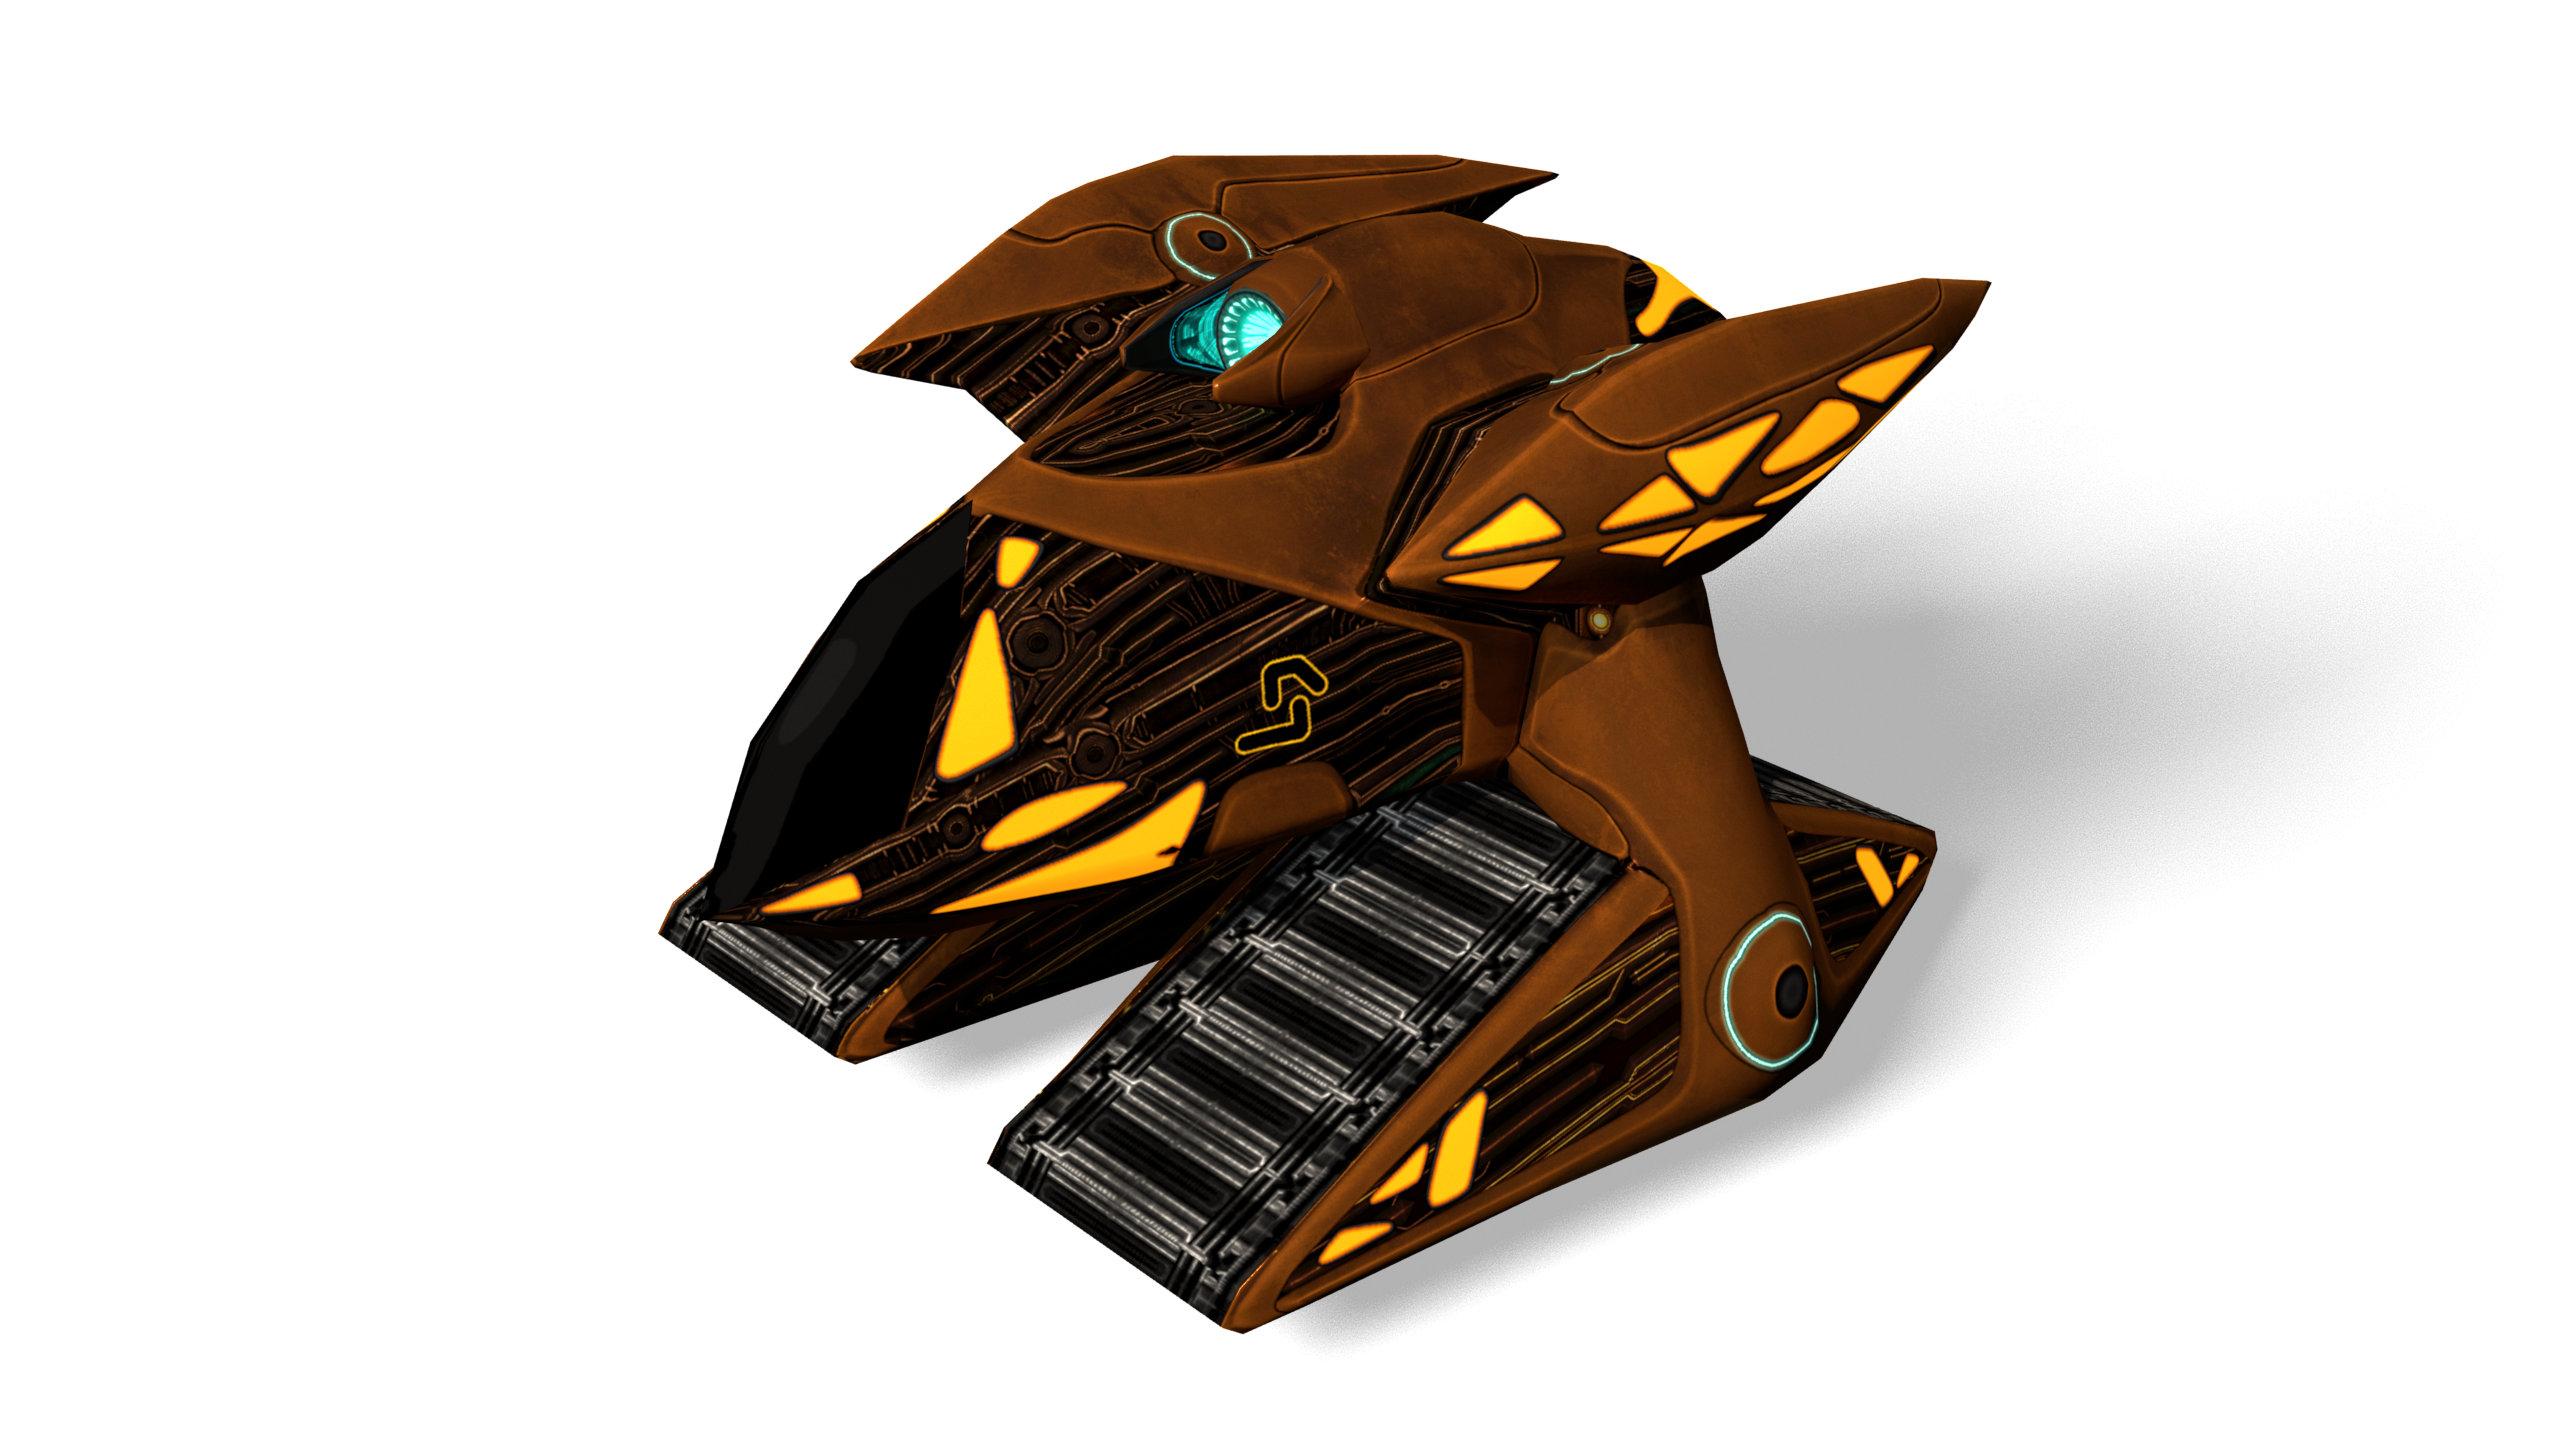
Sentry:
Hover
SpeedFast
ArmorNone
Cost50
Turn RateVariable
Hull Capacity2000
Ammo Capacity2500
Image Signature250%
Heat Signature50%
Radar Signature30%
The Sentry's speed is its greatest asset. They can frustratingly move out of the way when they are being shot at. Whilst this can cause issues when trying to destroy them, their major disadvantage is their inability to turn at speed. Taking advamtage of their awkward turn movement means one can focus fire on the traget aiming fire slightly ahead of the target so that they can continuously be hit. A few hits should be enough to take them out of action.
Again, speed is the greatest advantage of the Sentry. Even ISDF Tanks can fall victim to the quick moving Sentry. The key to destructive success is getting in tight to a target and continue to circle them, whilst strafing in the same direction you are facing. This will allow for your firepower to focus on enemy units continuously while circling them. This tactic will often render a traget destroyed. This tactic can also be adapted to quicker moving units, however more focus will be required for successful attacks.
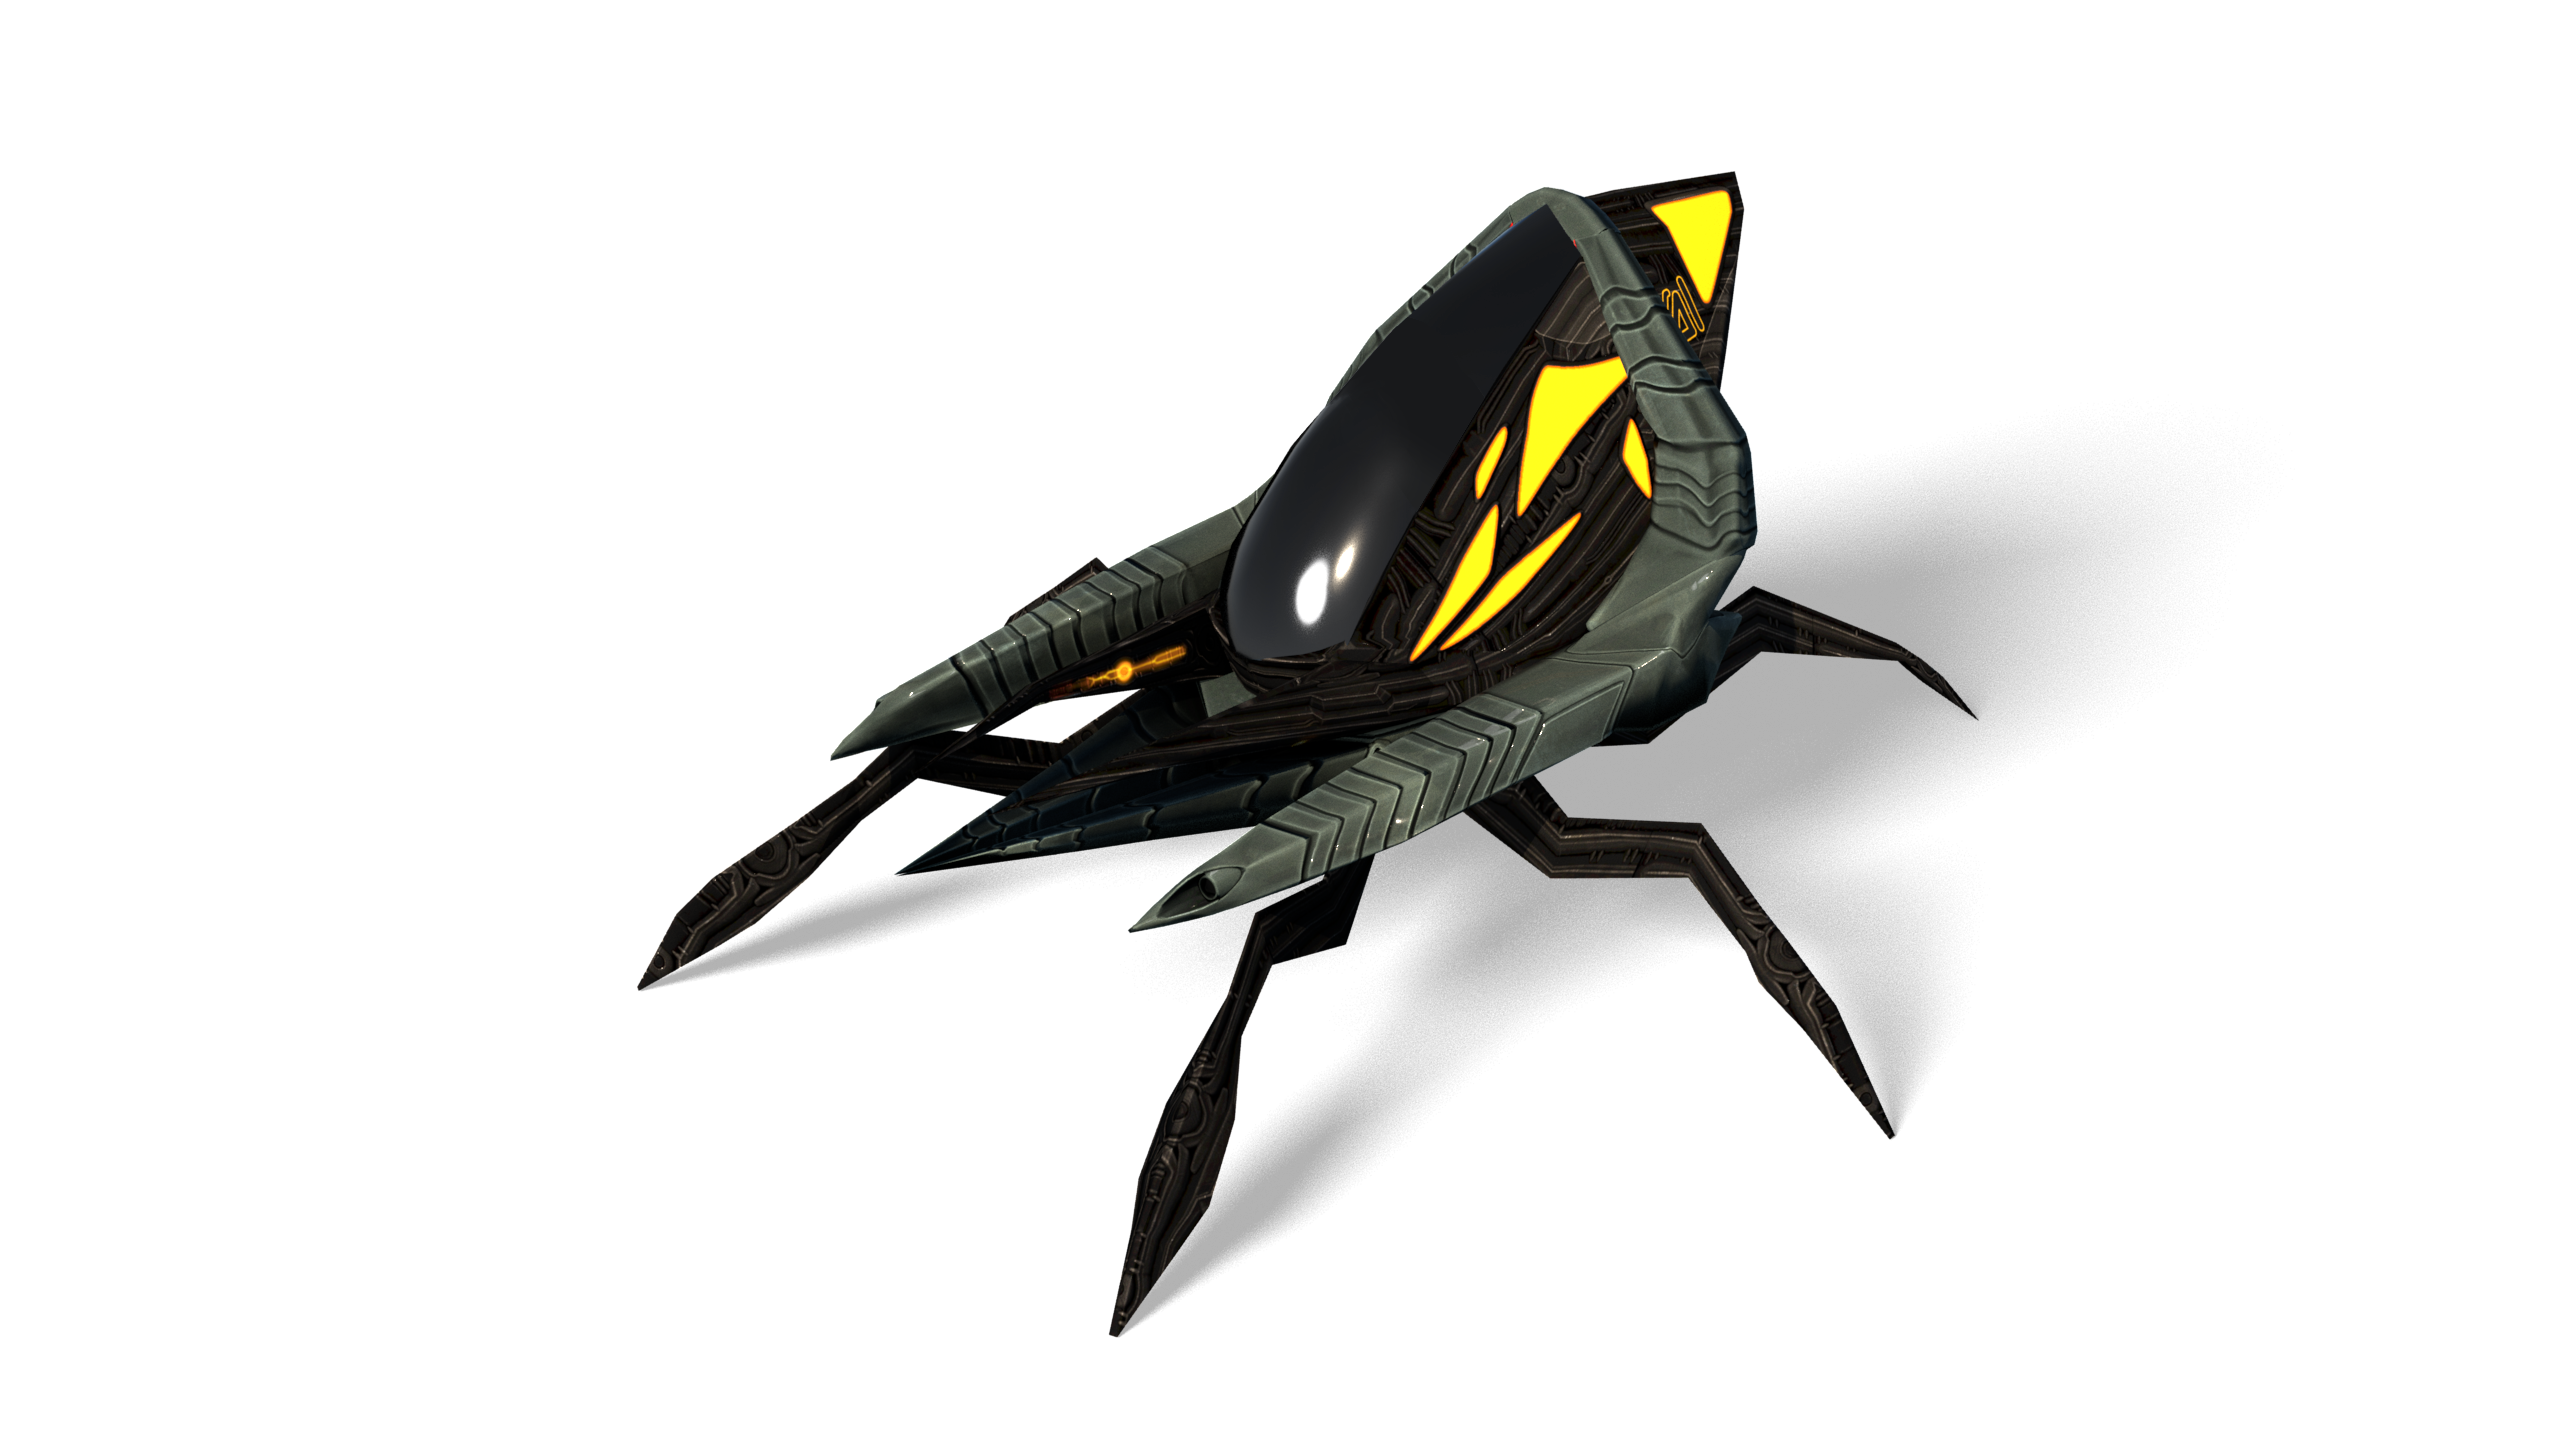
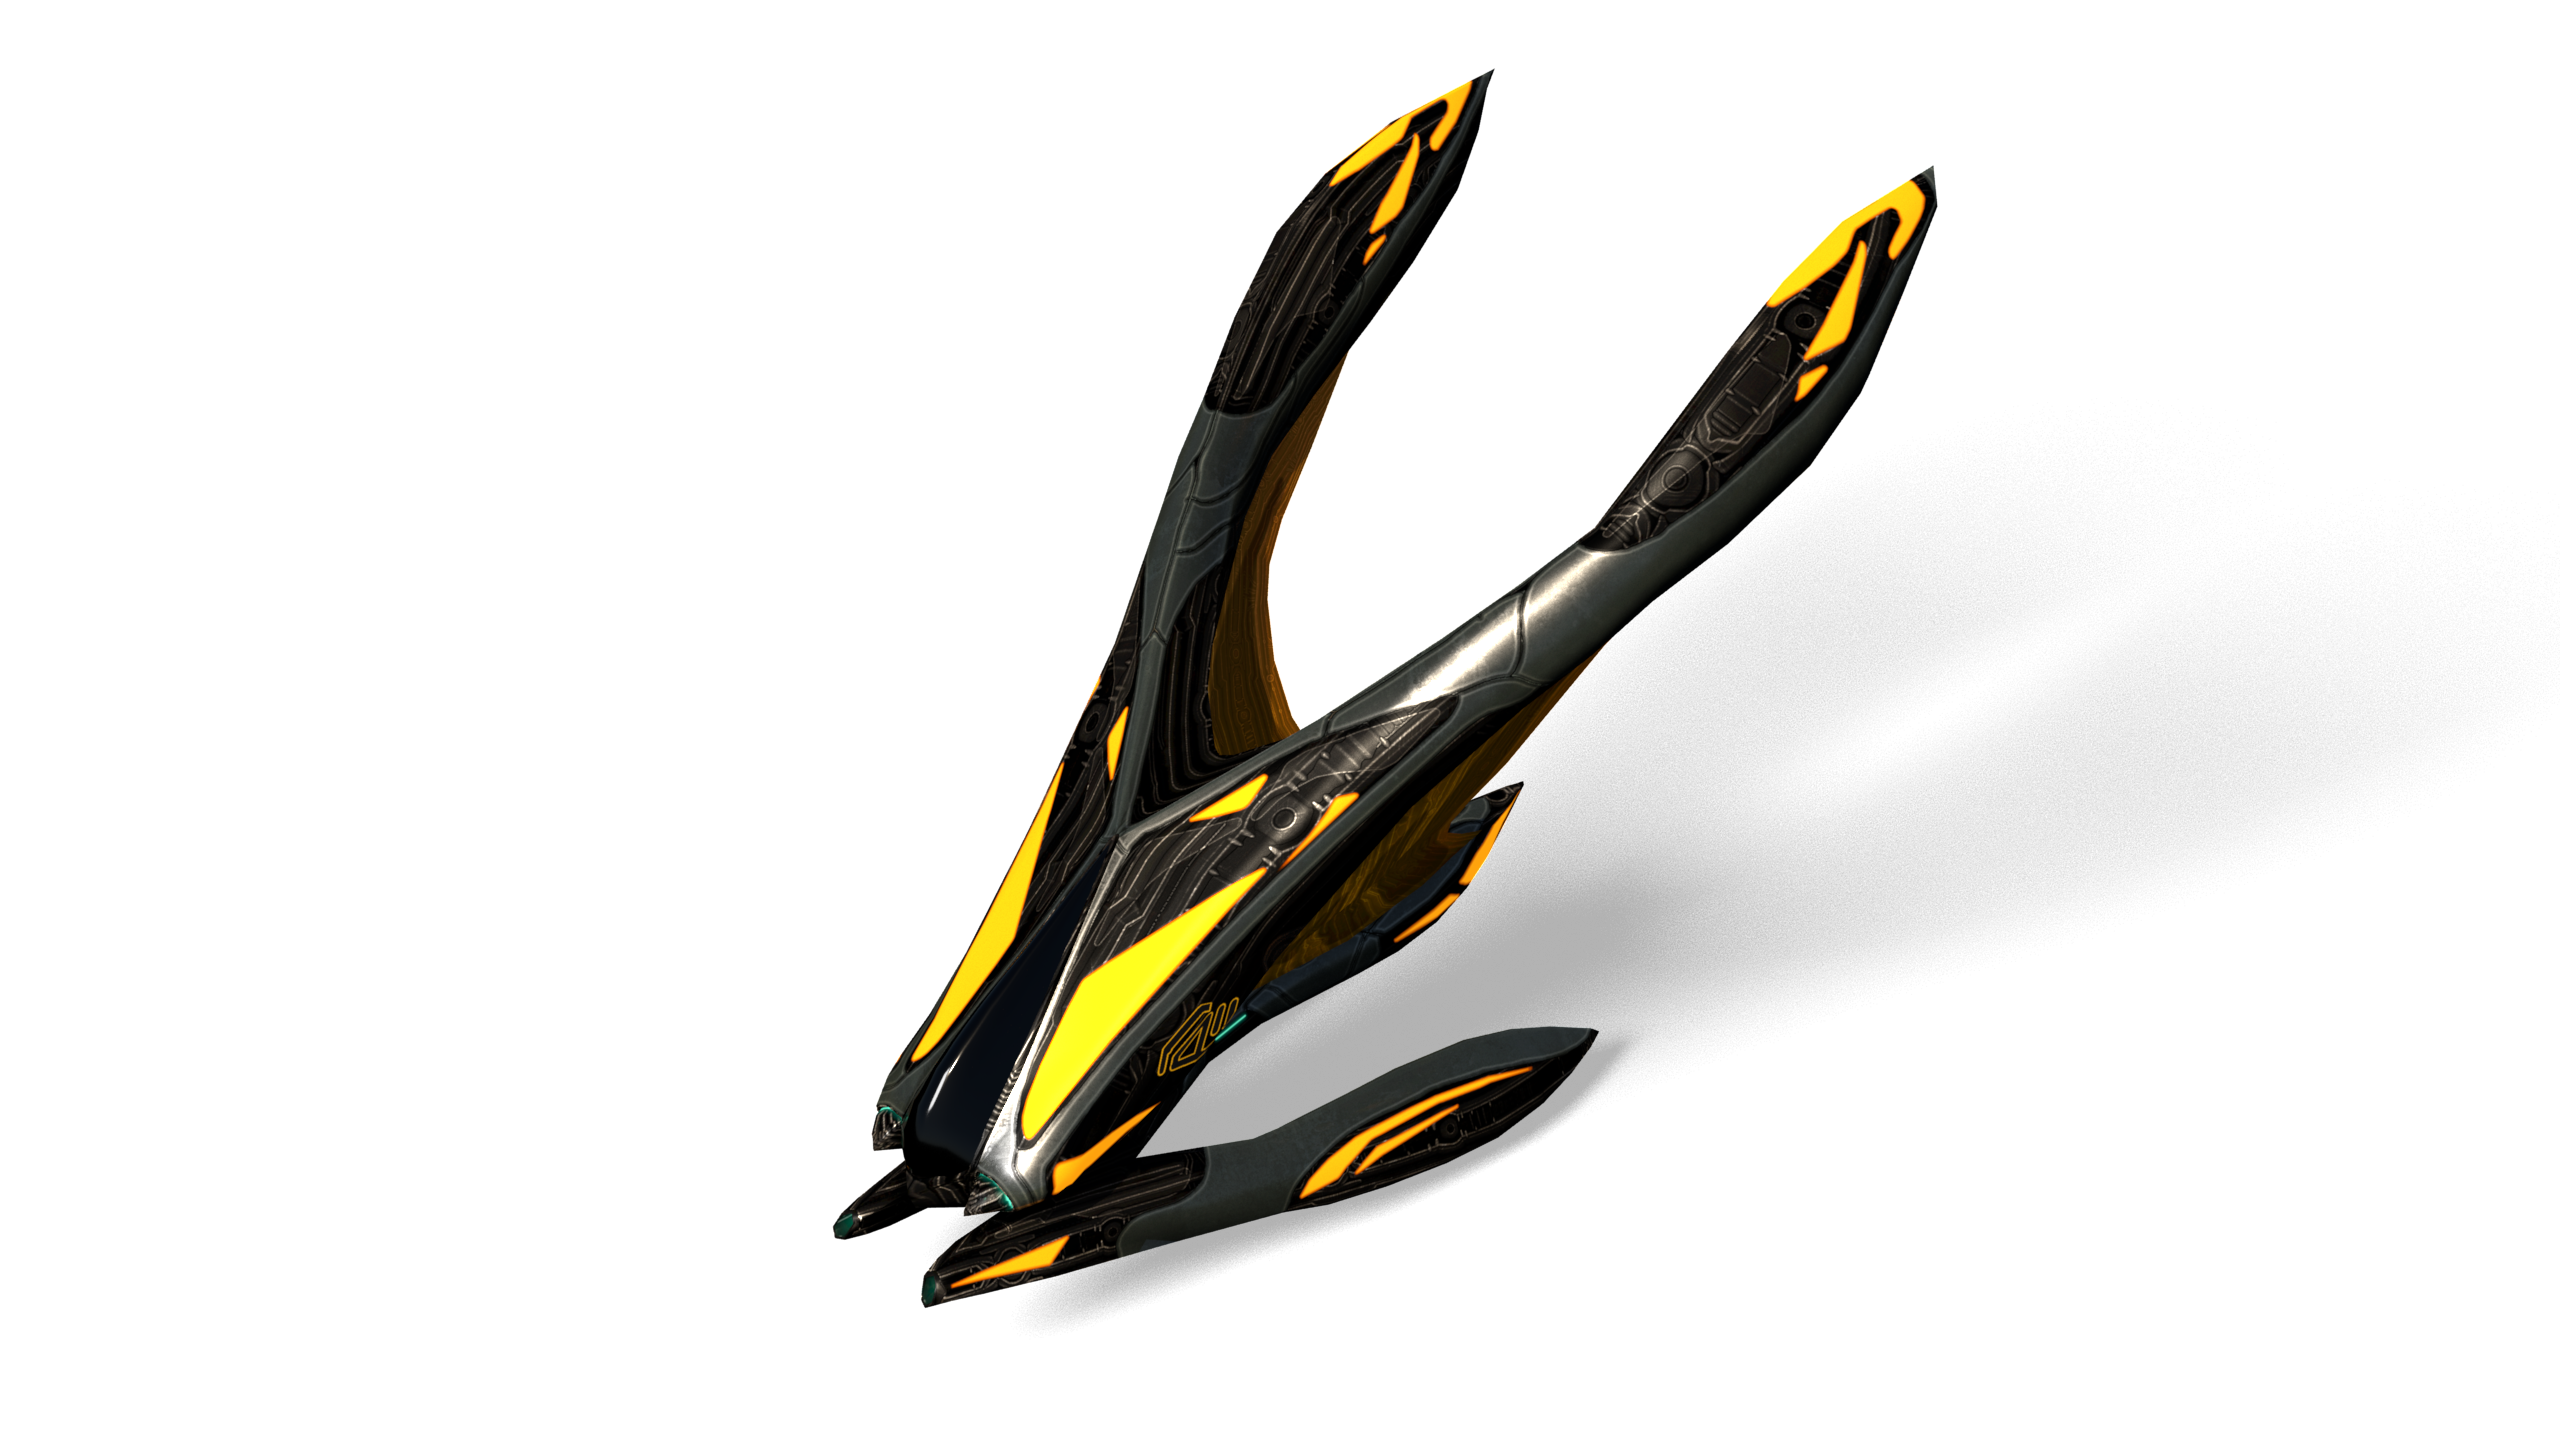
Lancer:
Hover
SpeedMedium
ArmorLight
Cost55
Turn RateFast
Hull Capacity2000
Ammo Capacity3000
Image Signature75%
Heat Signature200%
Radar Signature50%
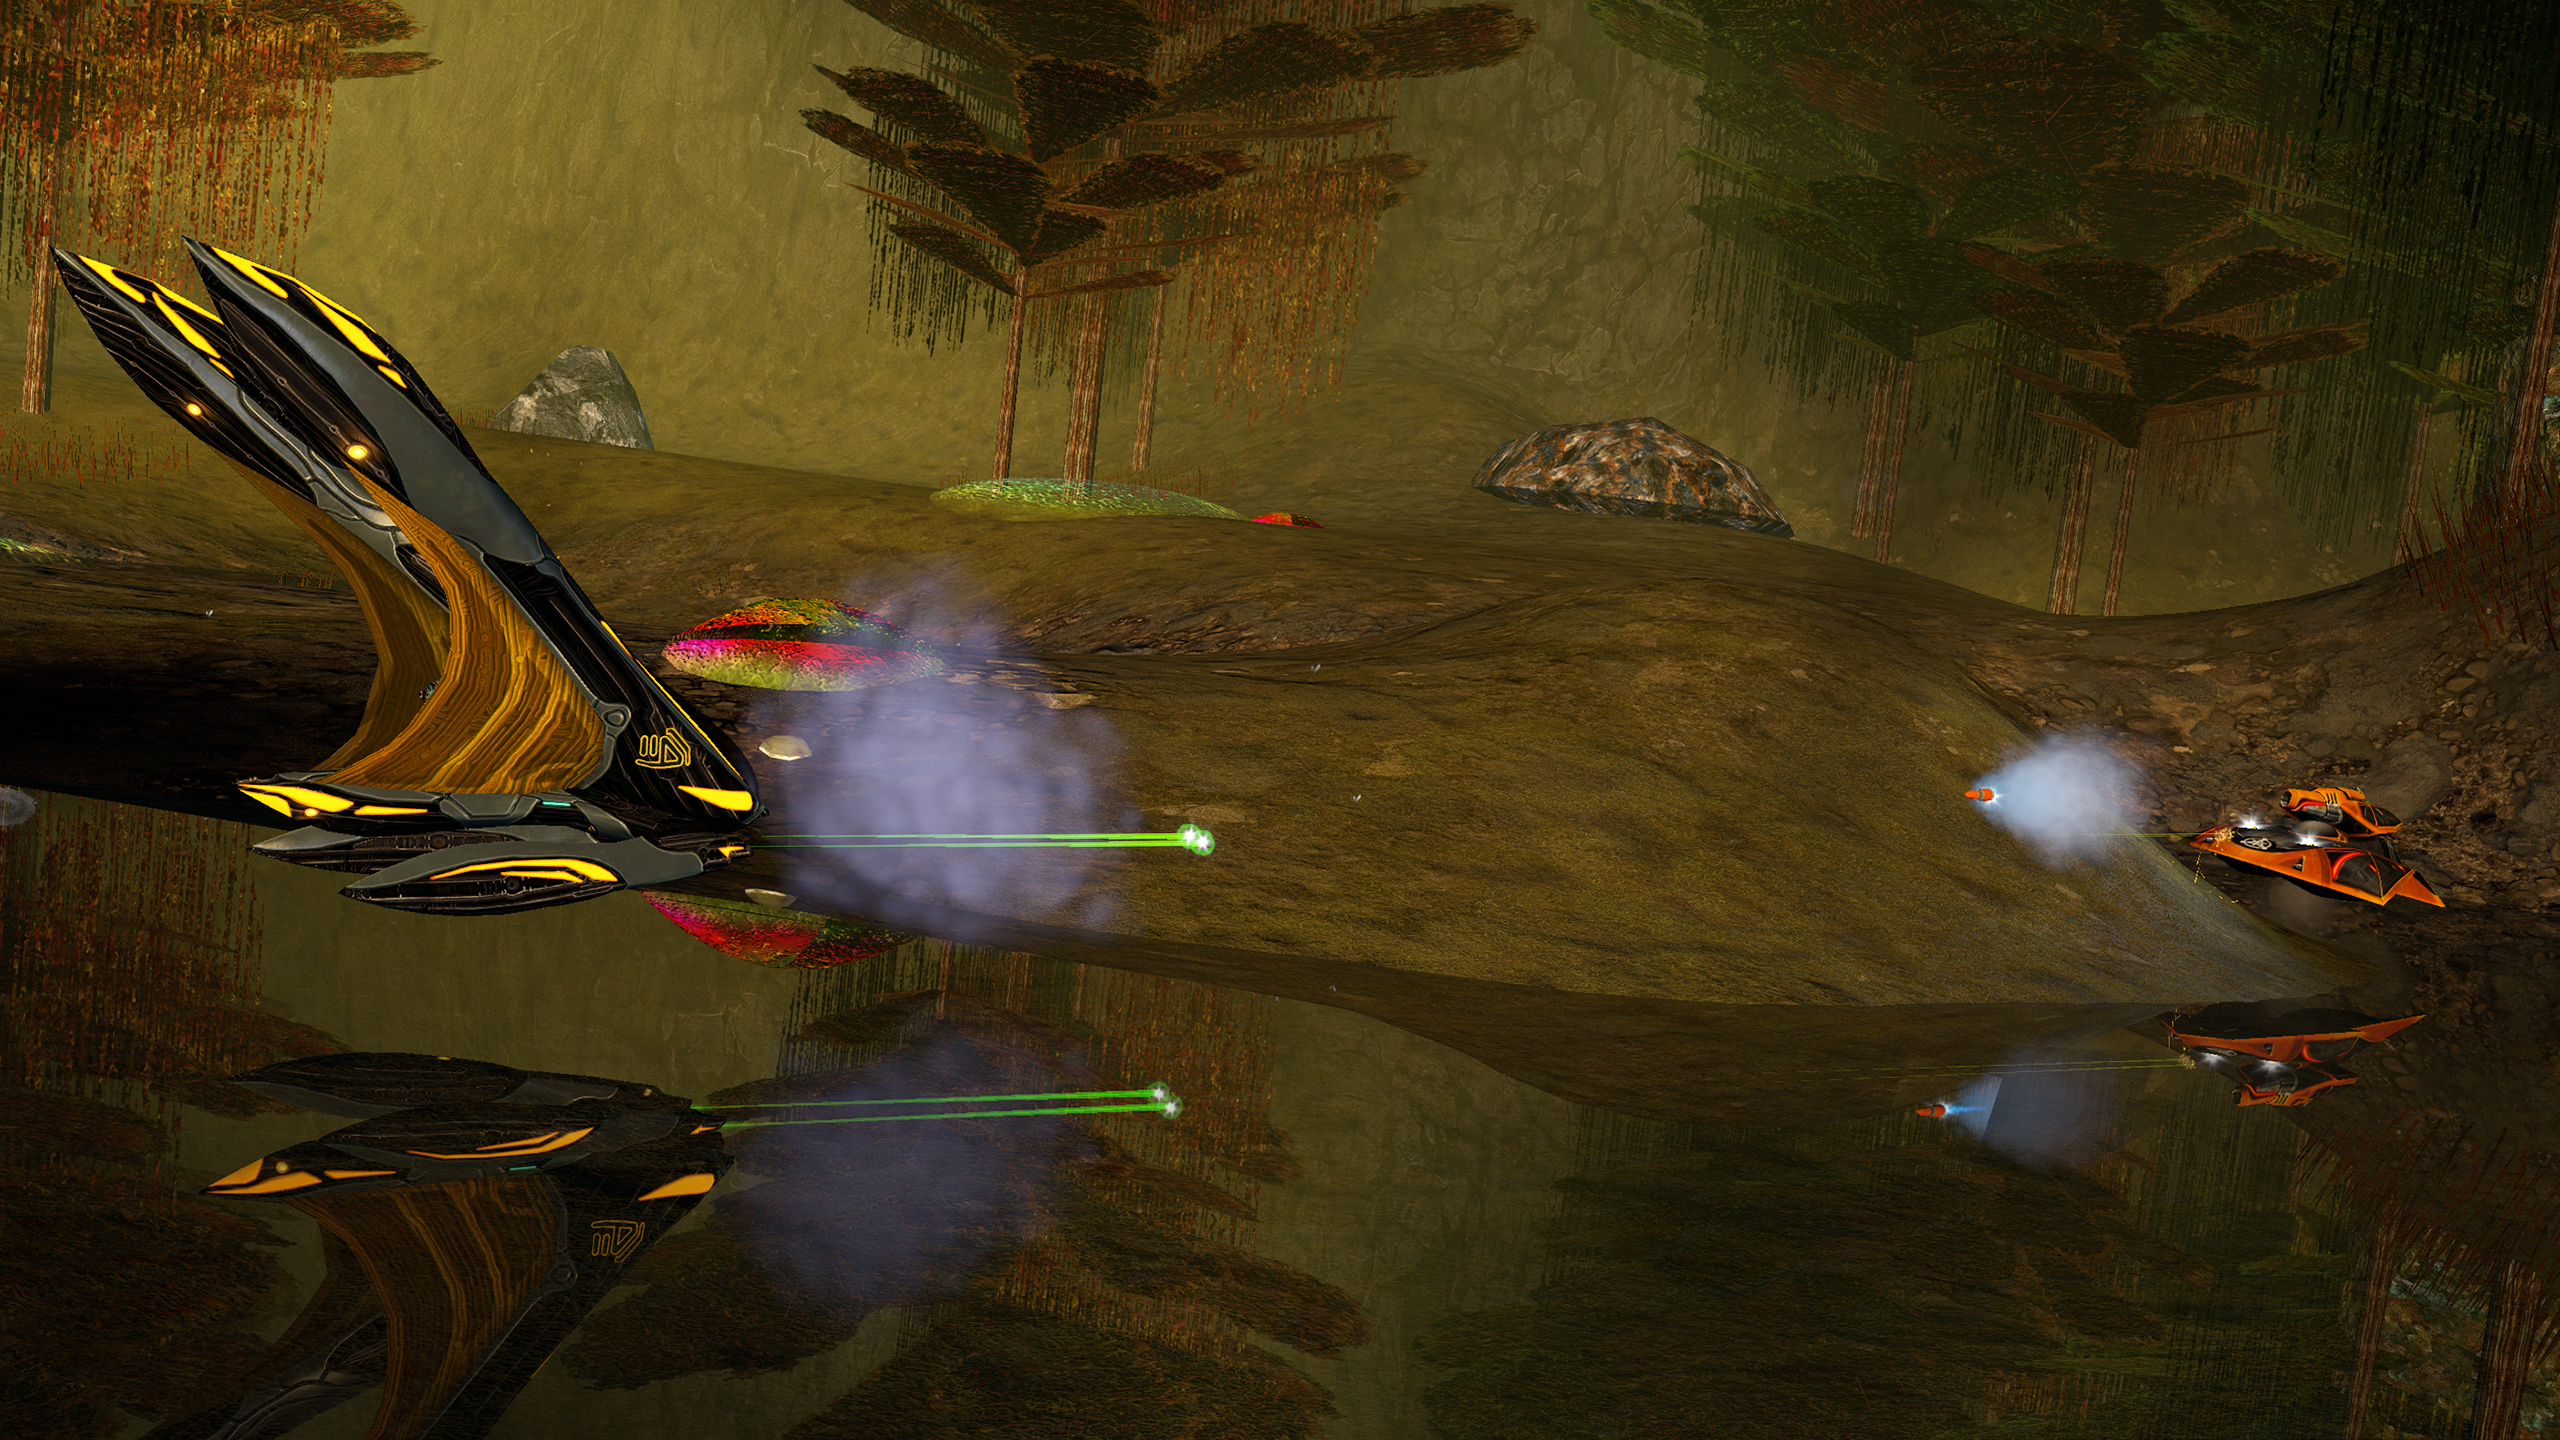
The speed and rapid fire heat sinking missiles make Lancers particularly dangerous foes. Adopting the tactic of constant movement, avoiding missiles by strafing is advised. Destroying them requires pointing at them directly, whilst focusing fire and dodging their firepower.
Taking out Gun Towers and Turrets is the function of Lancers. Issues can arise however as Lancers can stray within range. Another problem with Lancers is that their Stinger Missiles will go to the closest heat source and has an uncanny knack of striking your own units. Avoiding getting involved in battles where your own units are included is advised to prevent this from happening. Structures can be effectively destroyed by morphing and using the Swarm Launcher.
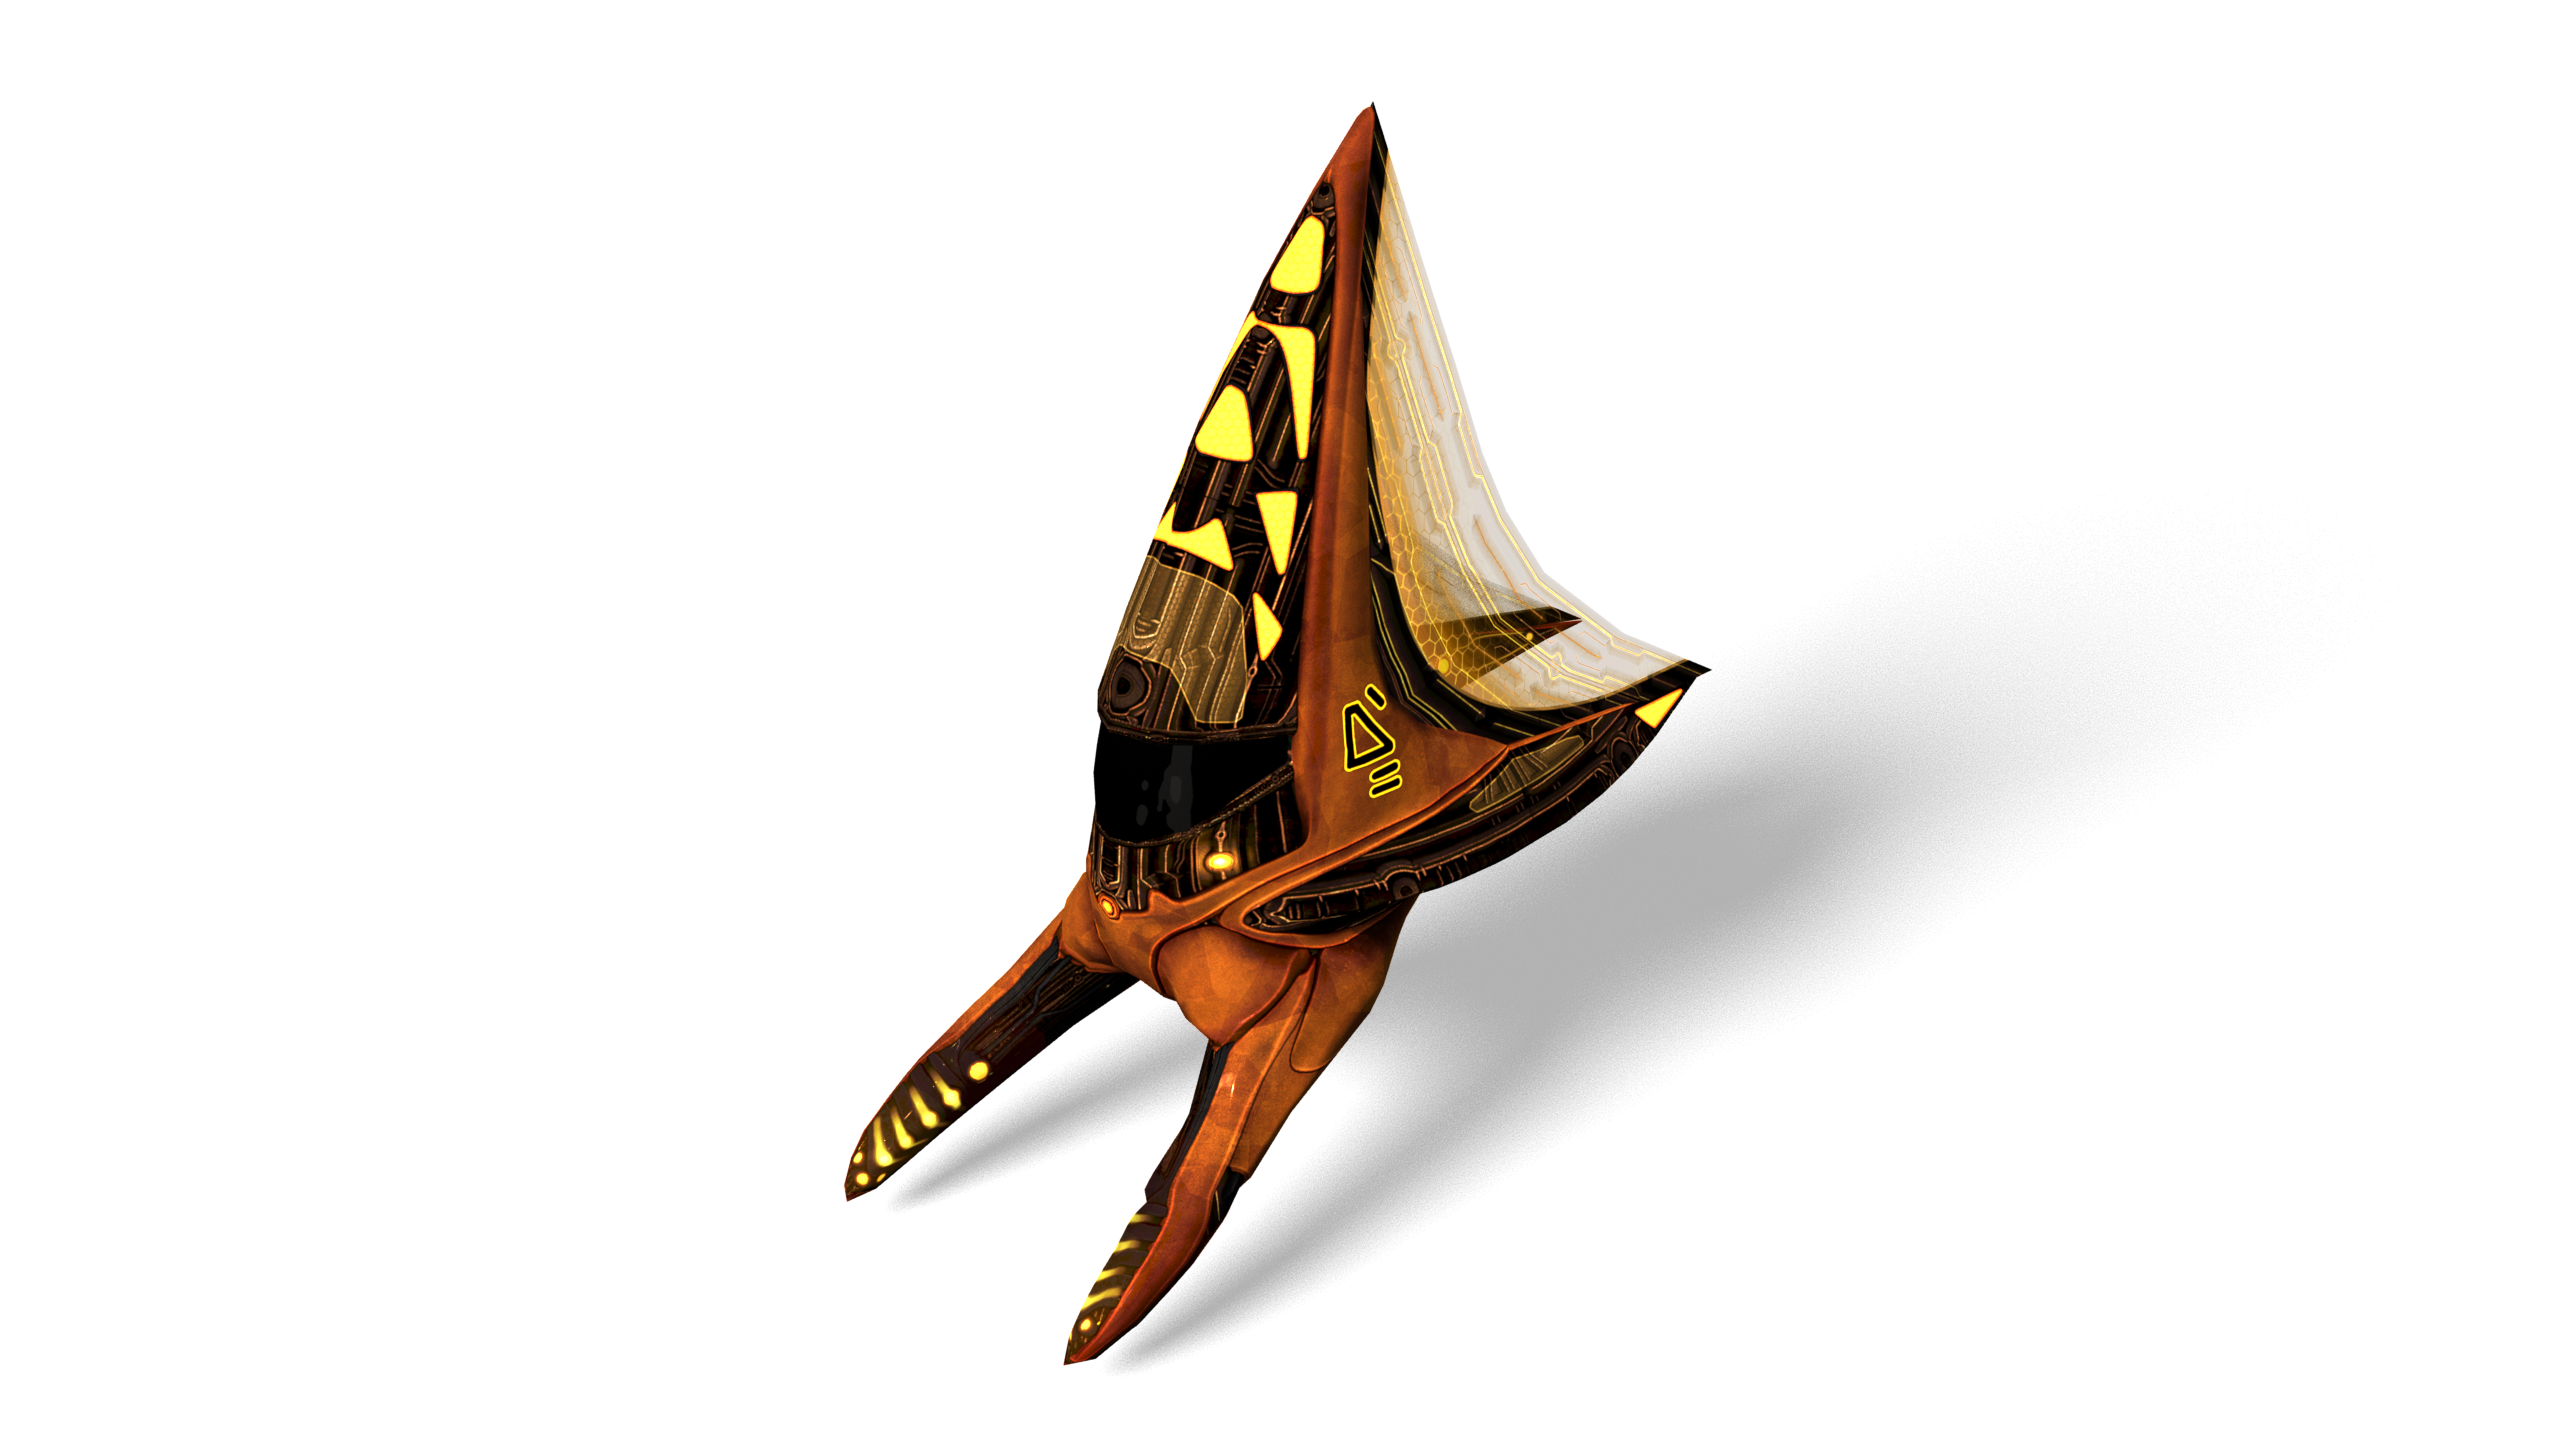
Warrior:
Hover
SpeedVariable
ArmorNone
Cost55
Turn RateVariable
Hull Capacity3500
Ammo Capacity3000
Image Signature250%
Heat Signature200%
Radar Signature50%
Warriors ability to morph and deliver serious damage to your extractors and base make them particularly dangerous opponents. They provide even more of a threat than ISDF Tanks. Avoiding their Plasma Cannons is recommended as well as focusing fire on them for as long as possible. Vehicles with Mortars are worthwhile utilising to take advantage of their range before allowing the Warrior to head your way.
As units go, Warriors are the ultimate all rounder. Their versatility of speed and weaponry can end up dealing major damage to enemies. To get the best out of a Warrior, adding Deflector Shields and a Static Charge, as well as utilising your defult cannon and guns will make the Warrior virtually indestructible.
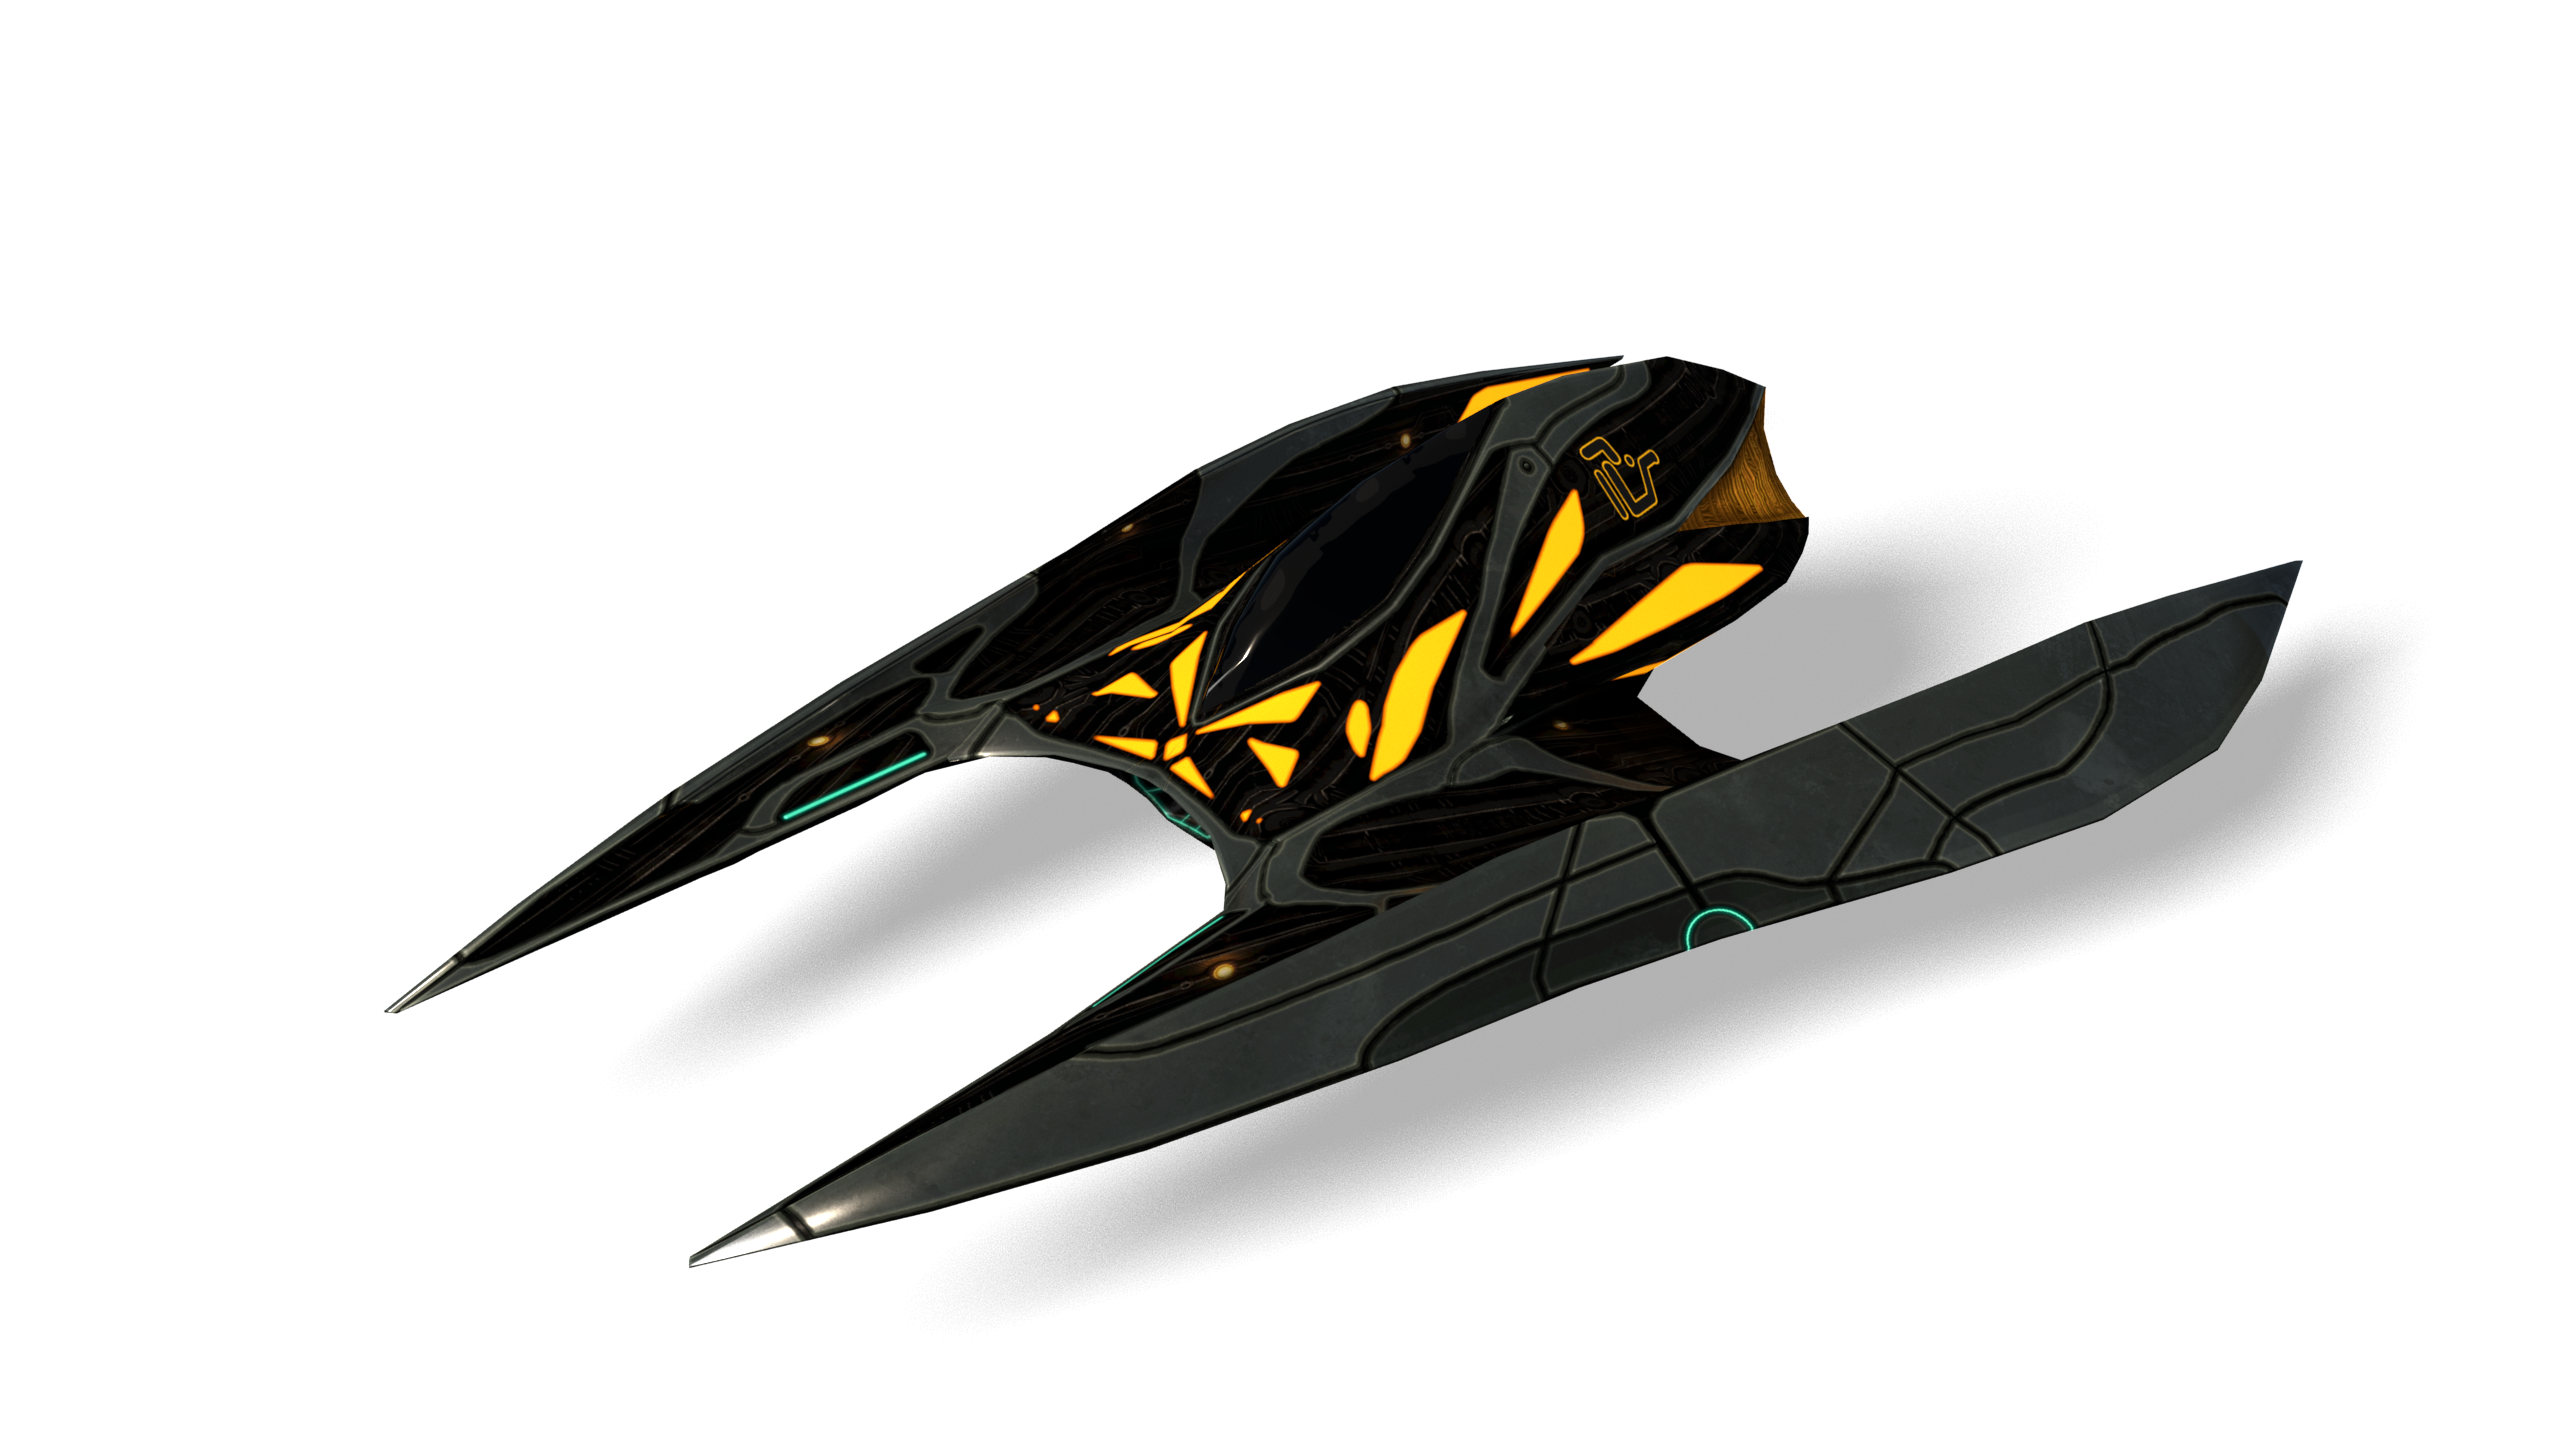
Archer:

Flying
SpeedSlow
ArmorNone
Cost65
Turn RateLow
Hull Capacity1000
Ammo Capacity2000
Image Signature10%
Heat Signature1000%
Radar Signature0%
Archers can access hard to reach places on the map and unload Mortar fire upon your base. Sending a Scout out to get to those hard to reach places is advised in order to cancel this threat out.
Their flight capabilities mean that Archers can be tactically placed in hard to reach places. Locating them near an enemy base on inaccessible ledges give your Archers strike advantage. Once you have disembarked from your Warrior head up the hill and instruct your Archers to deploy on the ledges out of the way of enemy Mortars. From here onwards they can be a contual harrassment to your enemies.