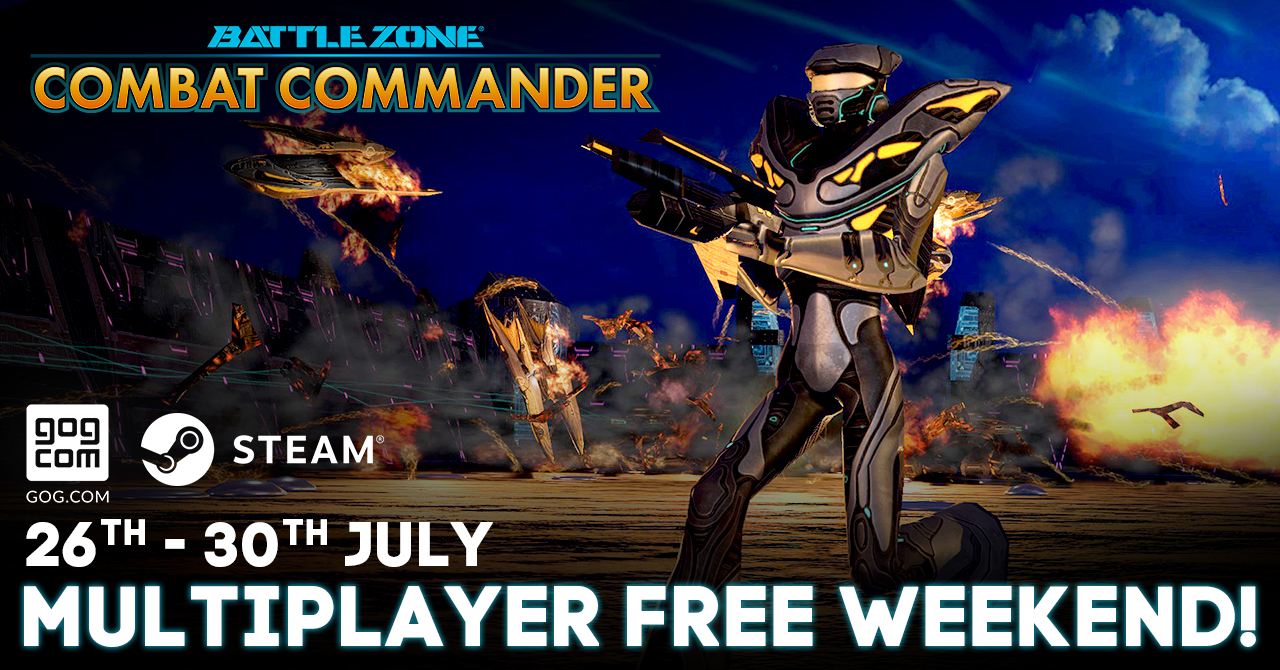
Multiplayer Free Weekend | 26th - 30th July 2018
Posted 26th July 2018
See details on the Multiplayer Free Weekend and sale
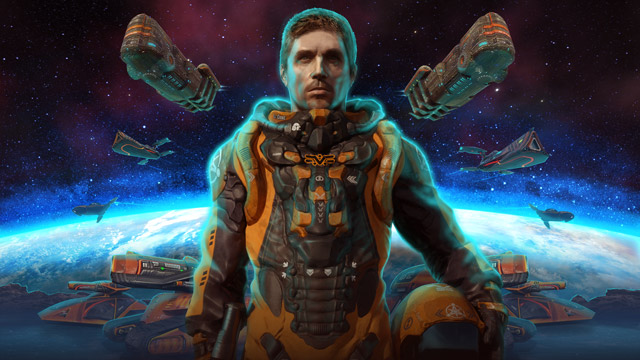
Once arch enemies, the US and Russia abandon their space race and unite their forces in the face of impending alien attack. Combining to form the elite International Space Defence Force, they recruit you to help lead resistance, before total devastation is unleashed on the human race.
The solar system is at war. Take command.
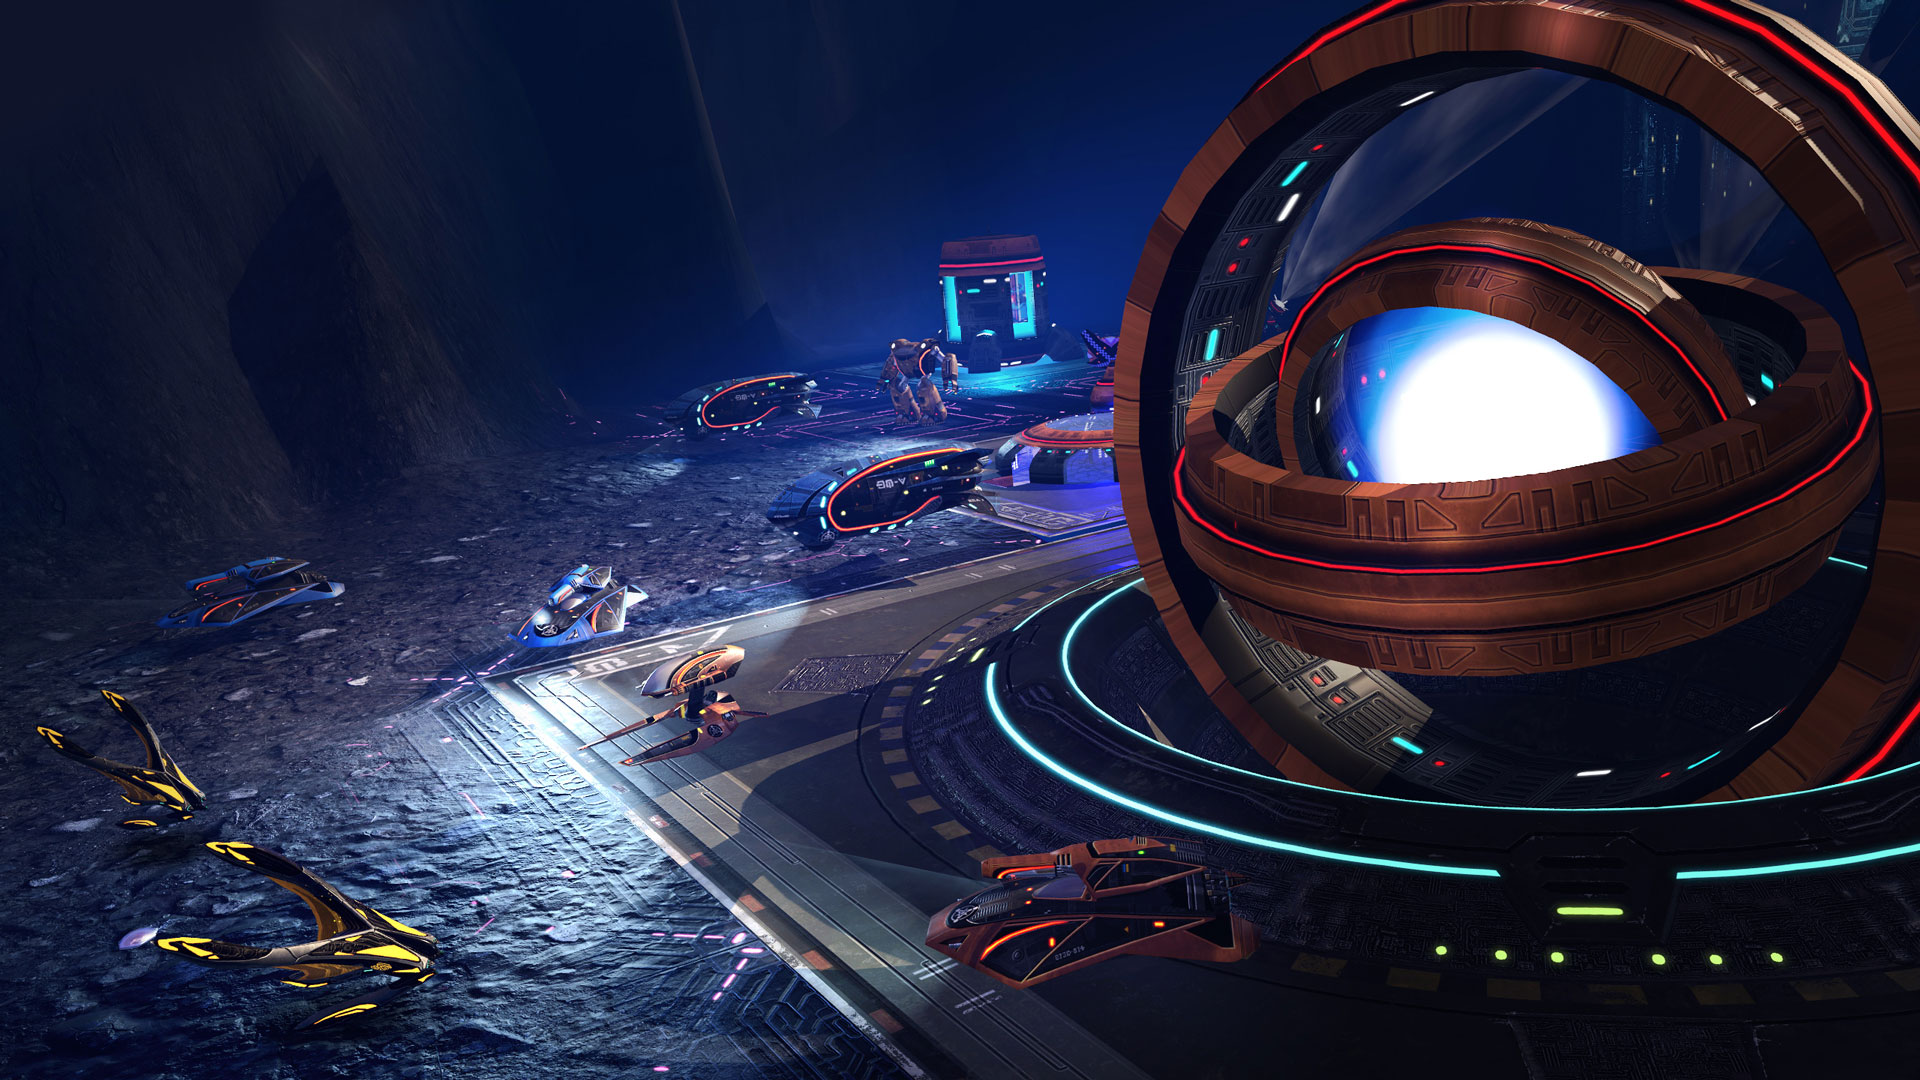
Battlezone: Combat Commander remasters FPS-RTS classic Battlezone II with slick new visuals, brand new achievements, Steam Workshop support and much more!
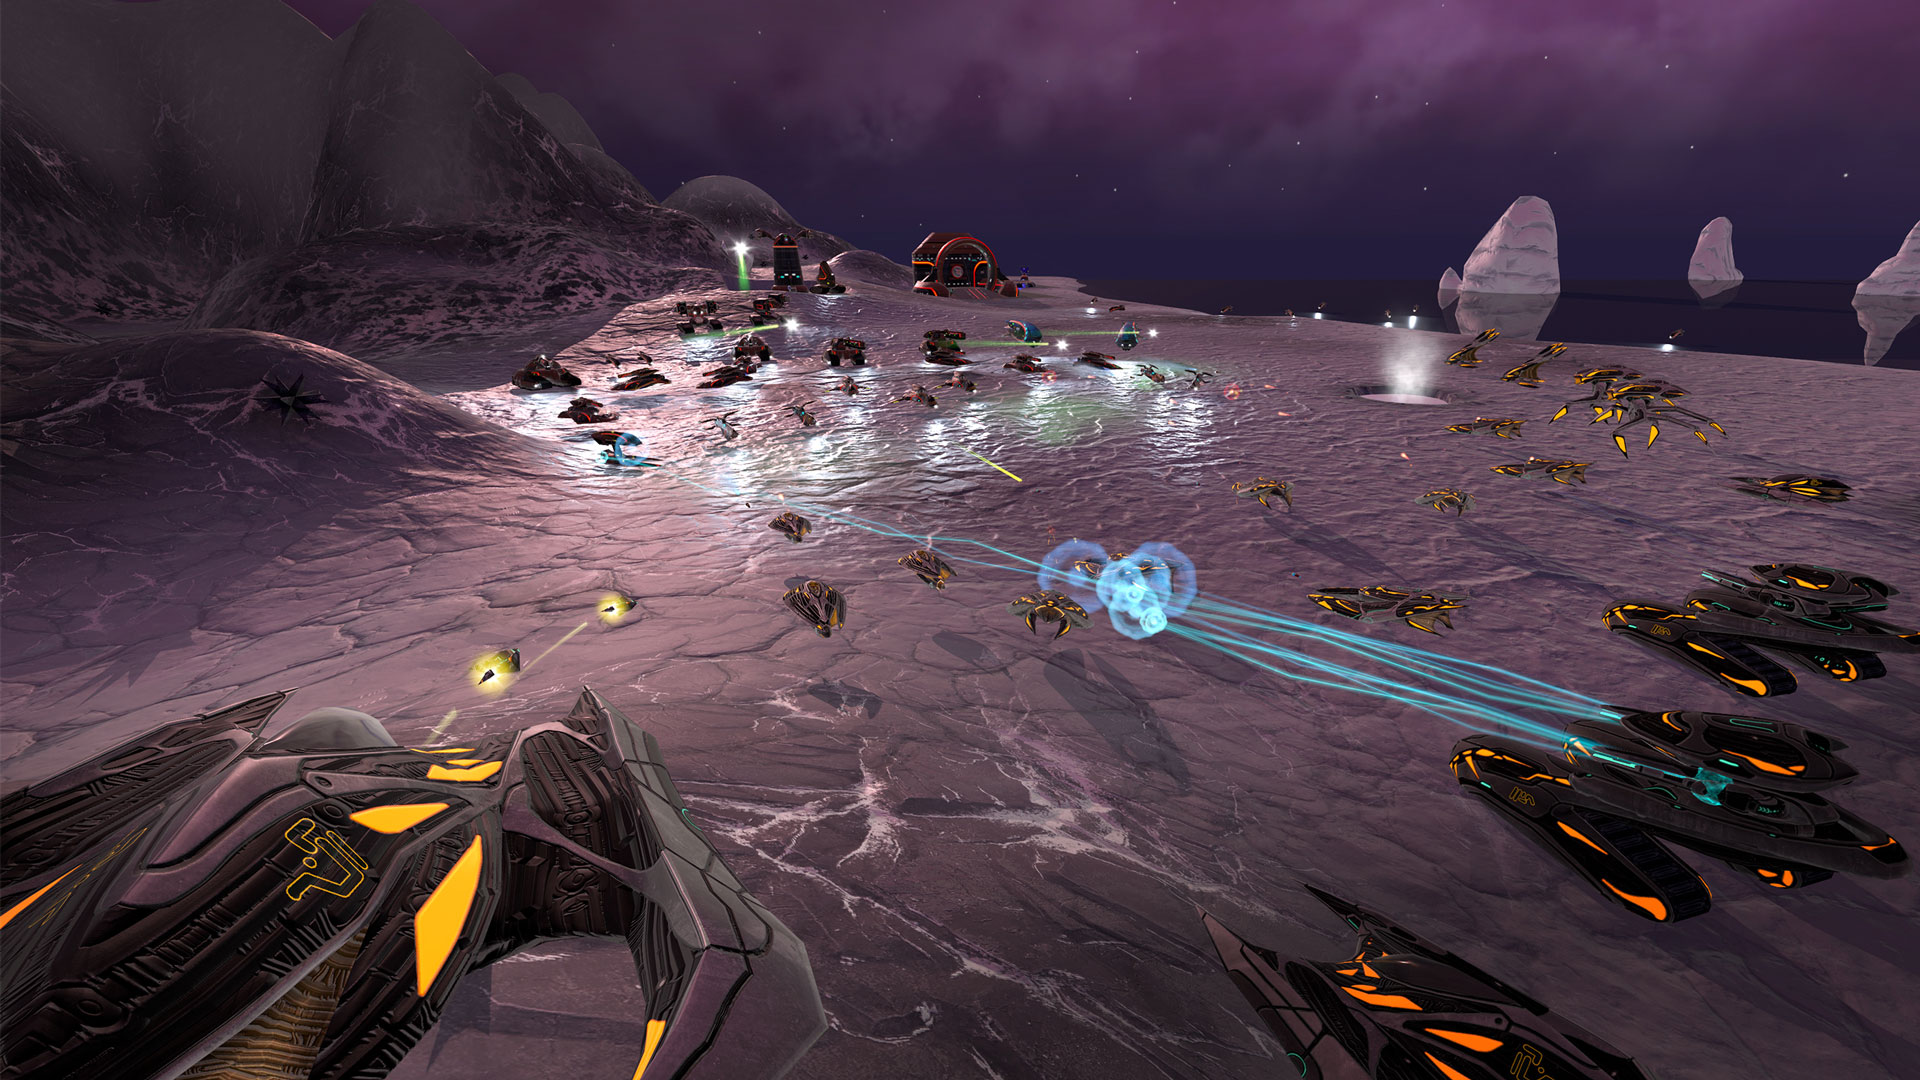
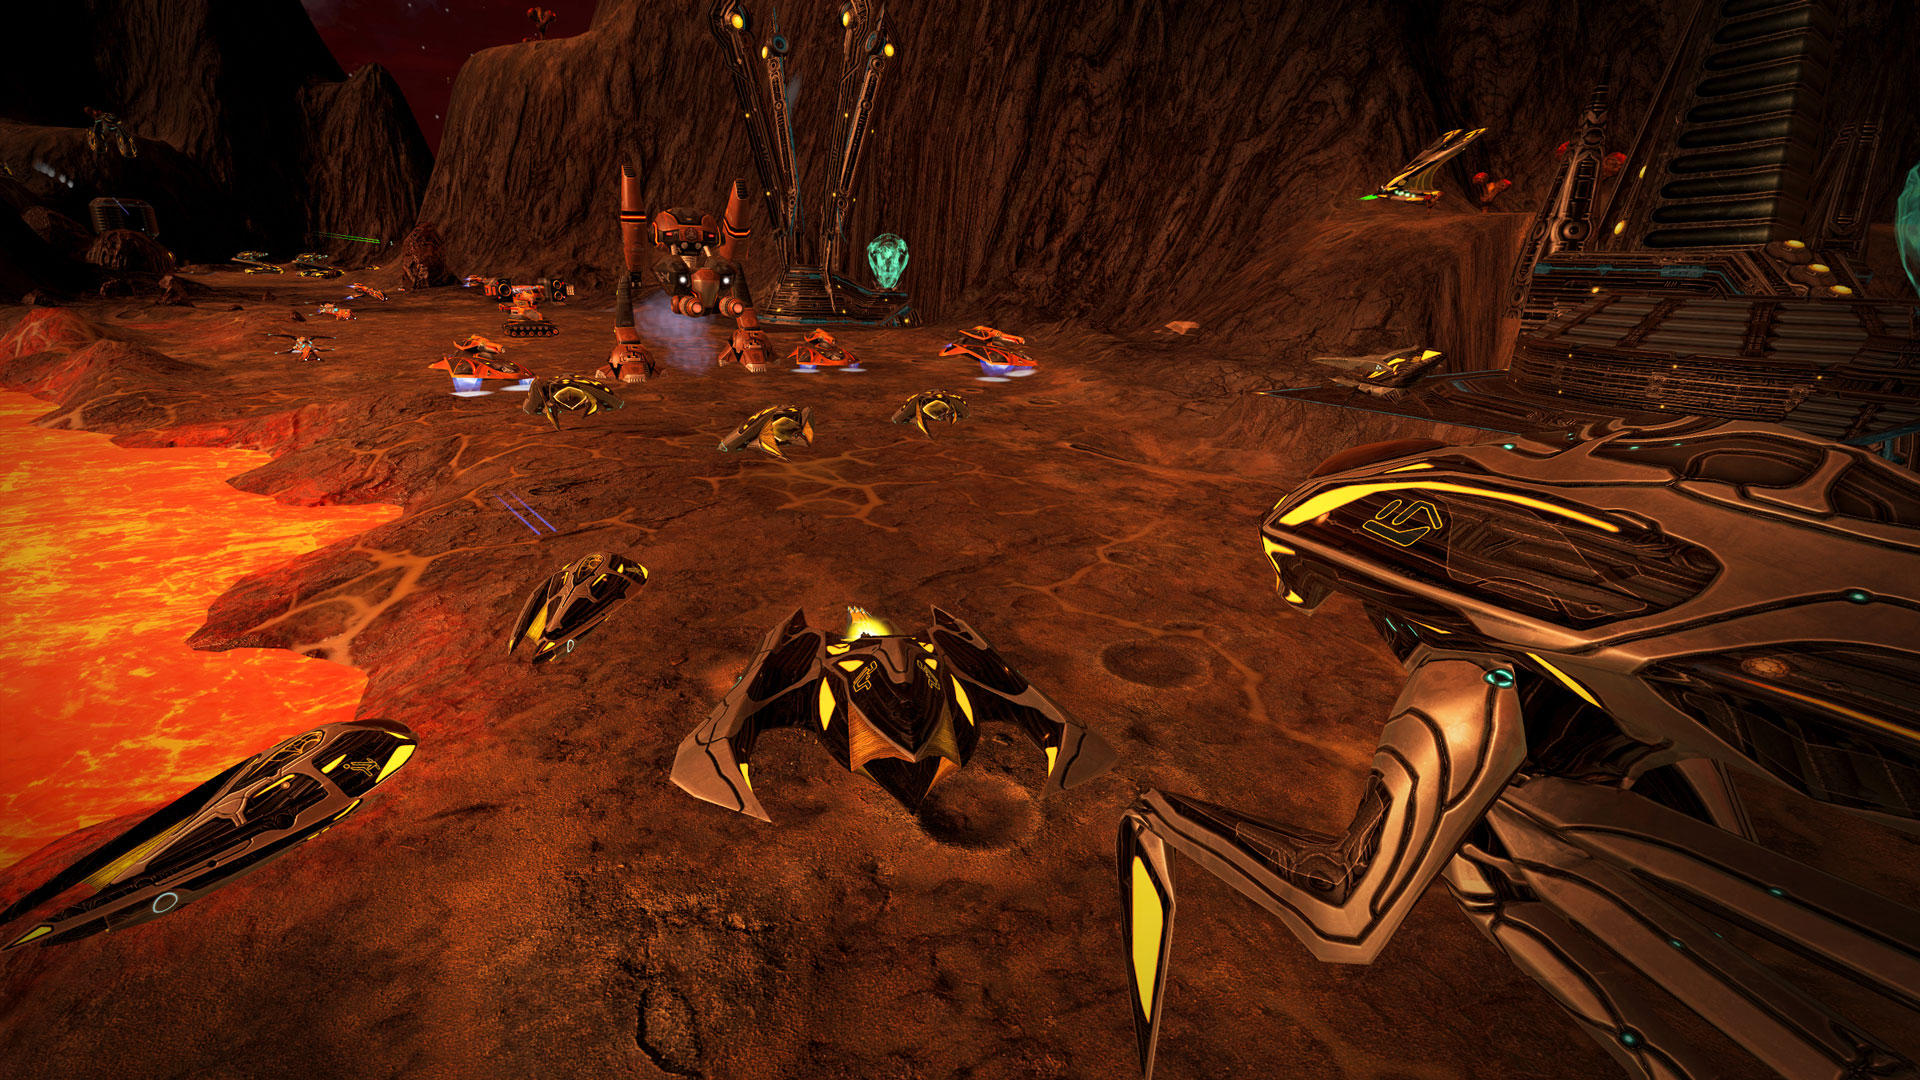
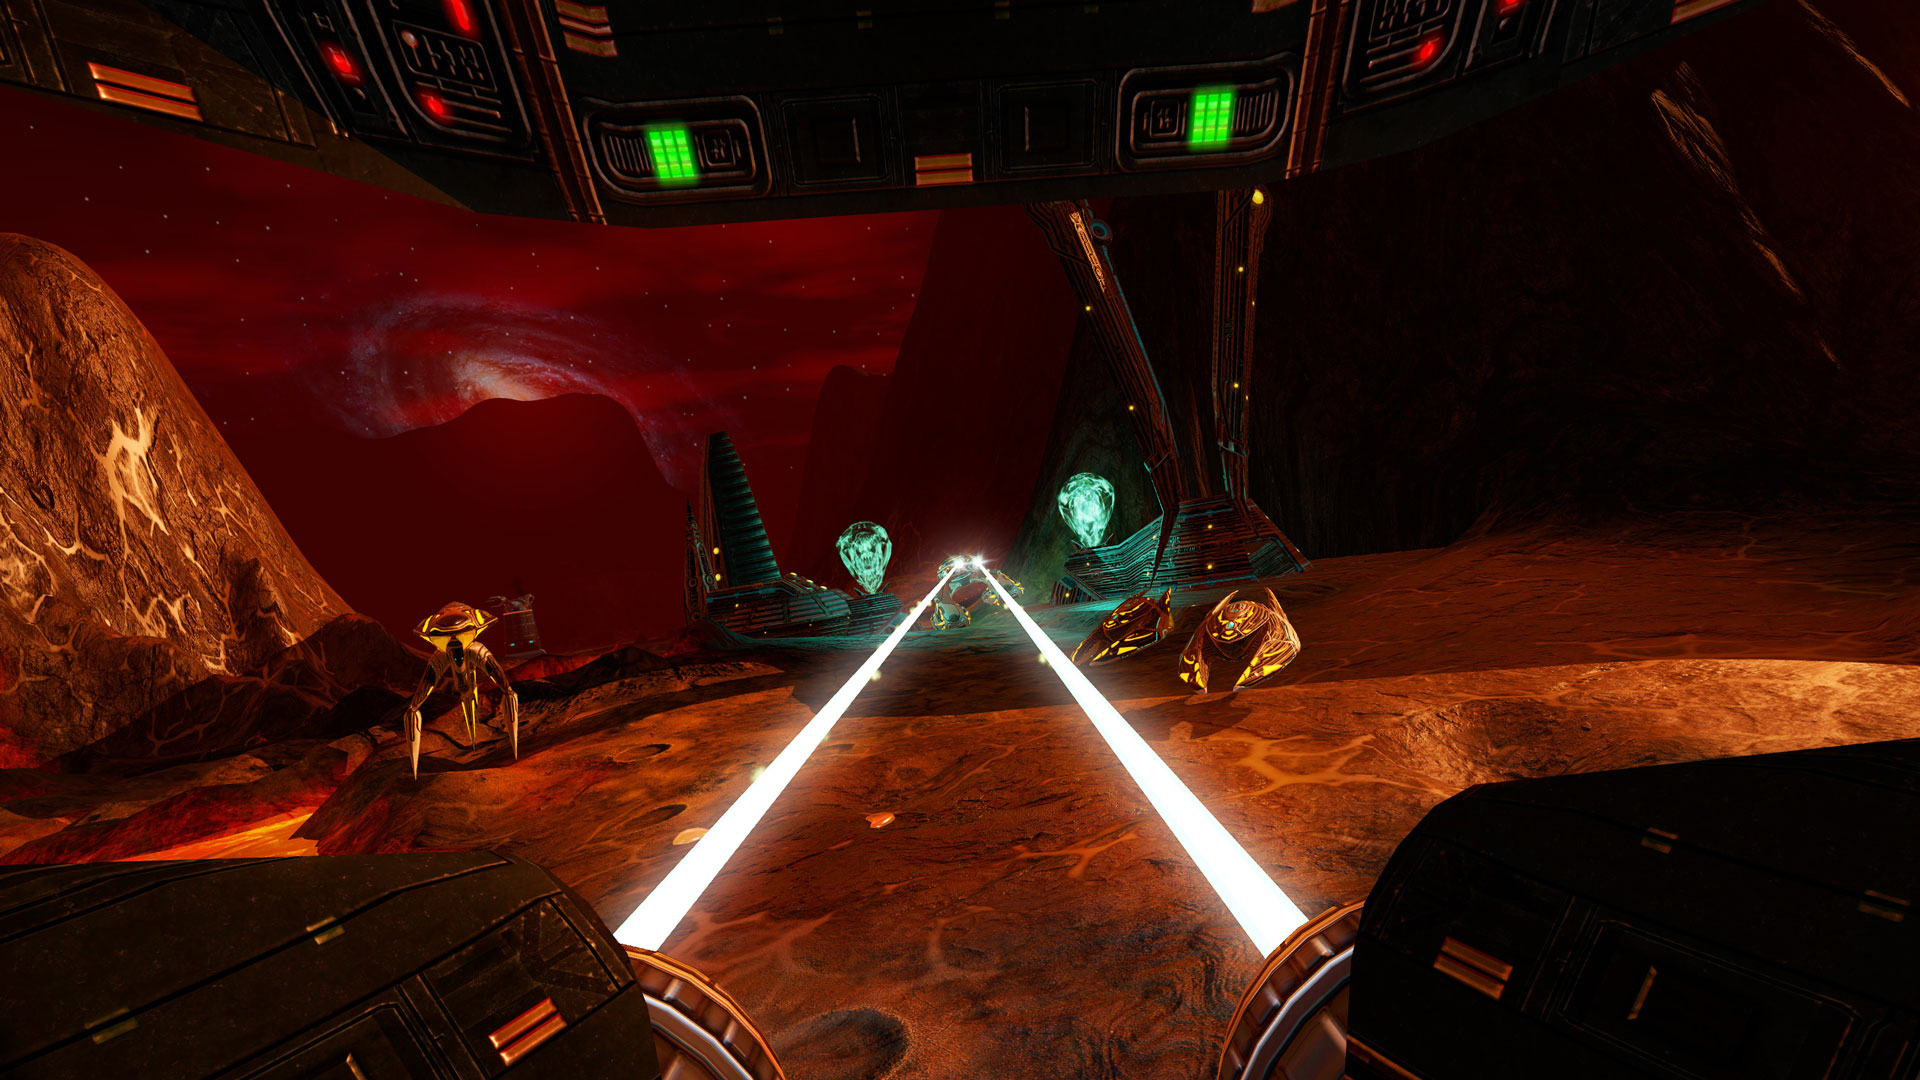
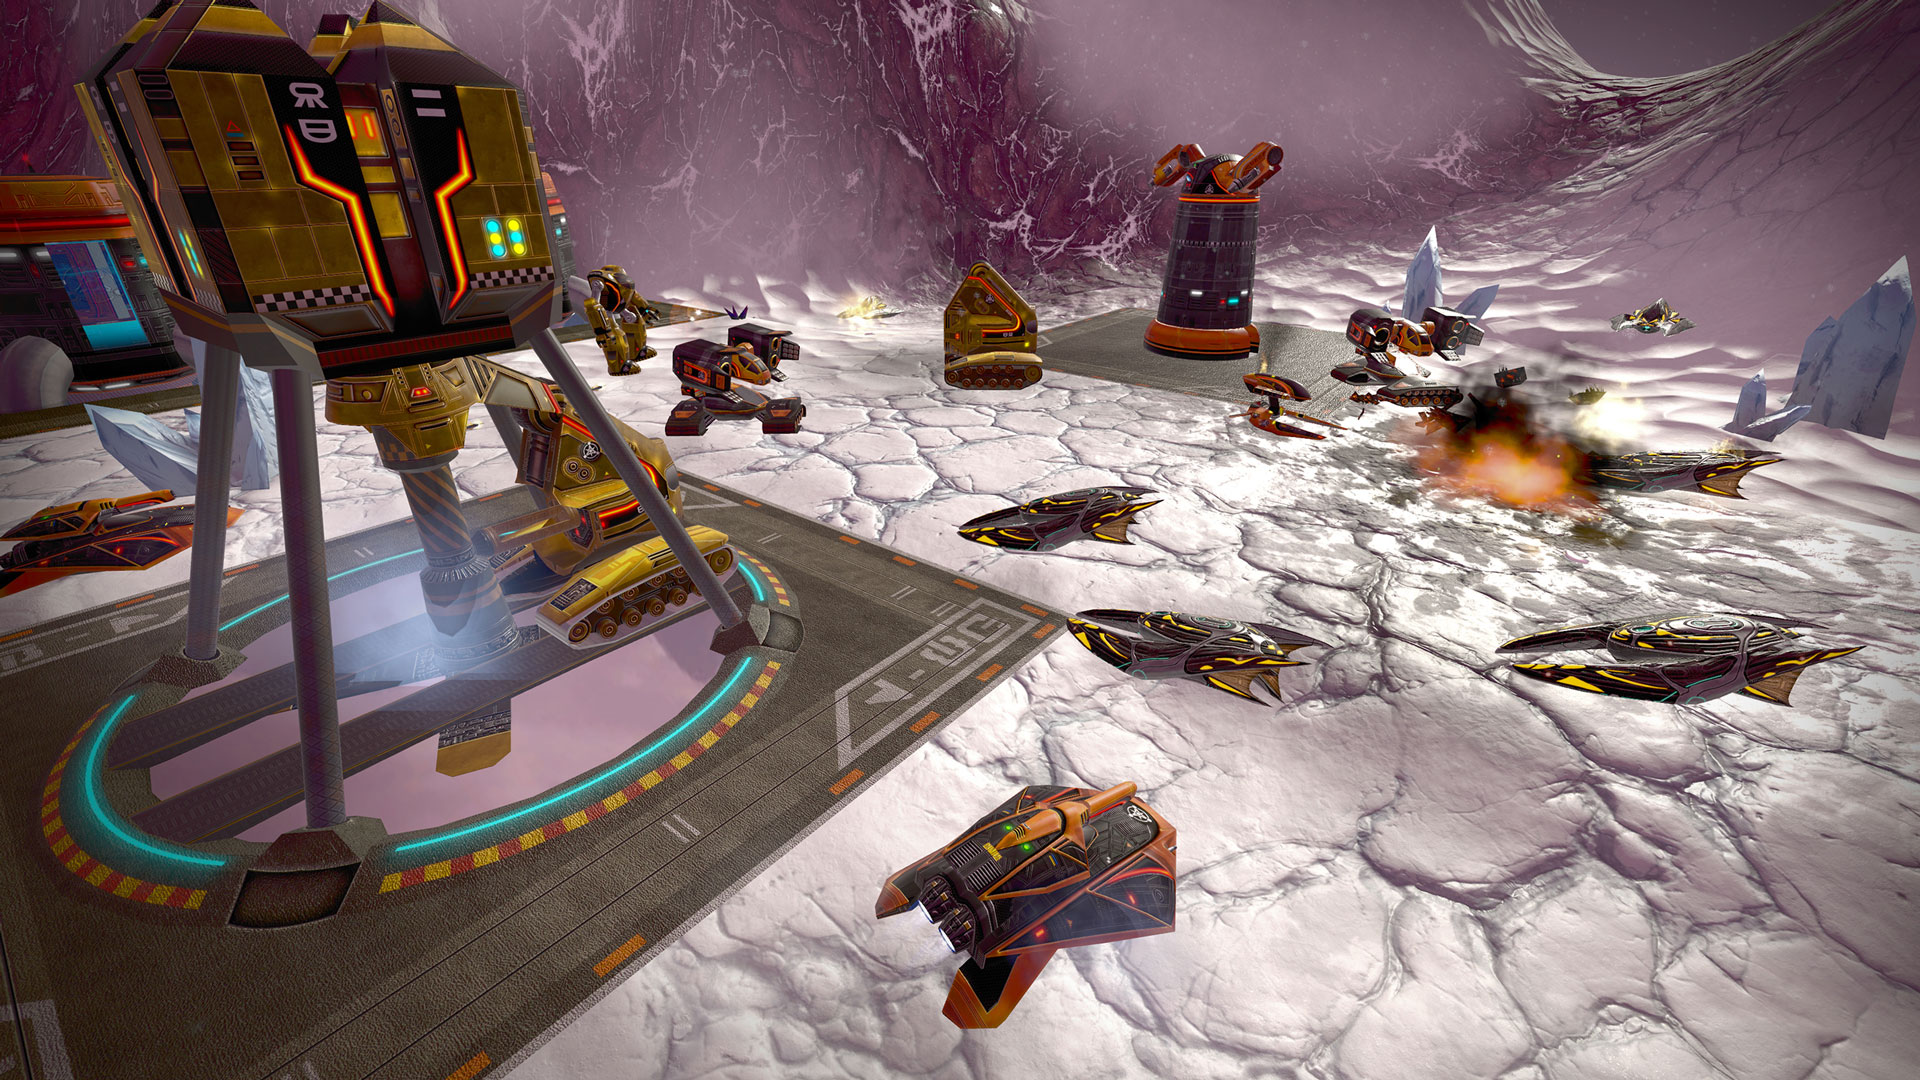
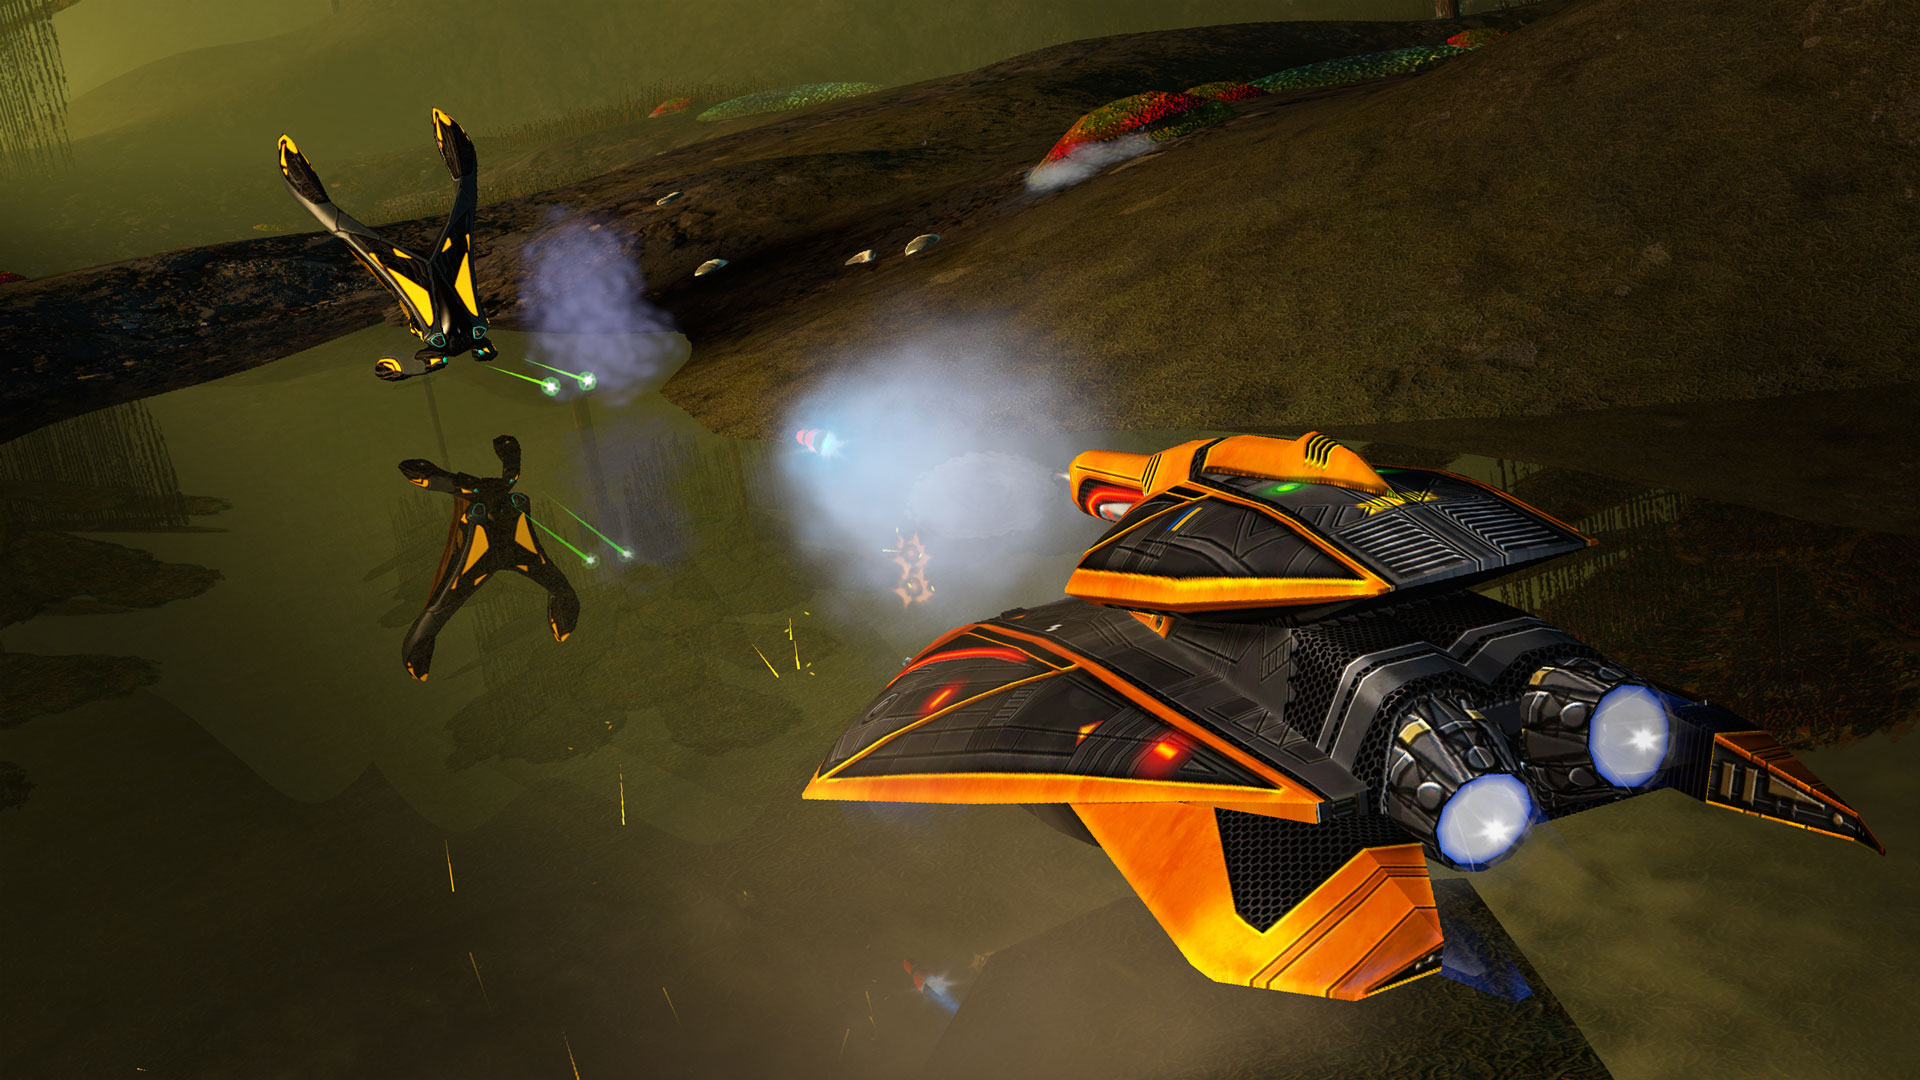
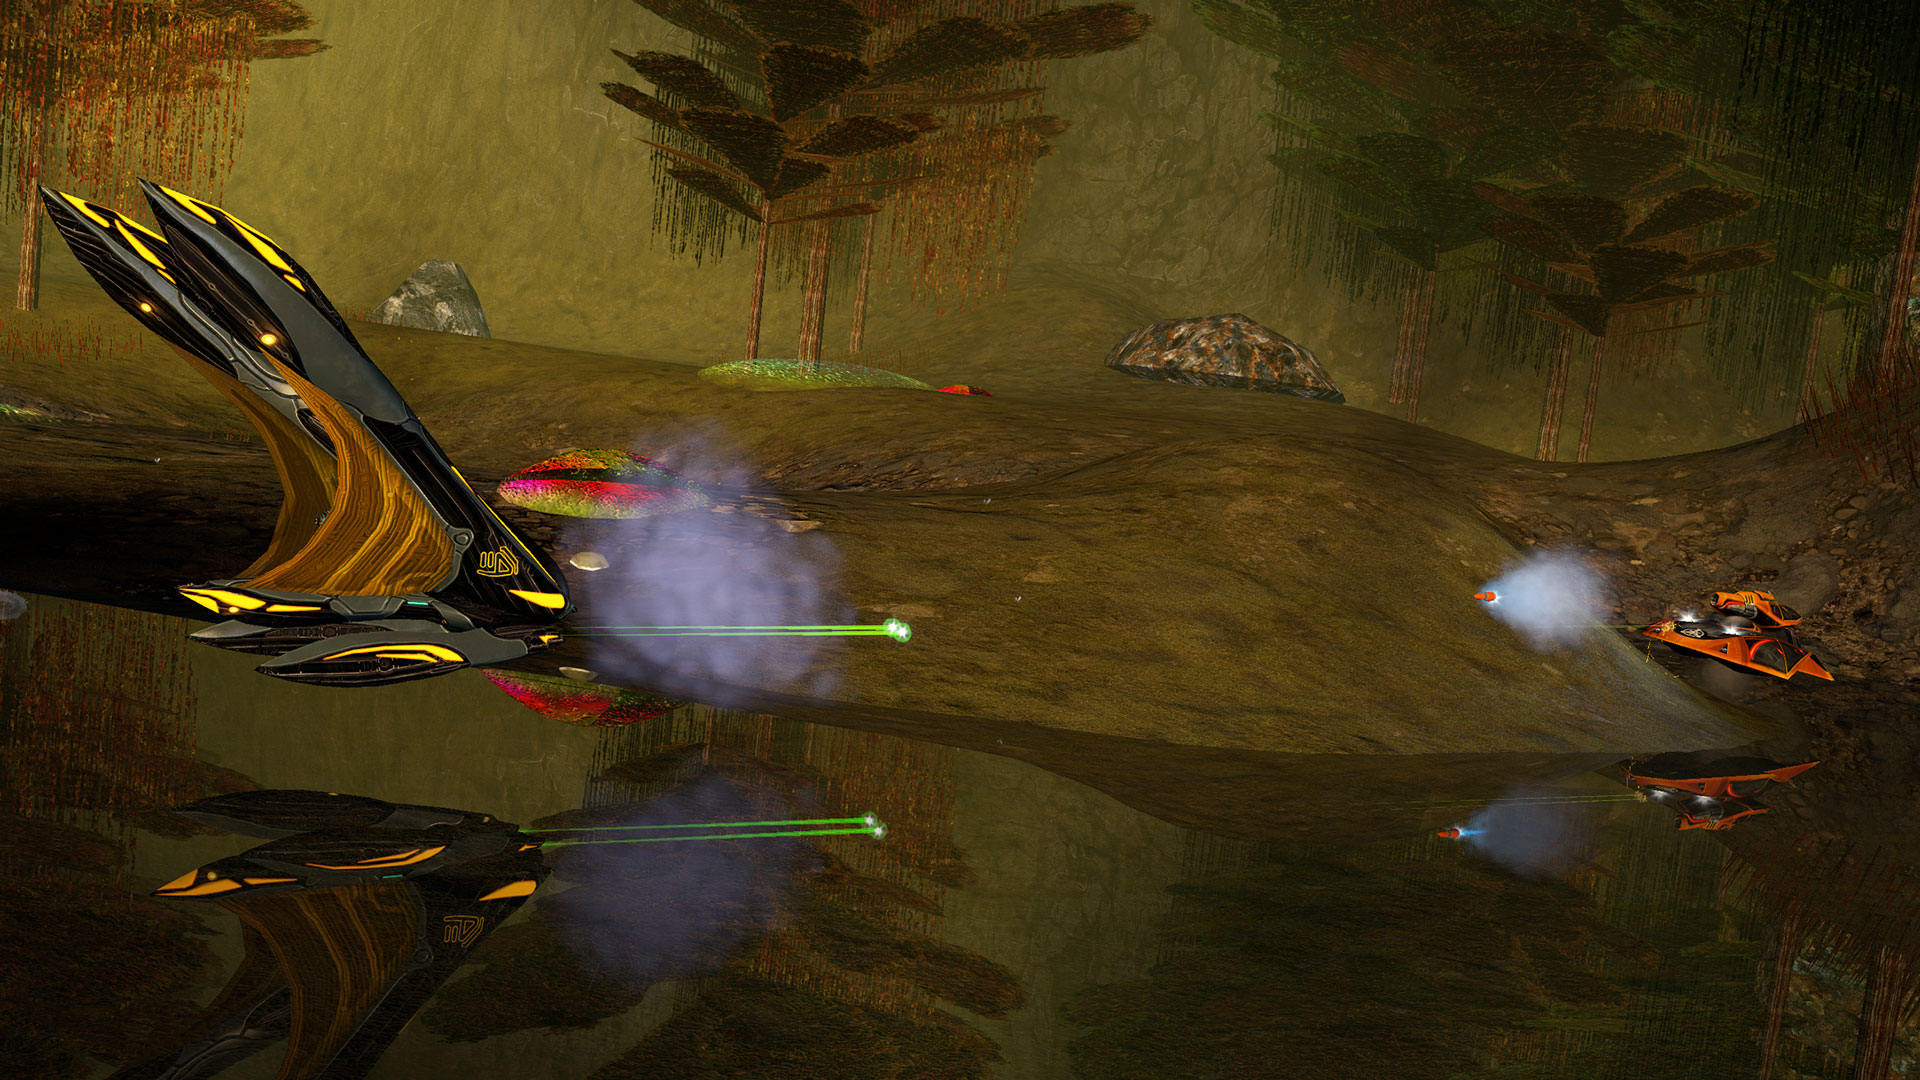
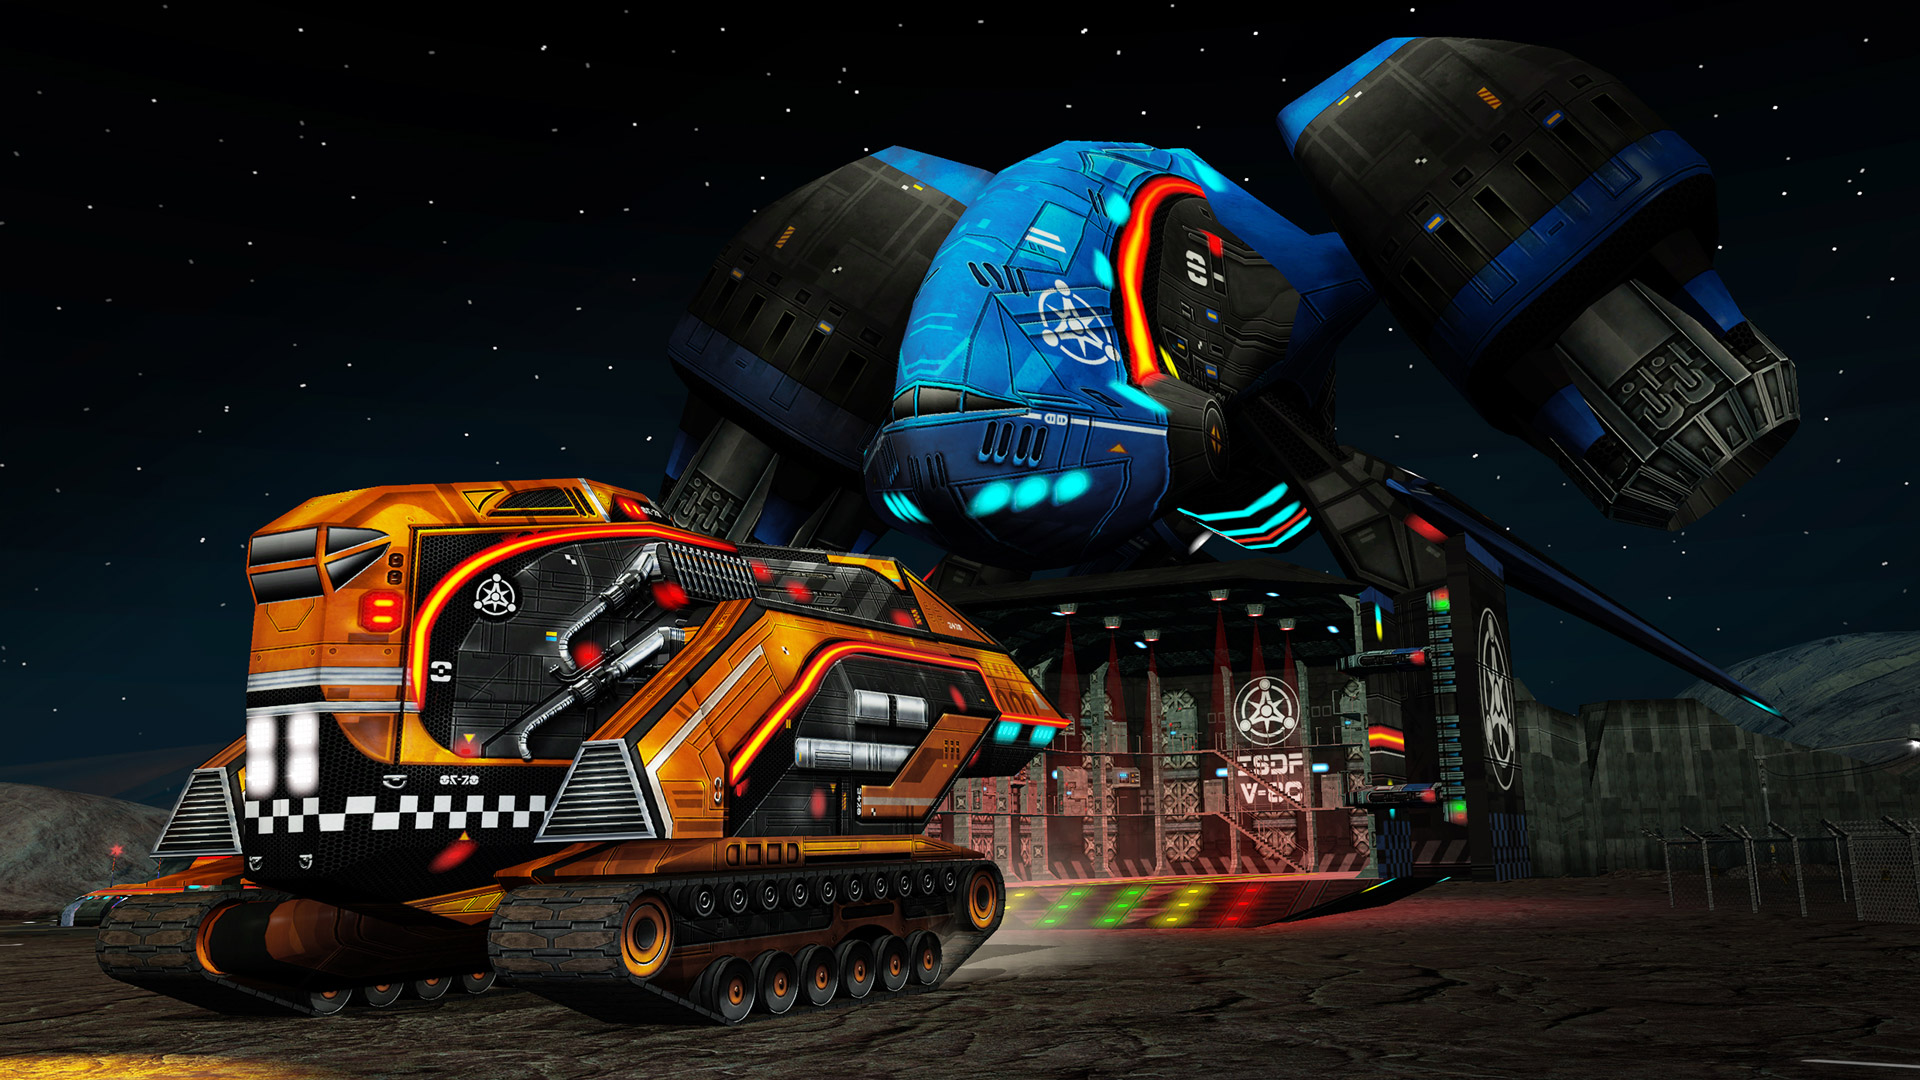
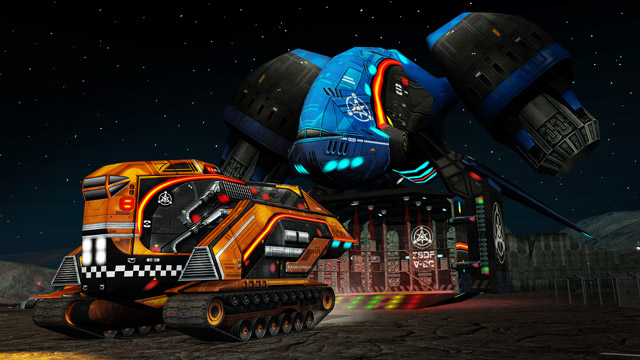
Fight across 24 intense missions, over 6 exotic living worlds, scavenging the battlefield for crucial bio-metal used to create powerful units, towering defenses, and vital facilities.

Units learn and improve as they gain combat experience - new units fight like recruits, while experienced units are a lot more effective in combat, using strafing manoeuvres, choosing weapons to suit the situation, or even retreating when necessary.
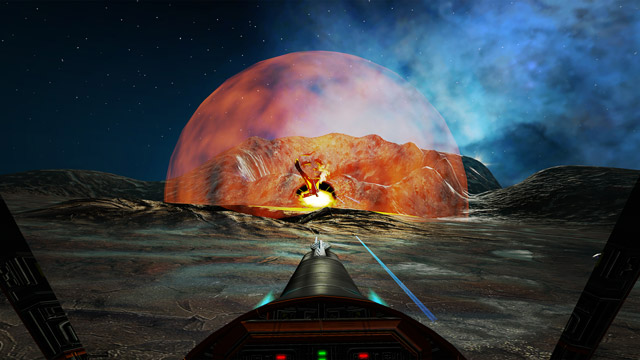
Experience Battlezone: Combat Commander like never before, with an all new DX11 renderer, shader based rendering, and a completely retextured and upscaled terrain.

Invite your friends for a cross-play multiplayer experience, including the classic Deathmatch mode, and a co-operative mode ‘MPI’ where players must work together to win by managing their offence, defence, and scrap collection.
Enjoy unique community generated content with support for mods, such as new singleplayer and multiplayer map mods, new vehicles, HUDs, assets, custom scripts and much more.

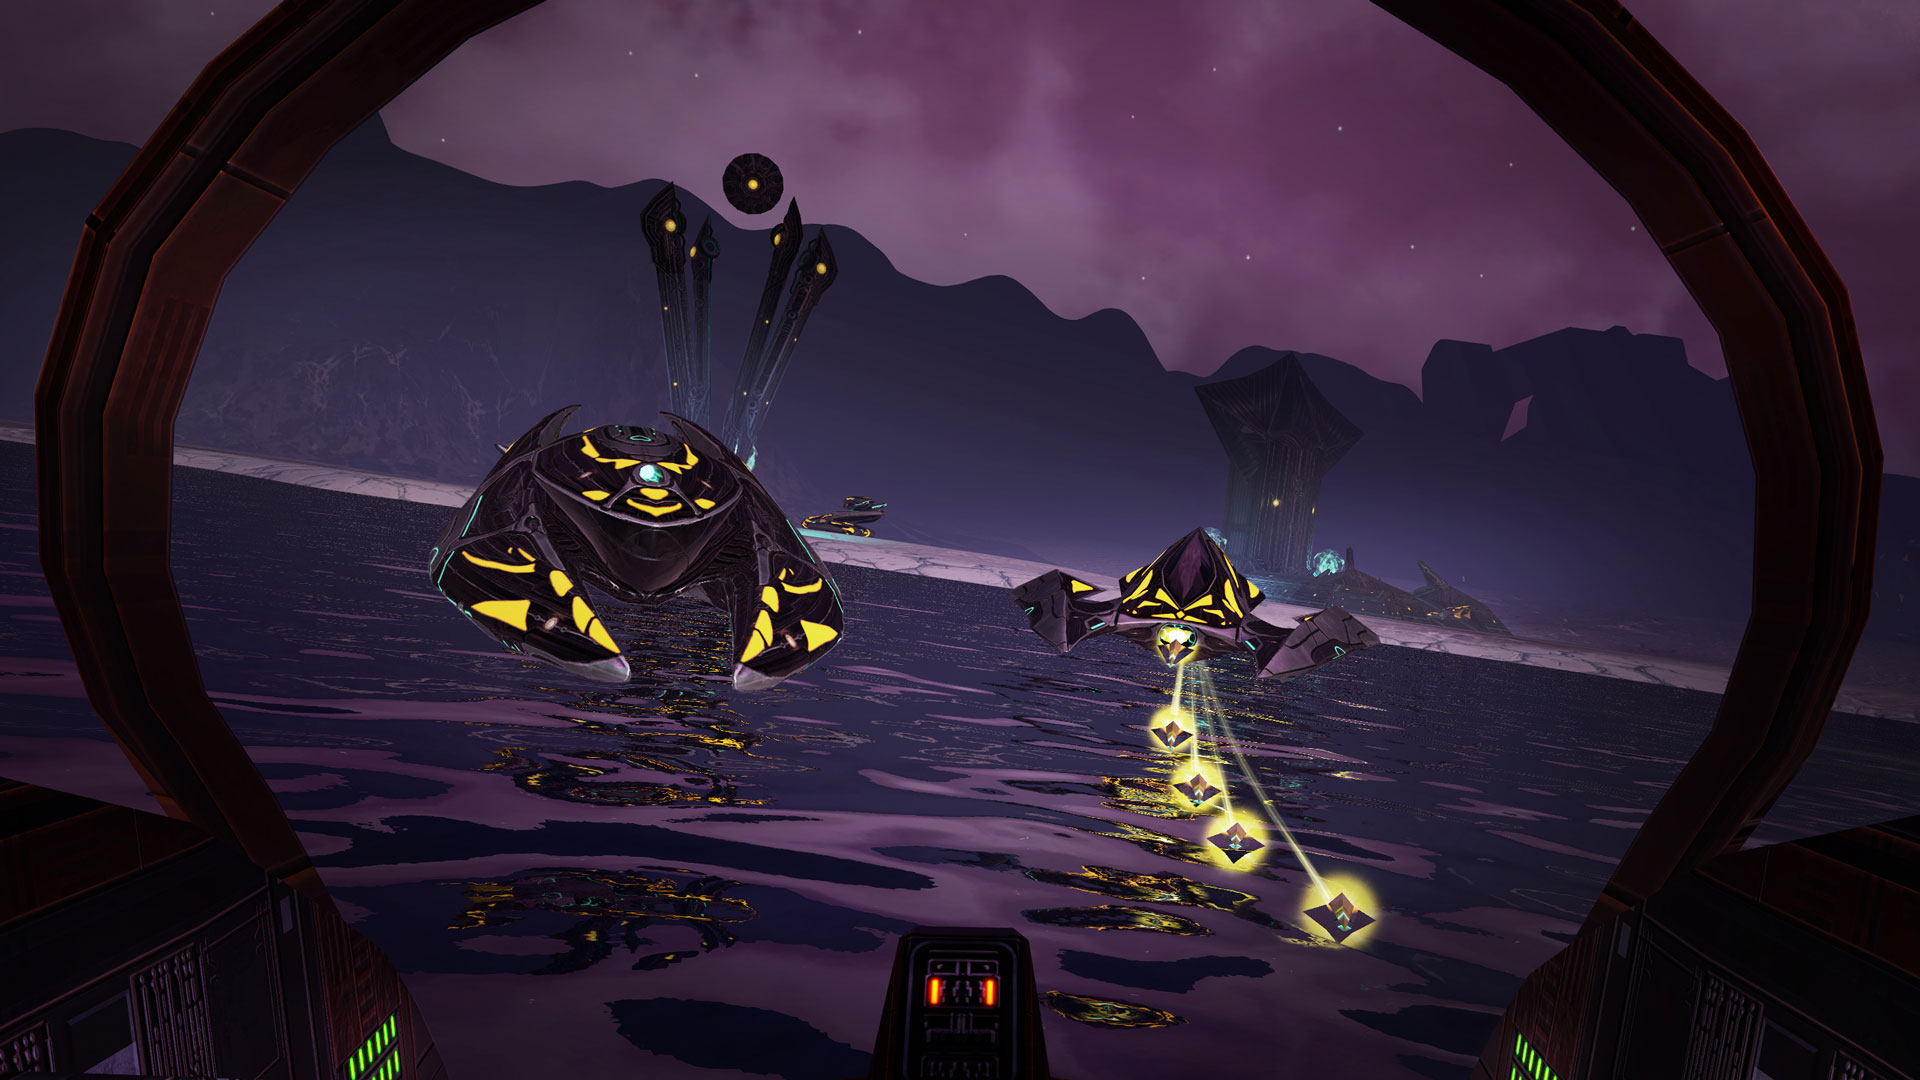
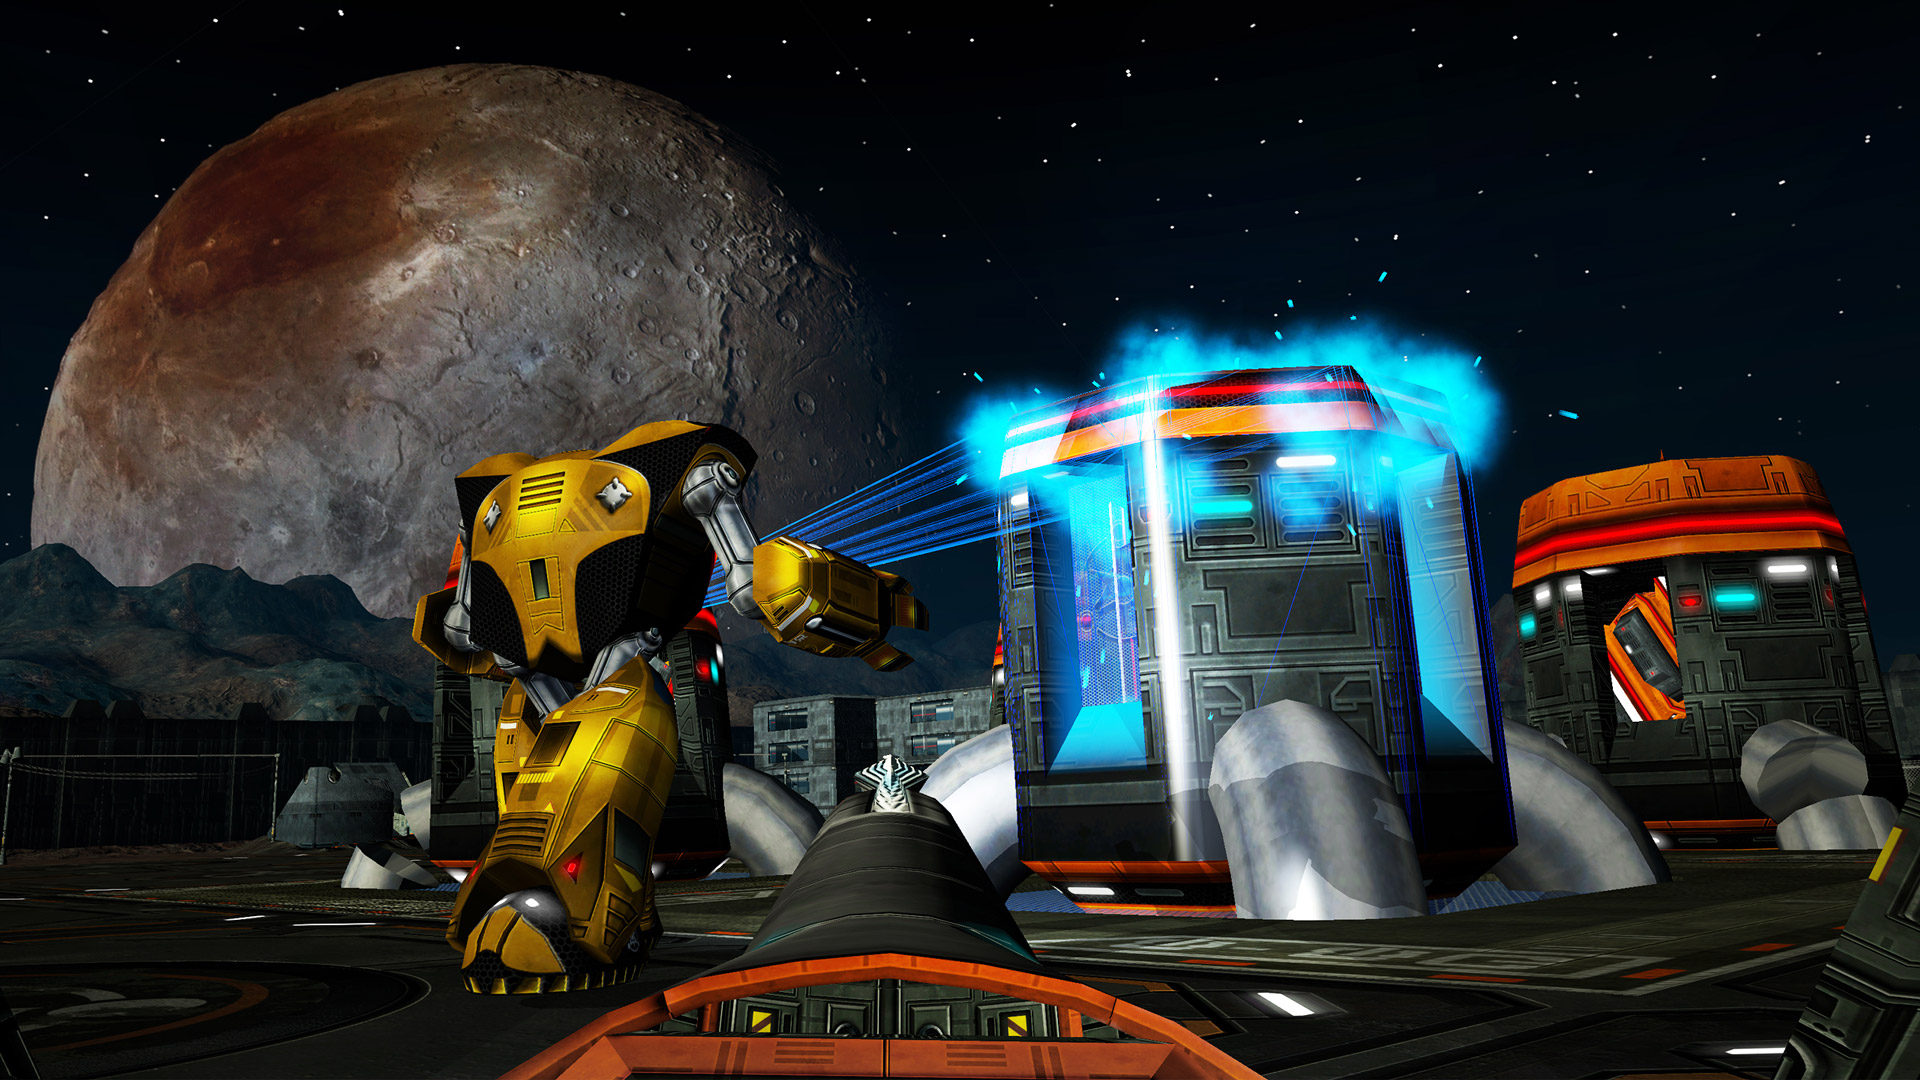
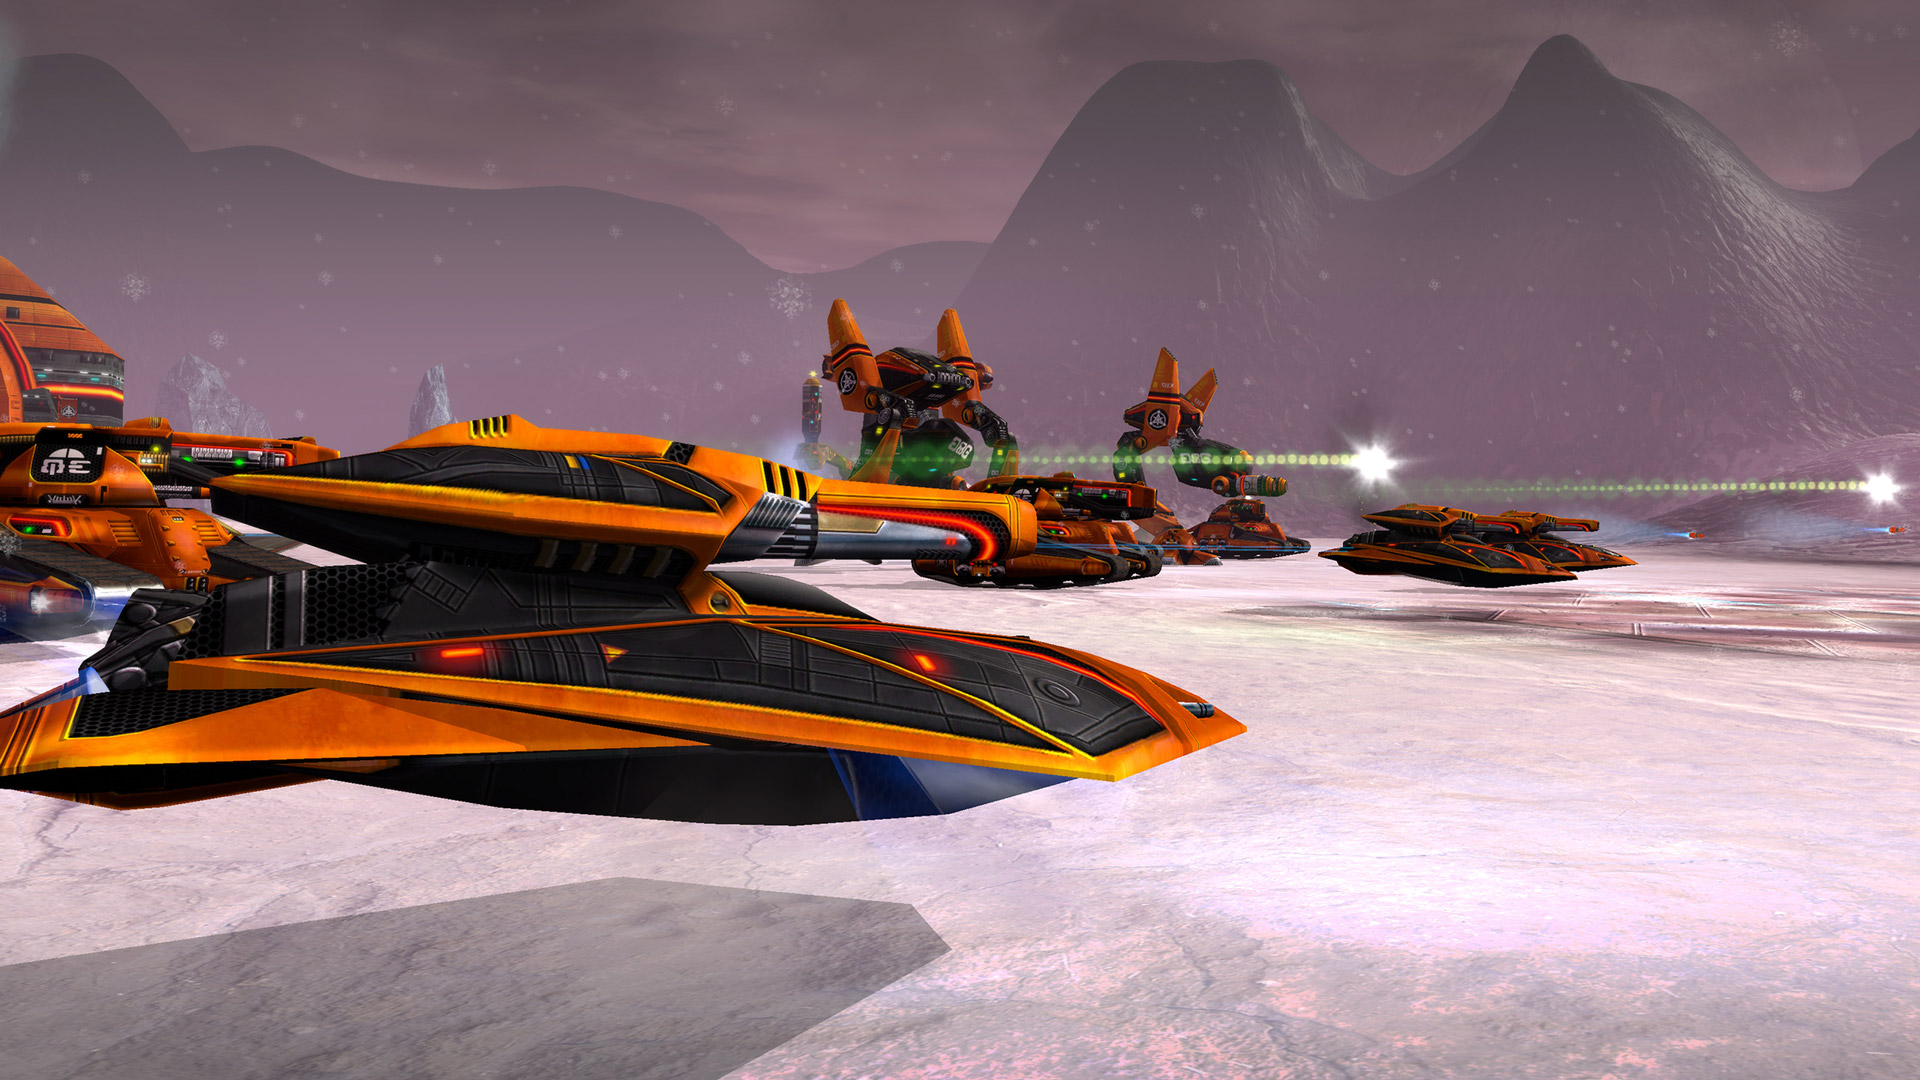
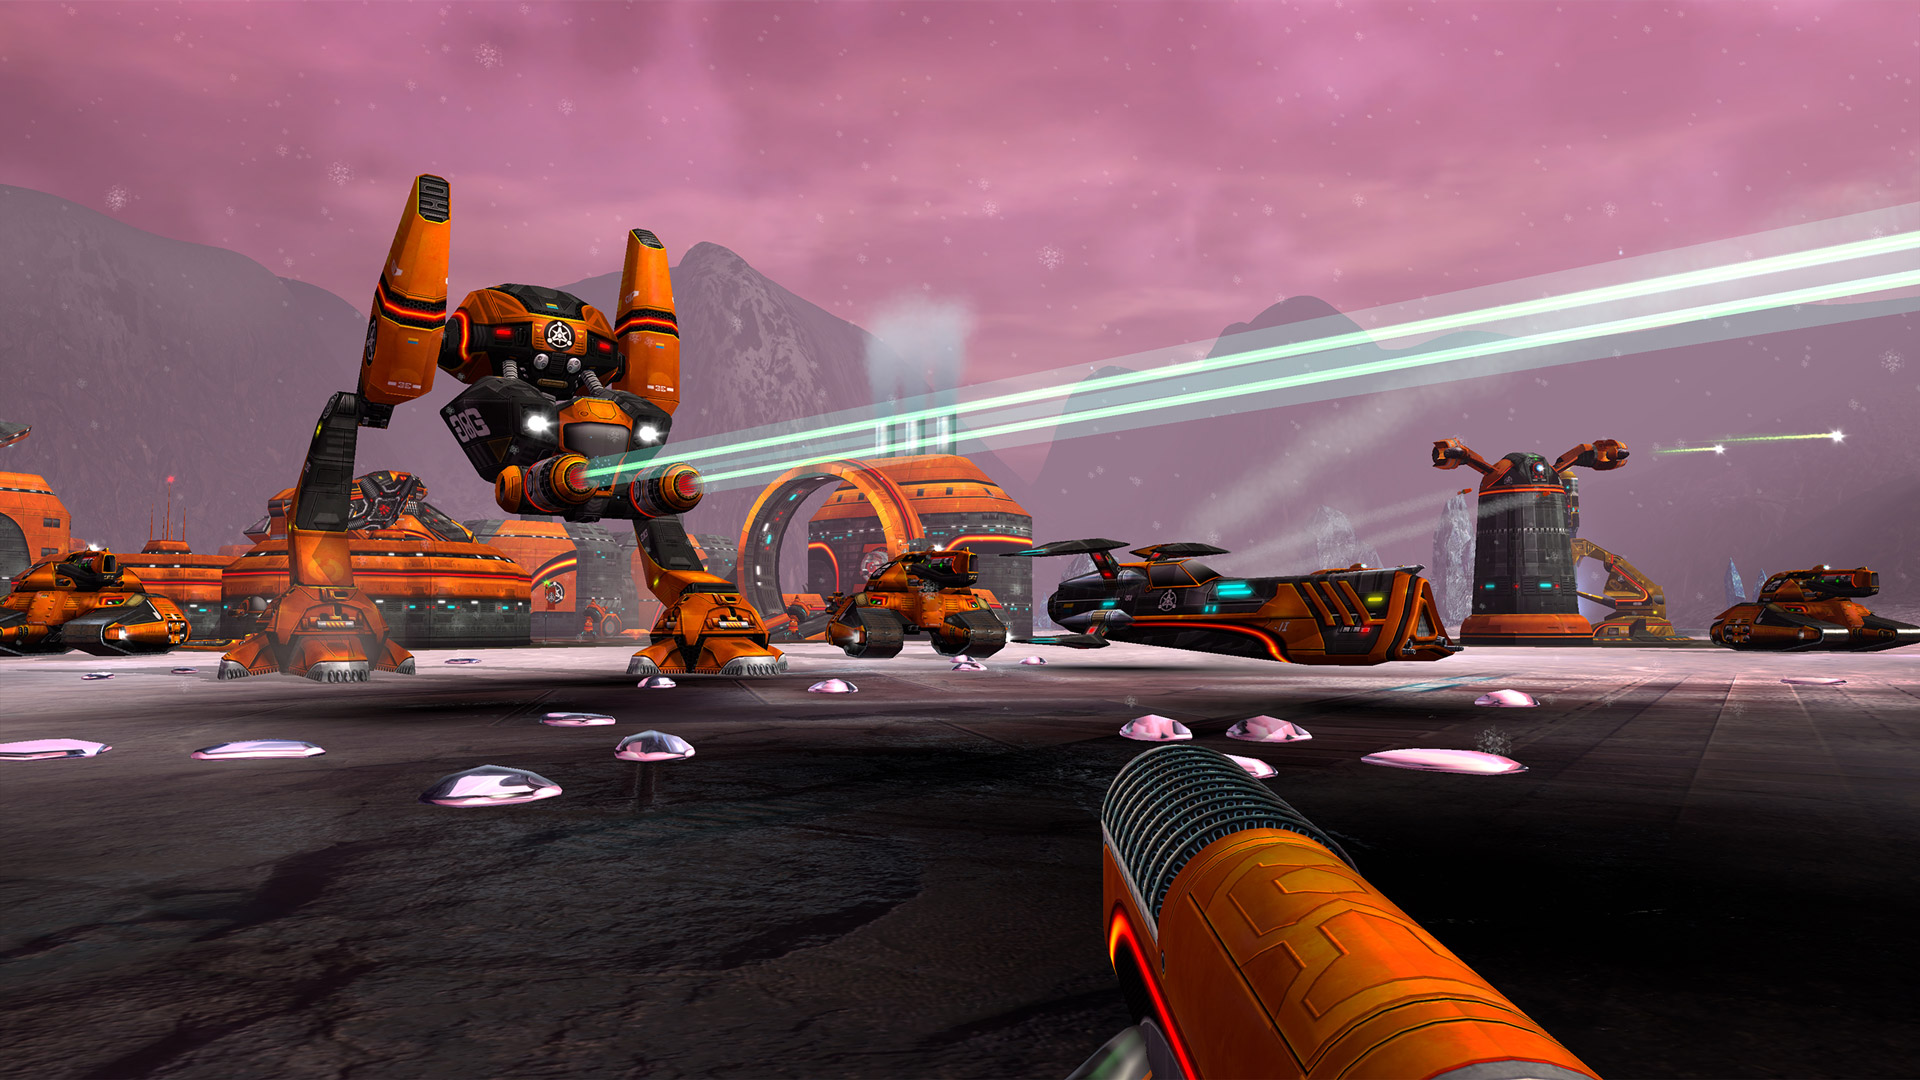
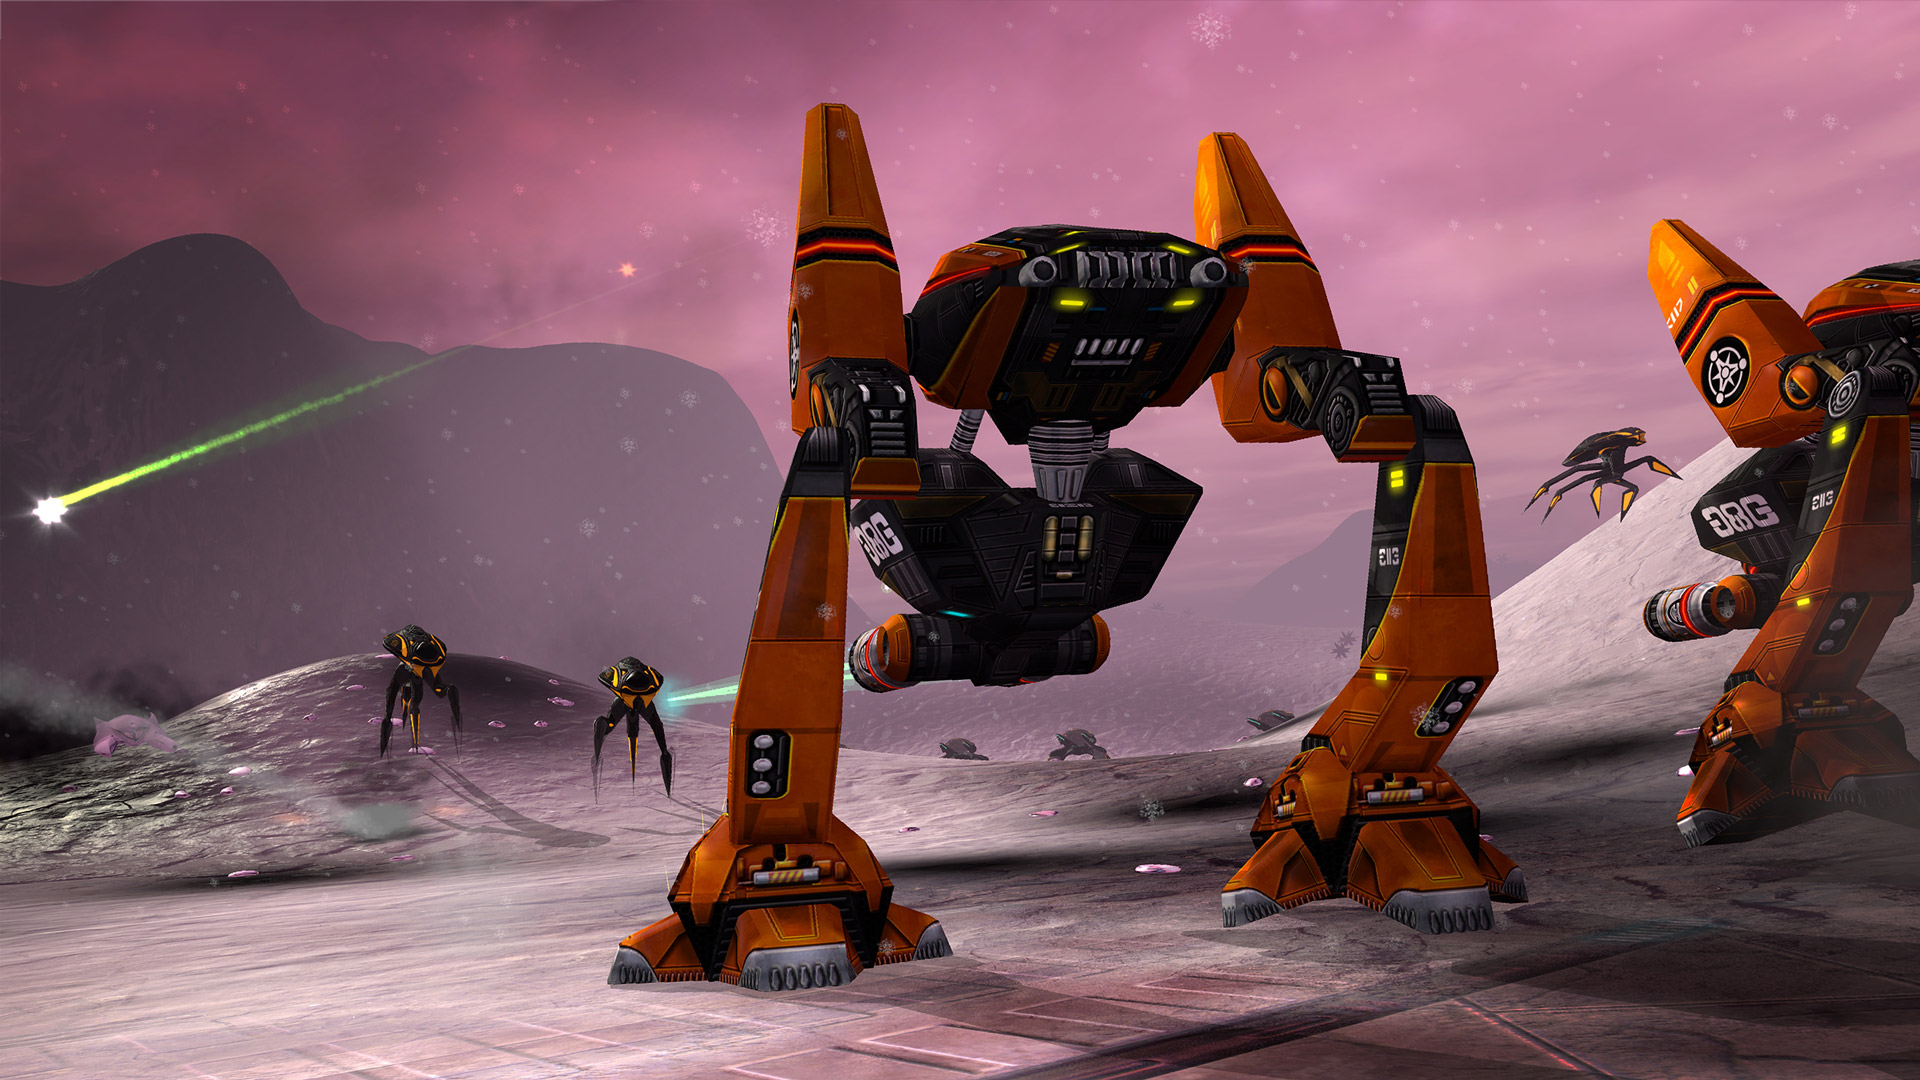
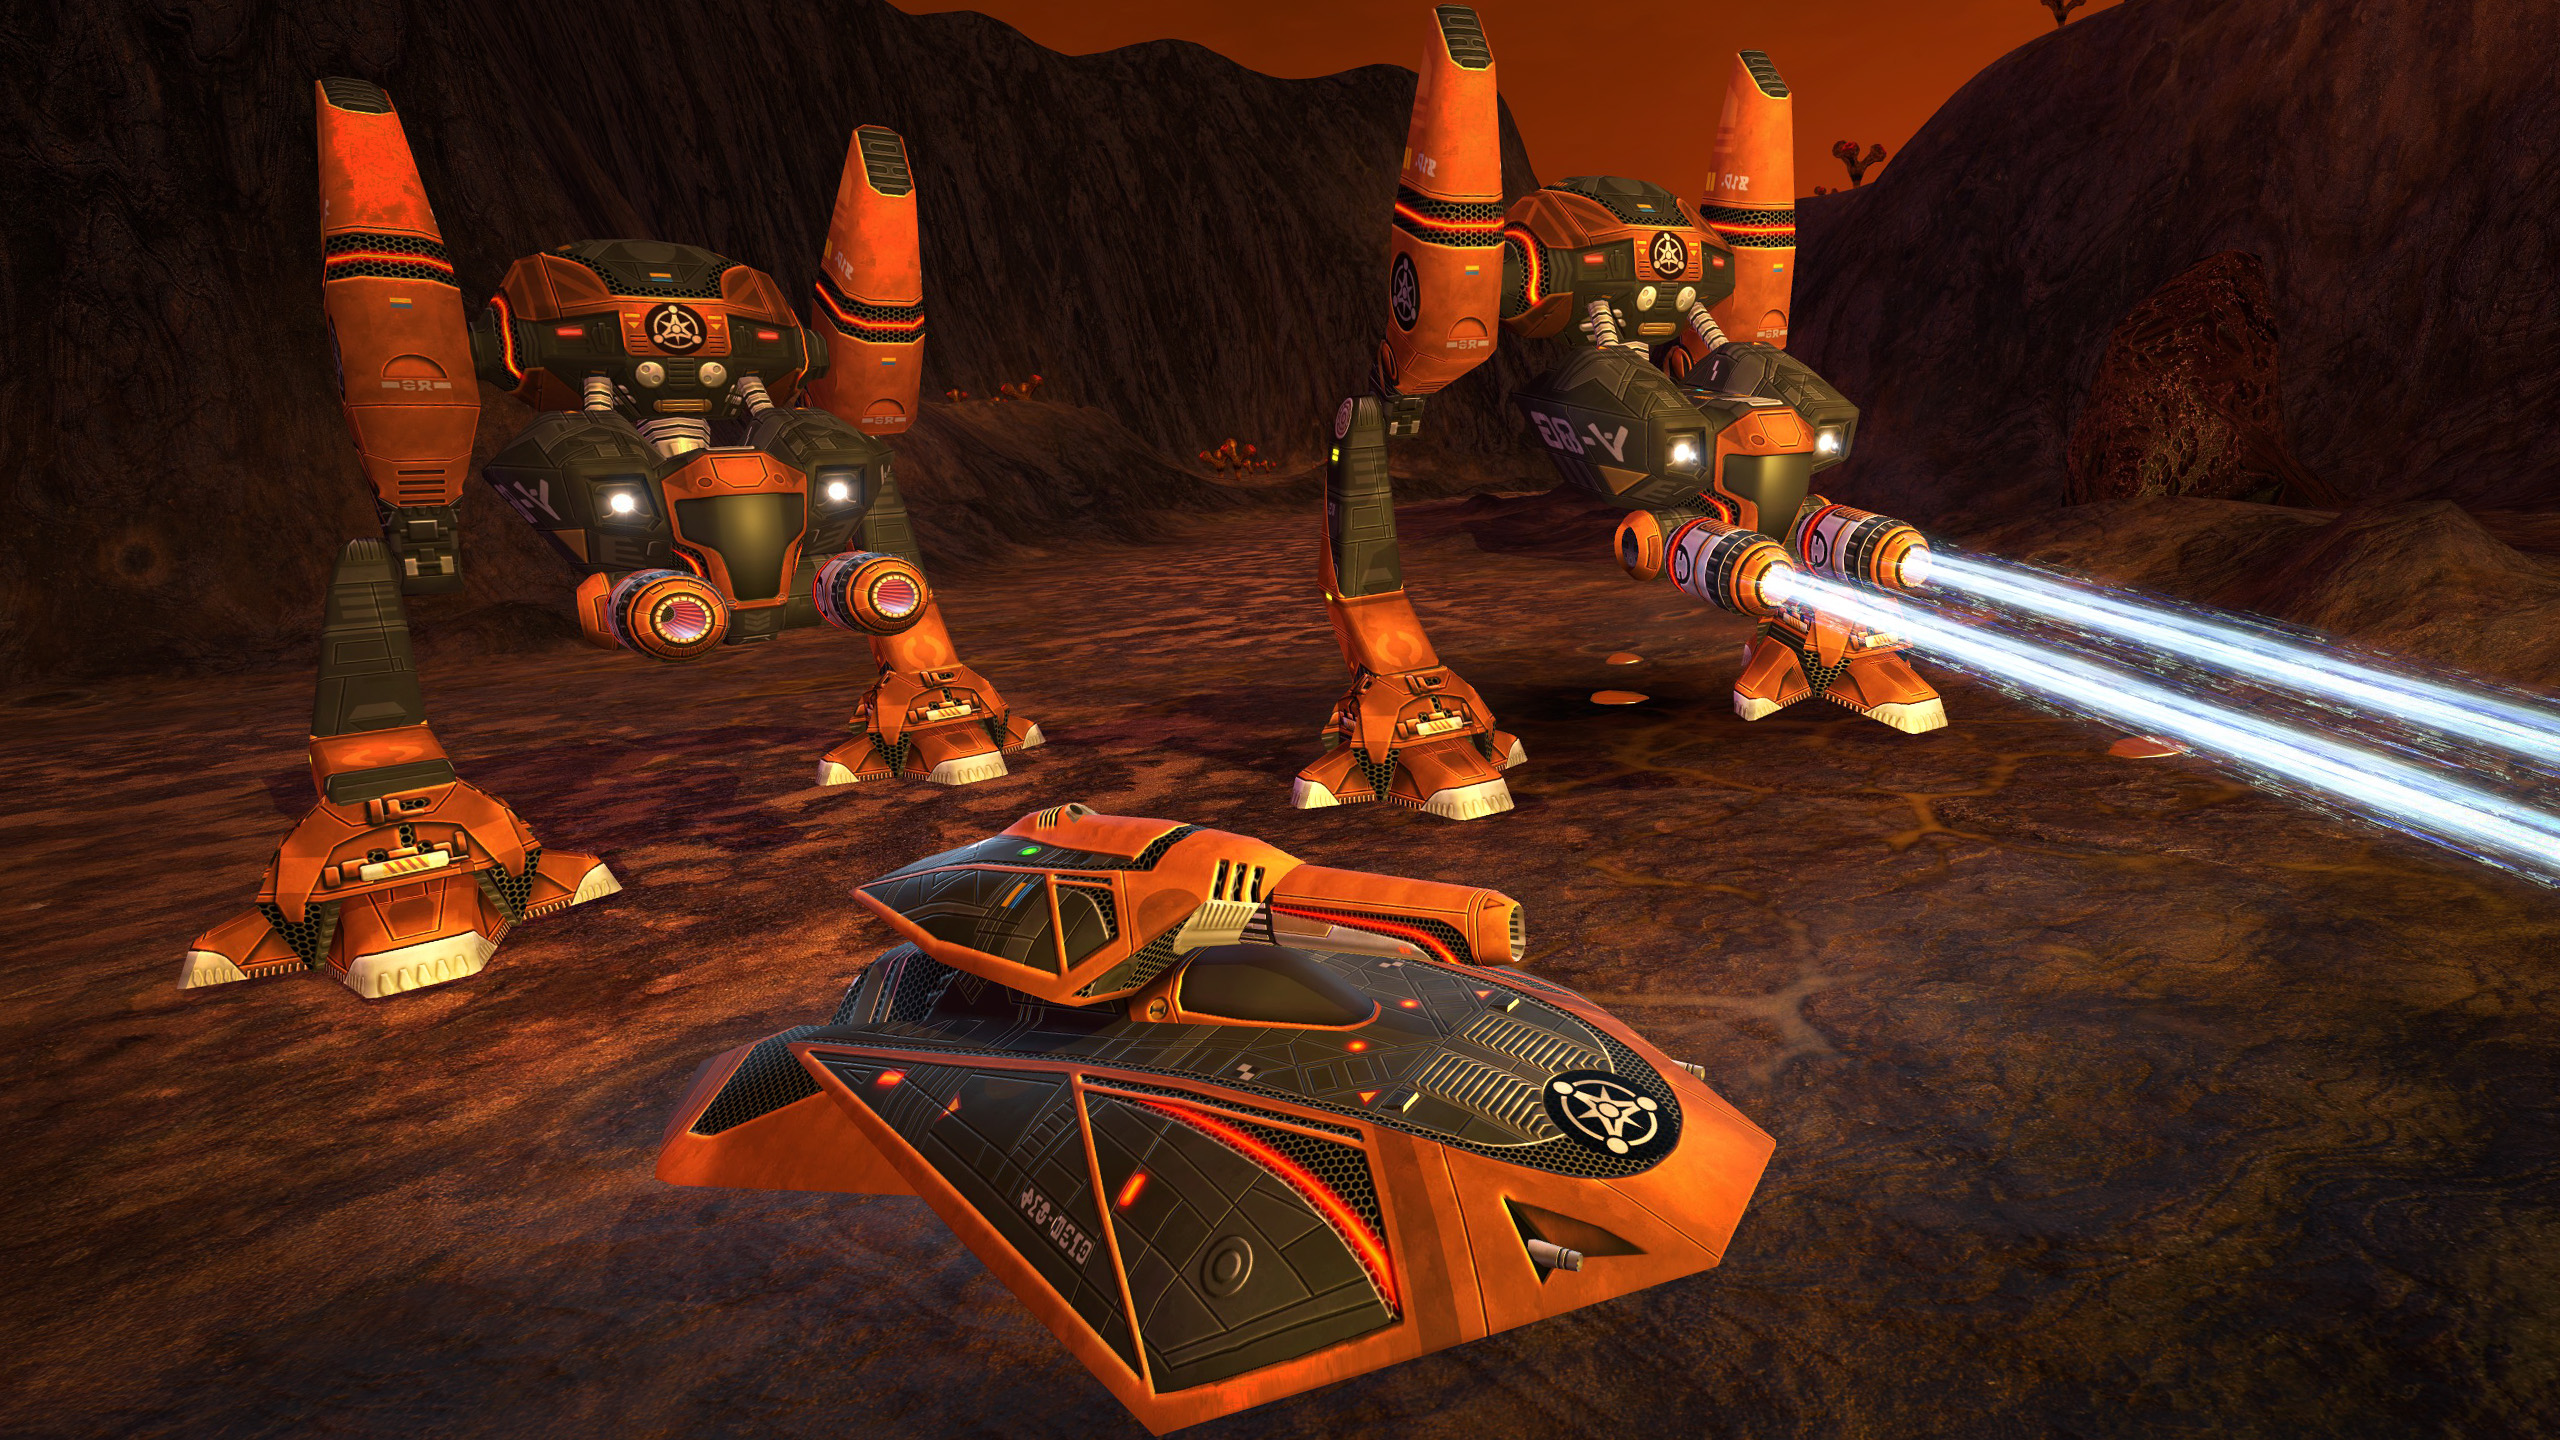
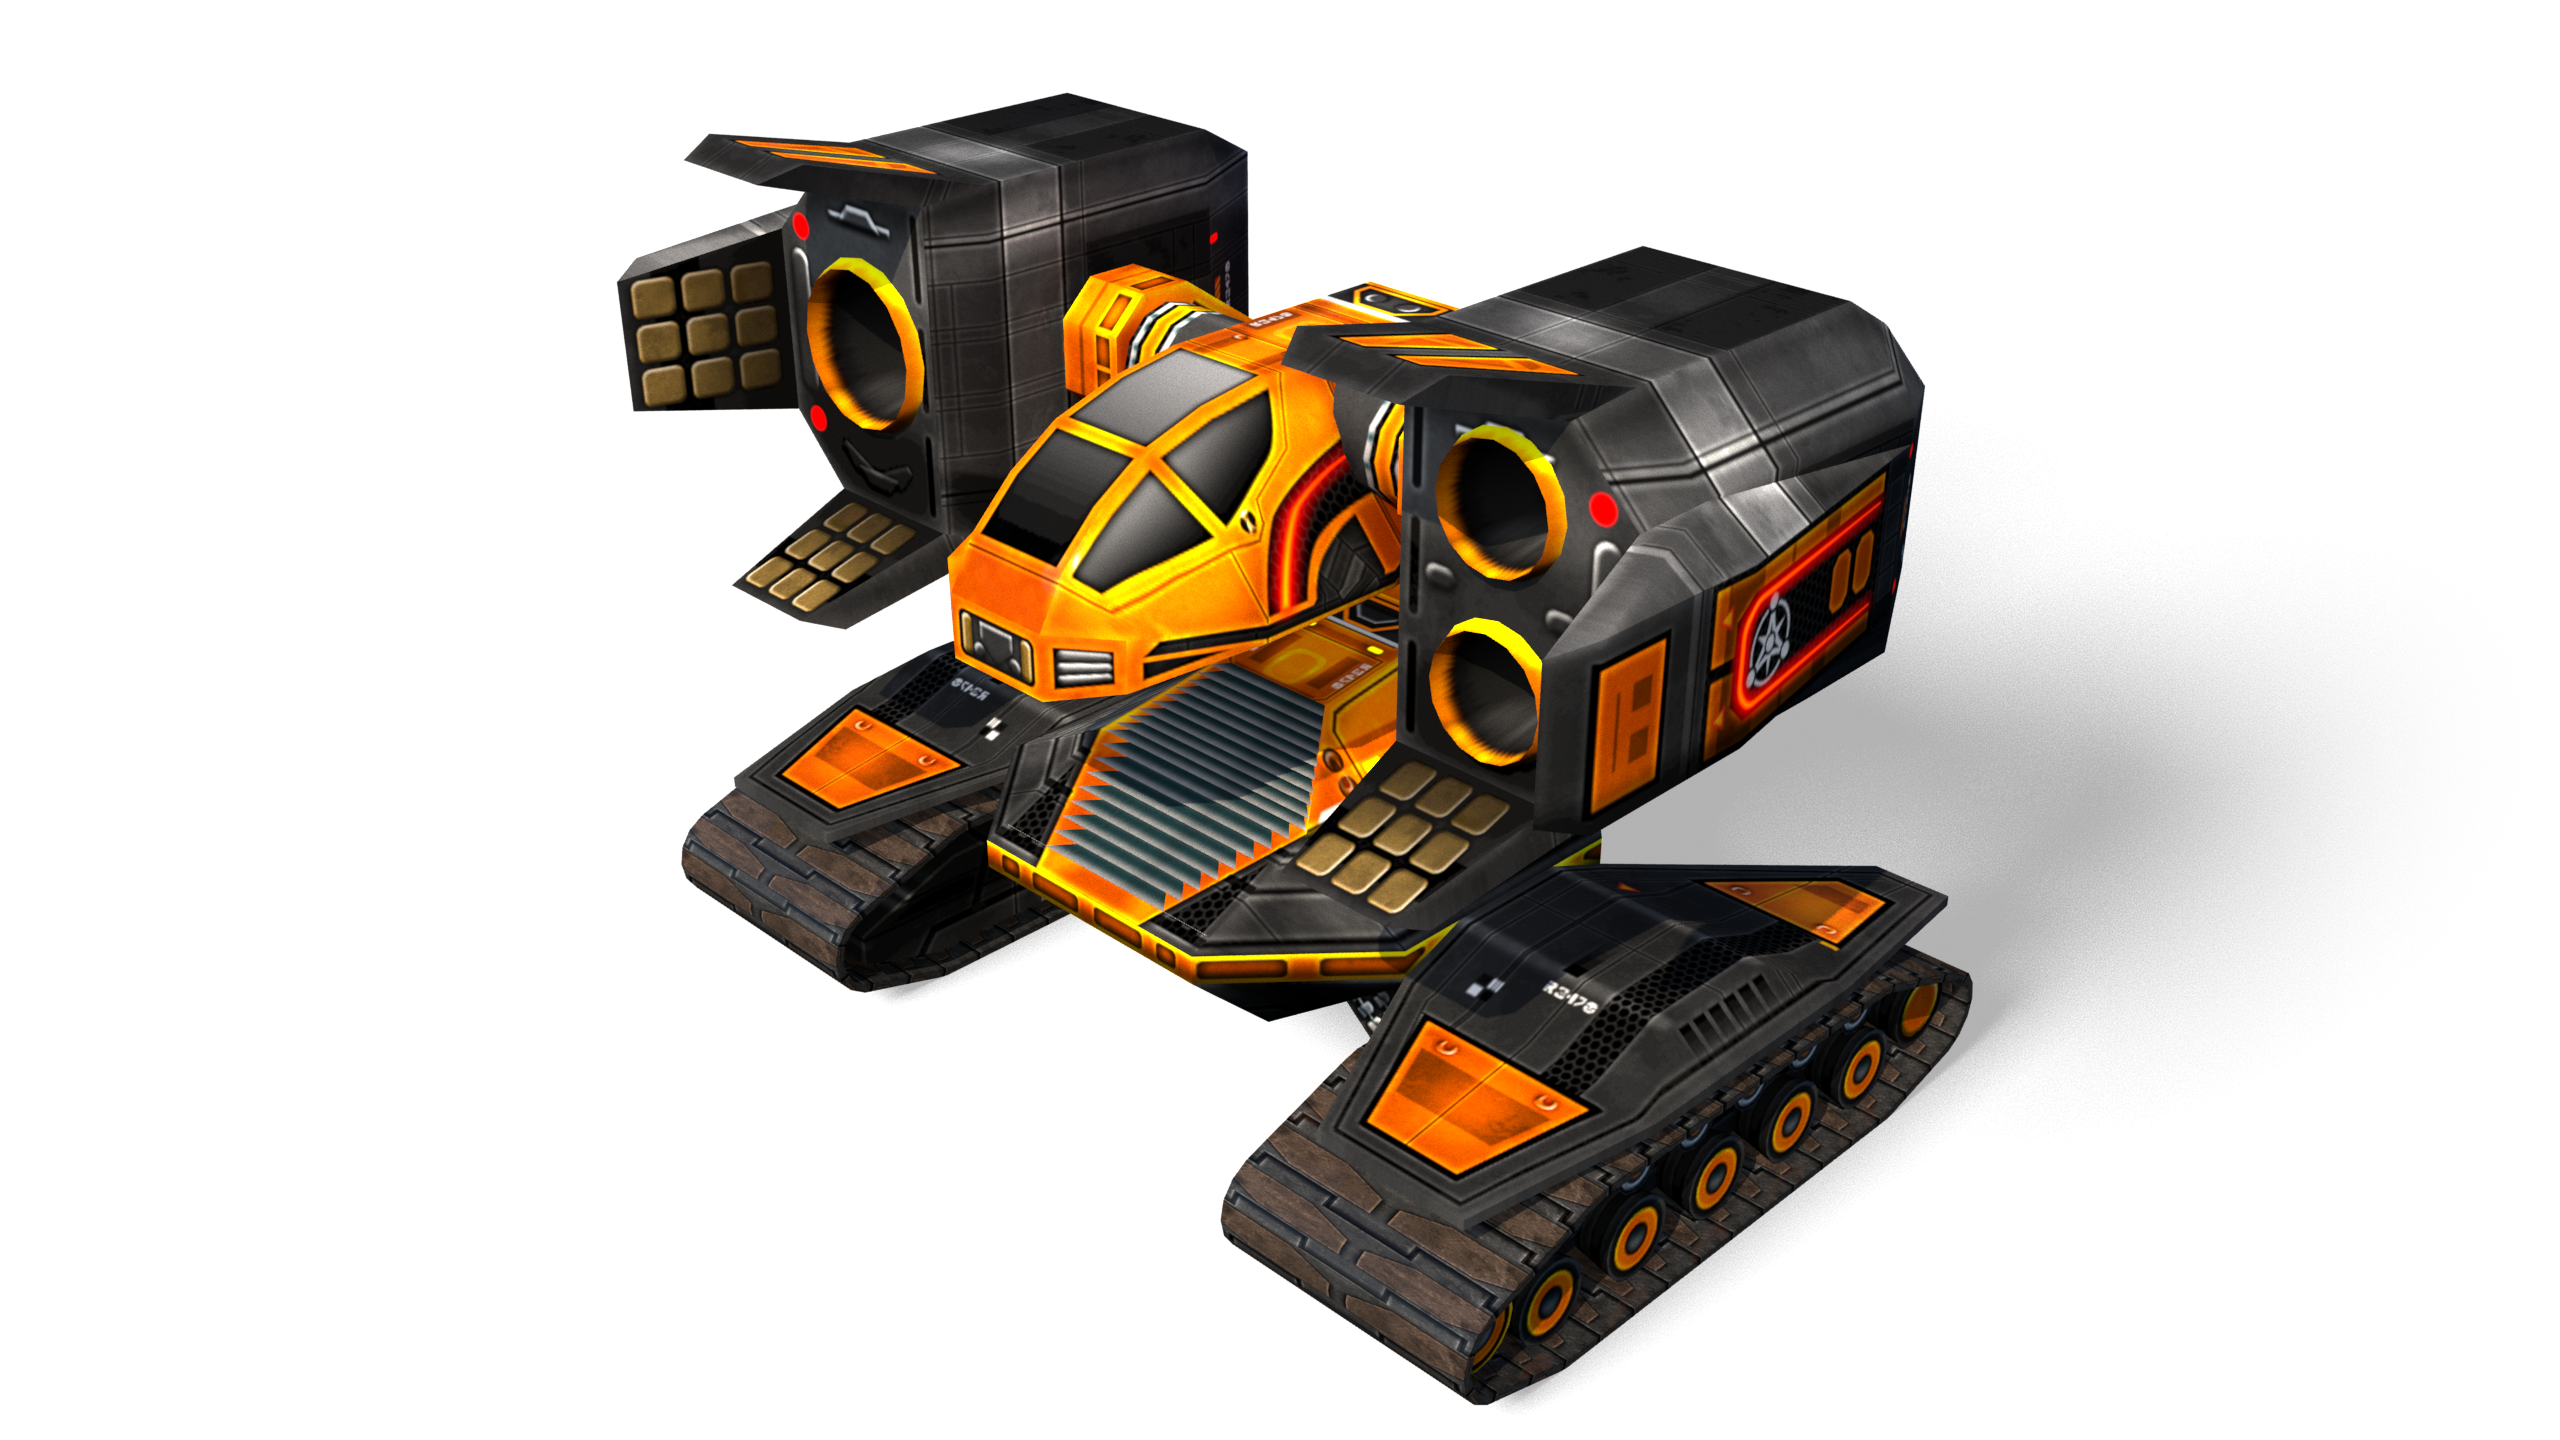
Control of over 30 unique unit types, from lethal tanks and tough ground units, to towering walkers and relentless air-support, and face off against the enemy in intense first-person combat.
1st March 2018

One of the key game aspects of Battlezone: Combat Commander is
understanding how crucial it is to understand the function and cost of
your units, but also the structures that make up your strongholds.
Careful planning of the units you will use and their particualr
structural requirements is essential. The decisions made throughout the
game will directly affect progress and can occur at any given moment so
the following information provided should give insight into how to use
vehicles, buildings and weaponry.
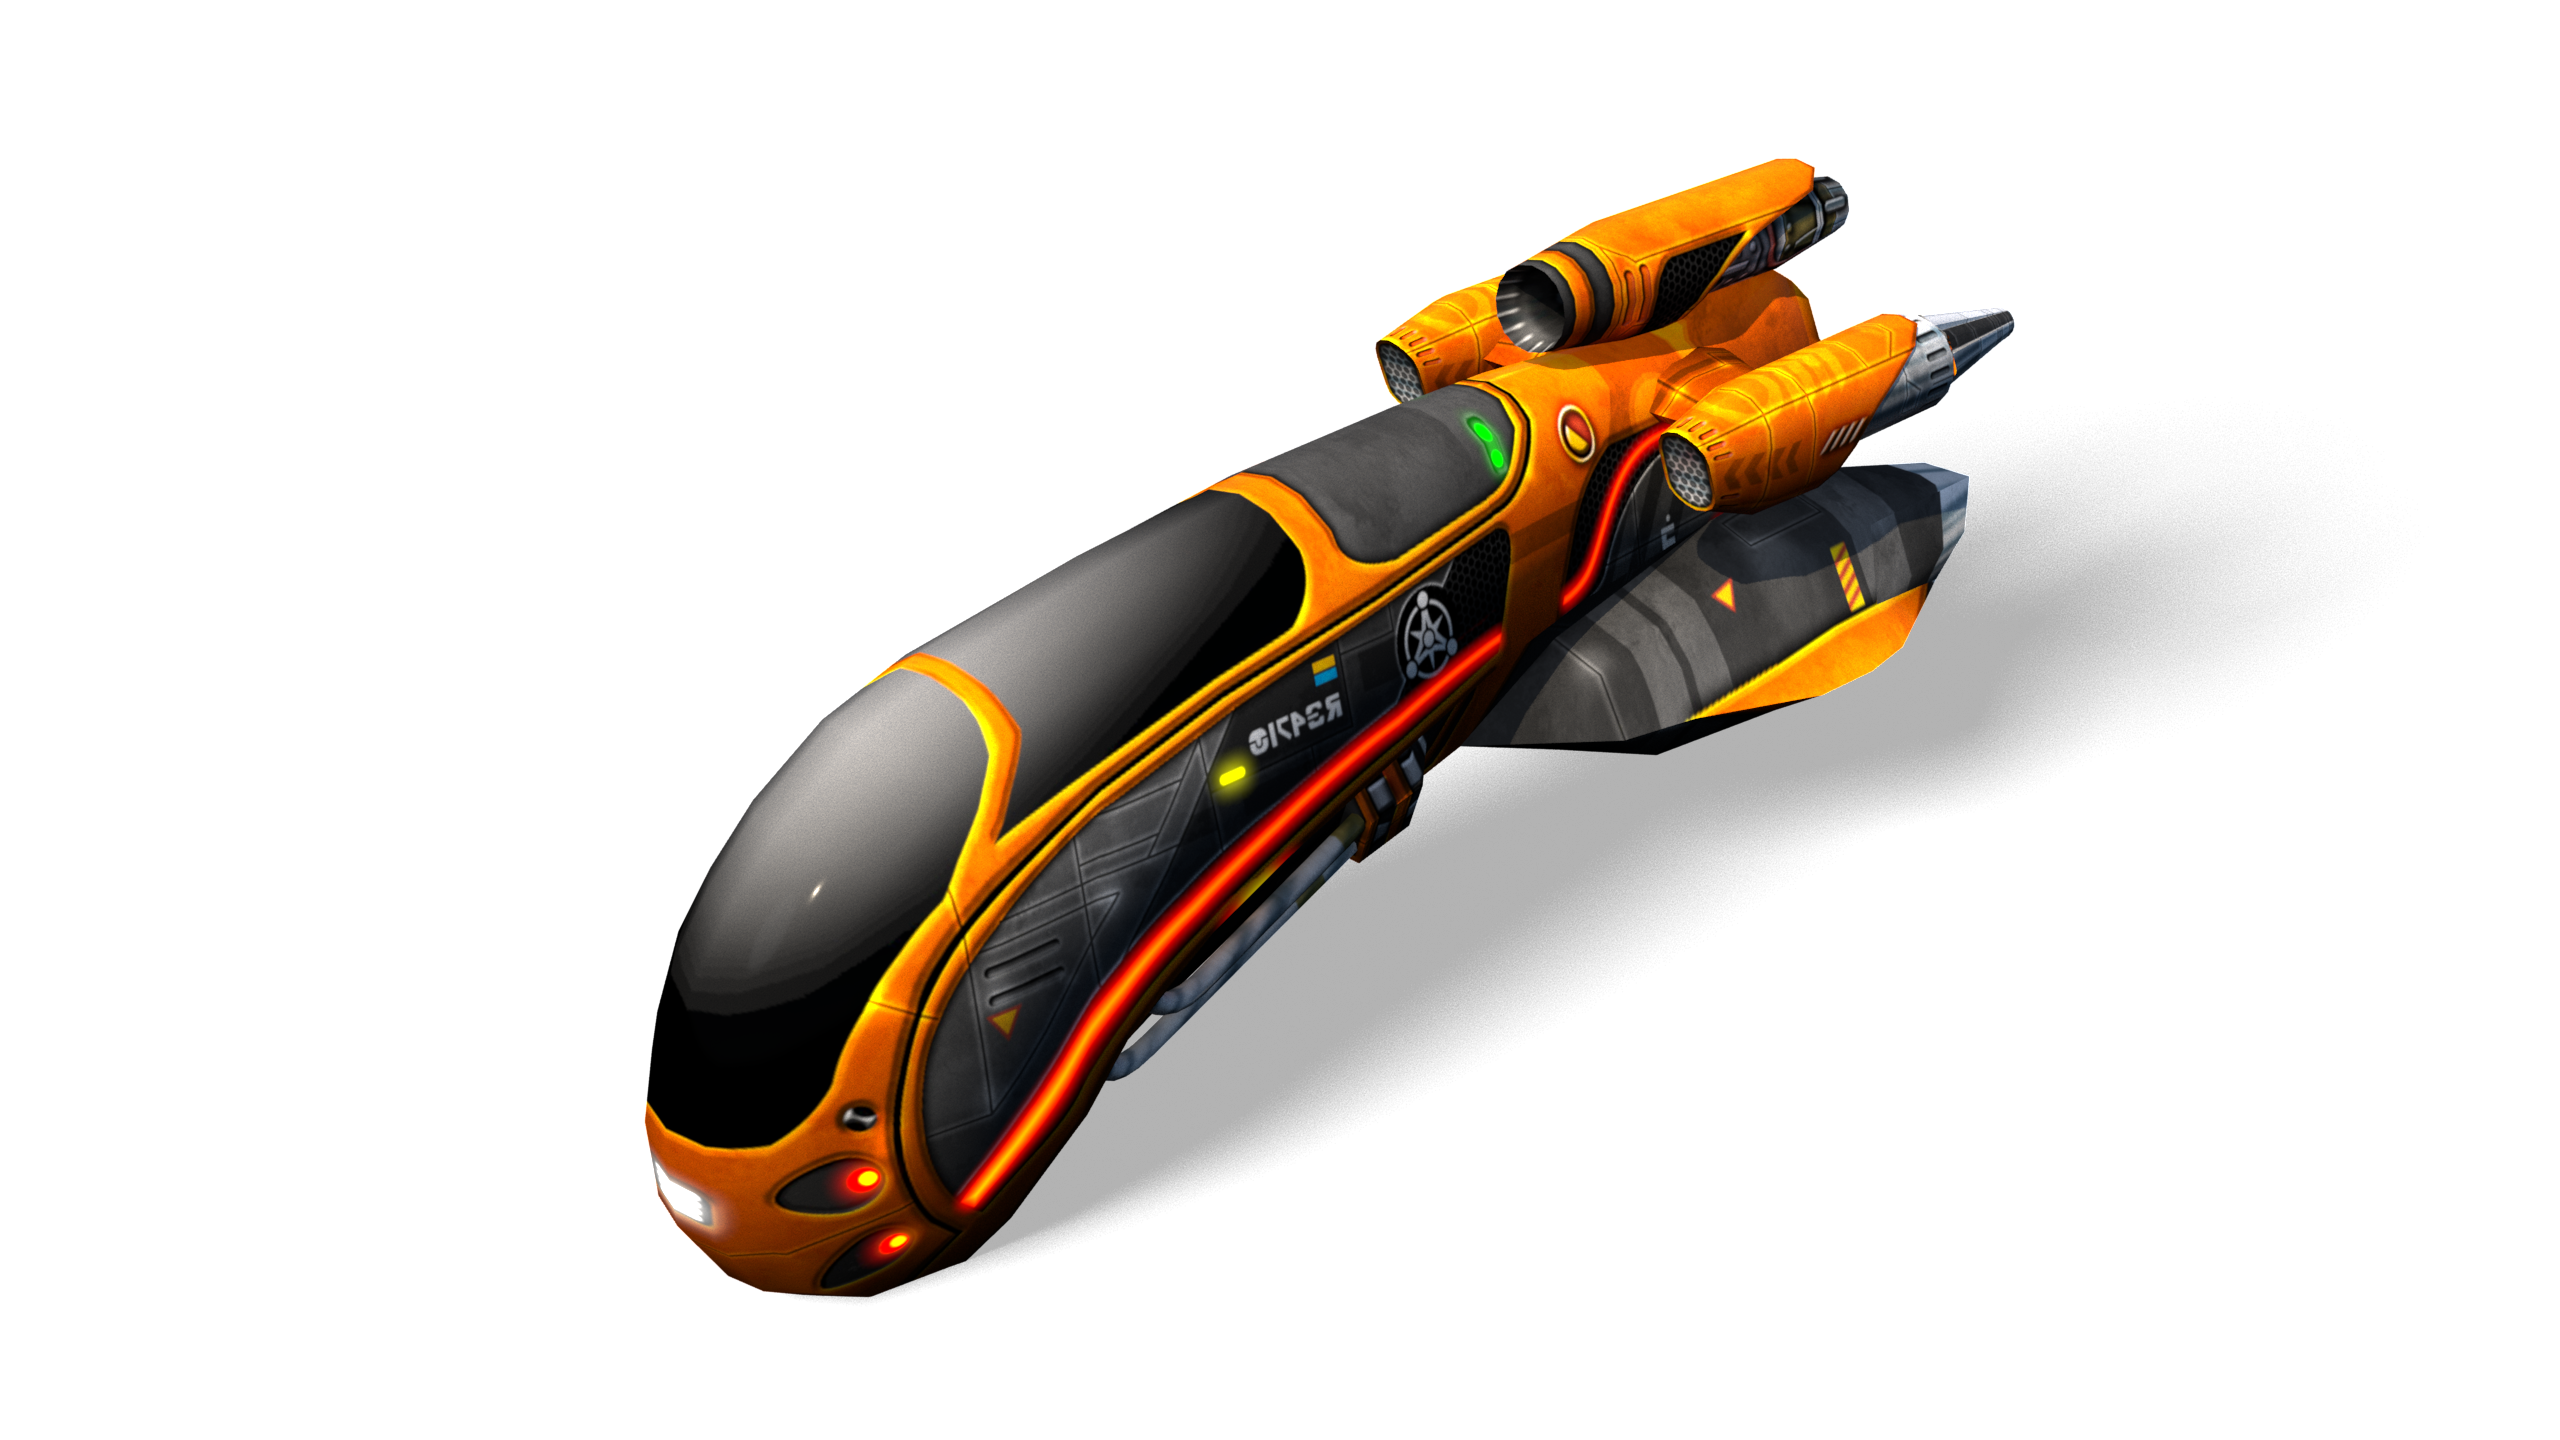
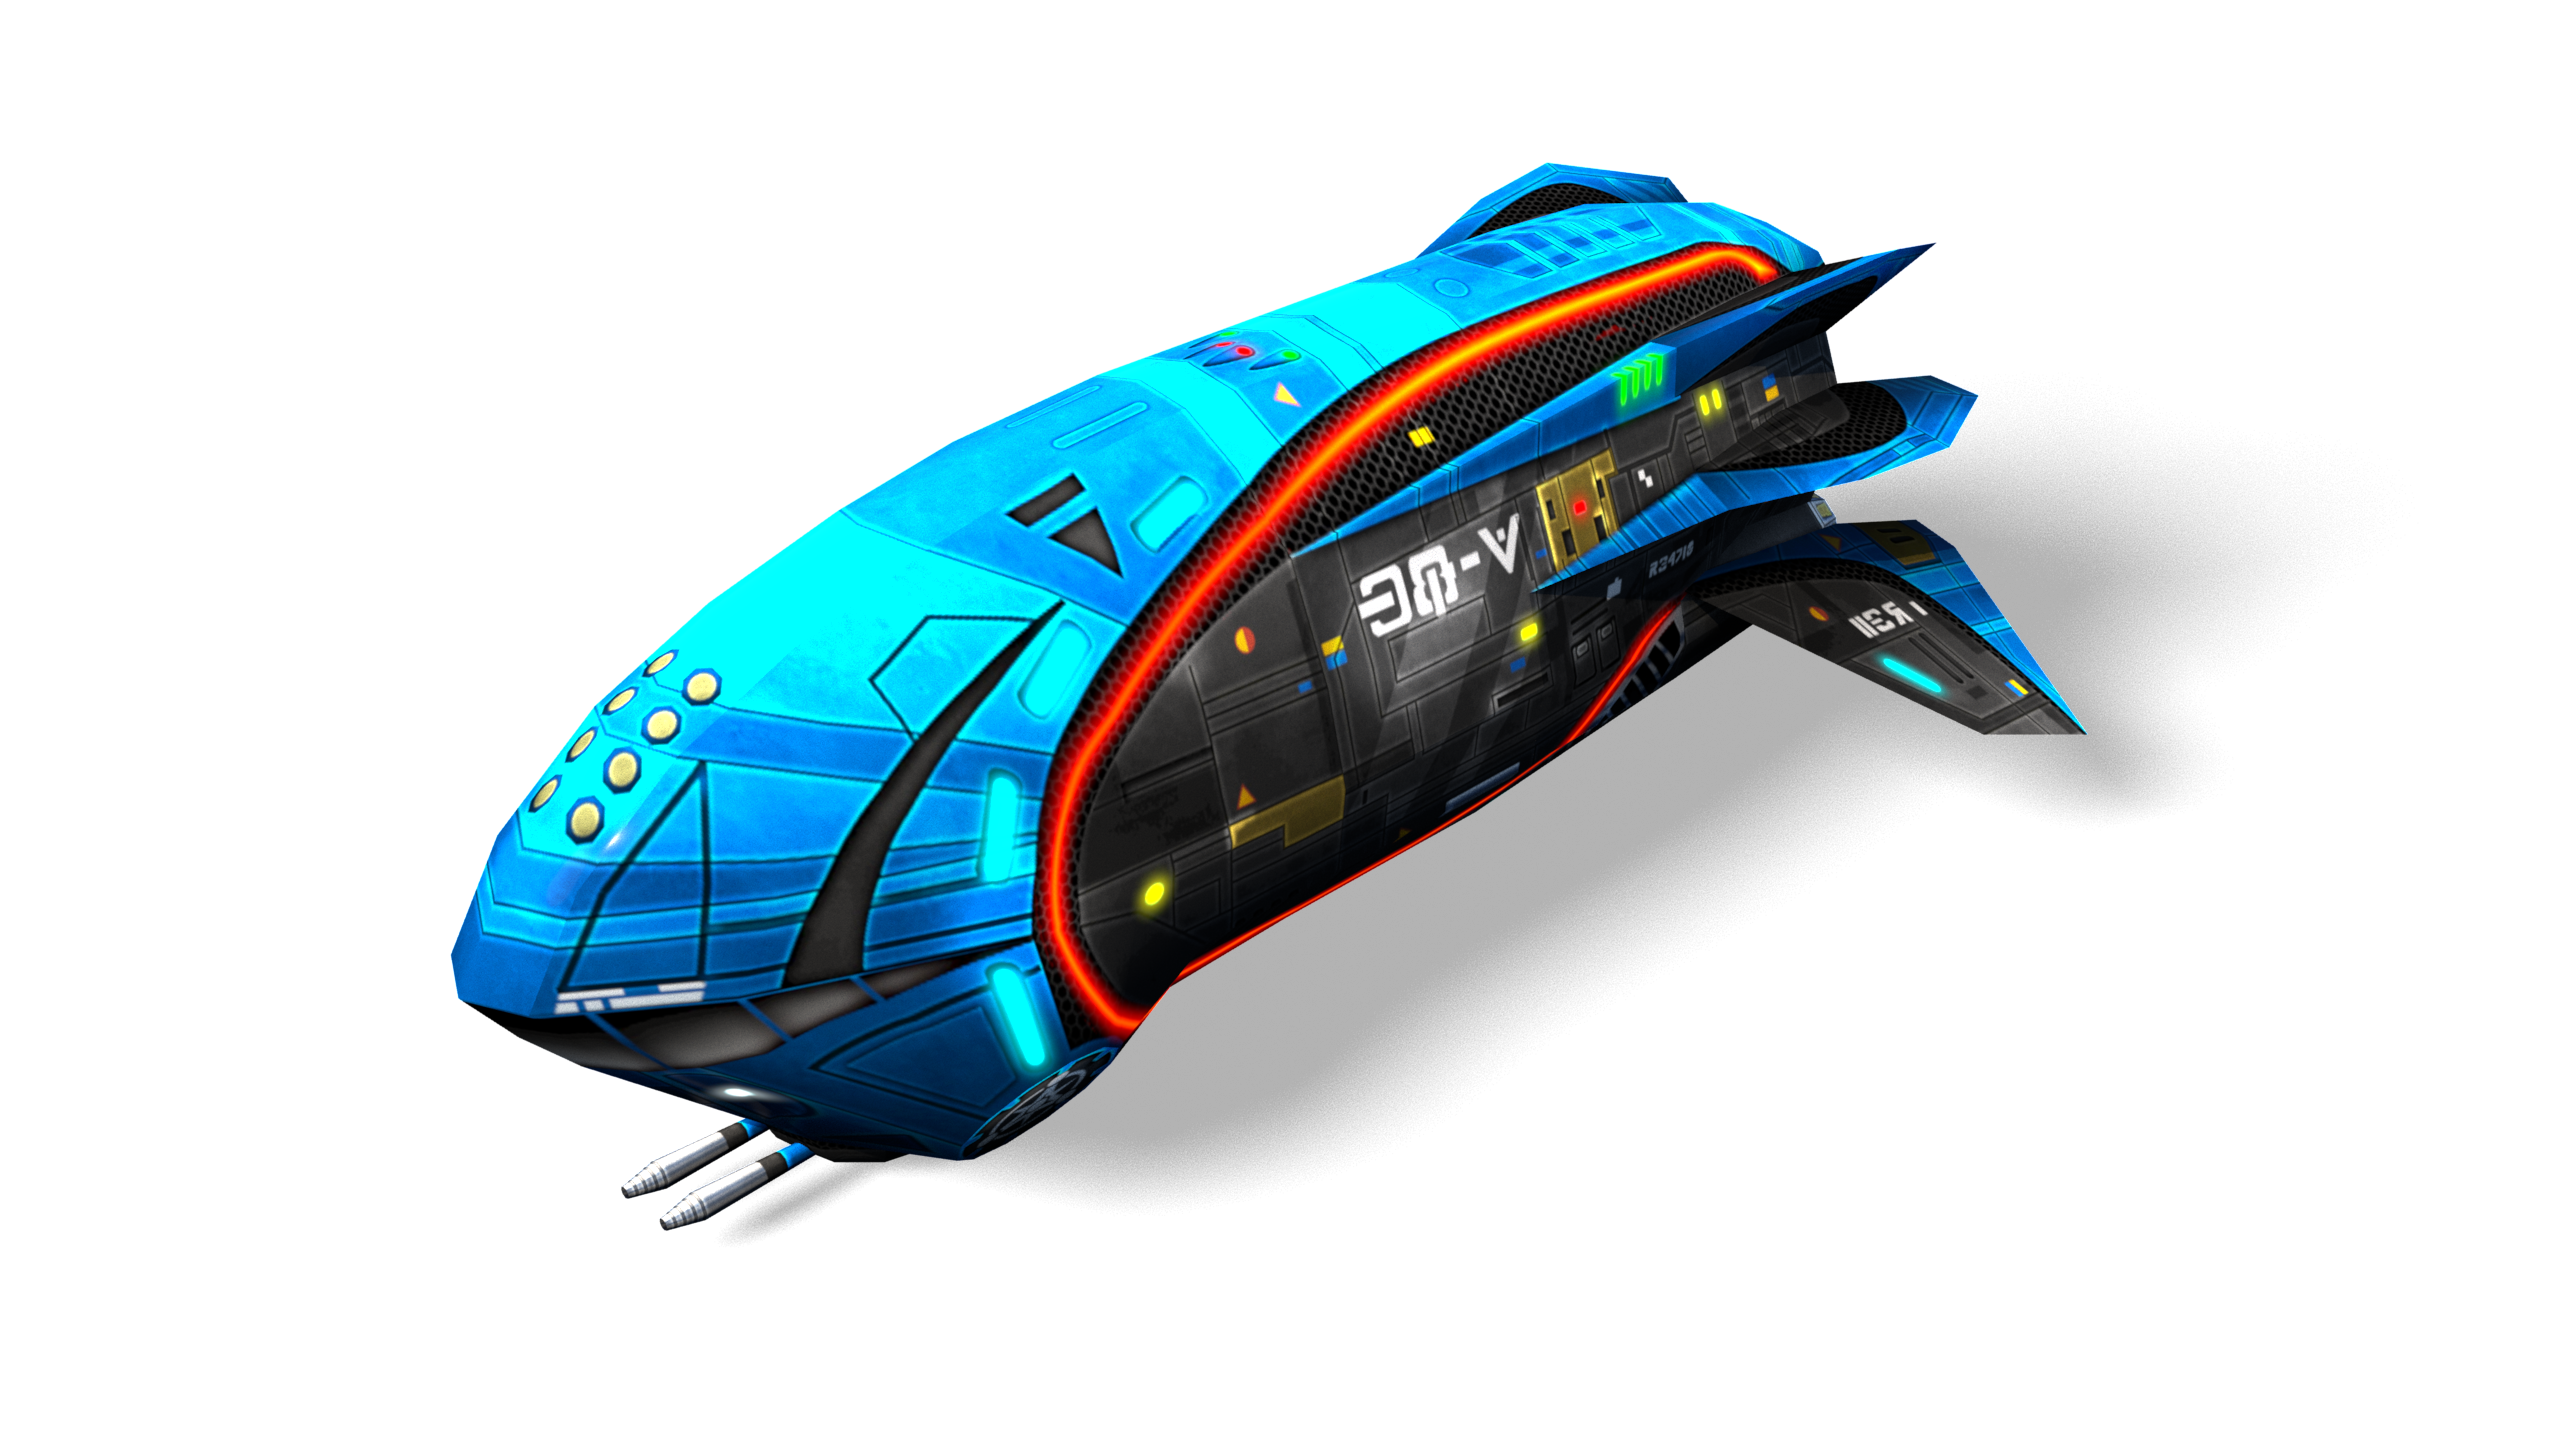
ISDF Vehicles from the factory.
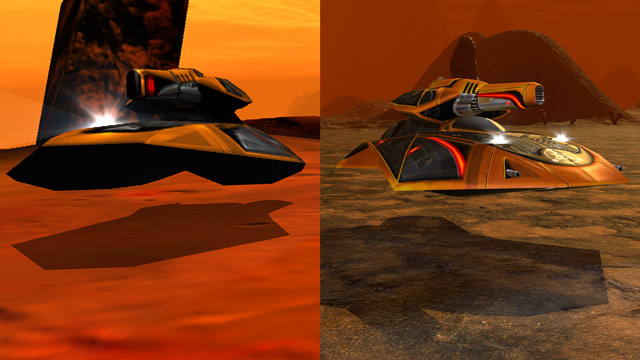
Rocket Tank:
Treaded
SpeedSlow
ArmorHeavy
Cost65
Turn RateHigh
Hull Capacity3000
Ammo Capacity2500
Image Signature250%
Heat Signature50%
SpeedSlow
Radar Signature10%
Rocket Tanks deal major damage. They are pretty agile and have the ability to turn quickly which can pose issues when attempting to circle them. On the plus side, if you are able to seek out cover, you can avoid their heavy fire by moving in and out of your position.
It is advised to utilise Service Trucks nearby when using this unit. It is also worthwhile considering combining them with Assualt Tanks and Walkers and their similar speeds mean a devastating force that is incredibly tough to take on.
Mortar Bike:
Hover
SpeedFast
ArmorNone
Cost45
Turn RateHigh
Hull Capacity1200
Ammo Capacity1000
Image Signature100%
Heat Signature300%
Radar Signature10%
Dealing with Mortar Bikes as quickly as possible increases your chances of survival. The AI of the Mortar Bikes are particularly accurate, moreso than a lot of real players are capable of. In some cases heavier units may be guarding them, but despite this, taking the Mortar Bikes out should be priotitised due to their ability to deal quick and precise dmg to units.
The AI of the Mortar Bikes are an advantage, in that they infrequently damage themselves upon use. You can man the Mortar Bikes with troops and then orchestrate an attack plan.
Assault Tank:
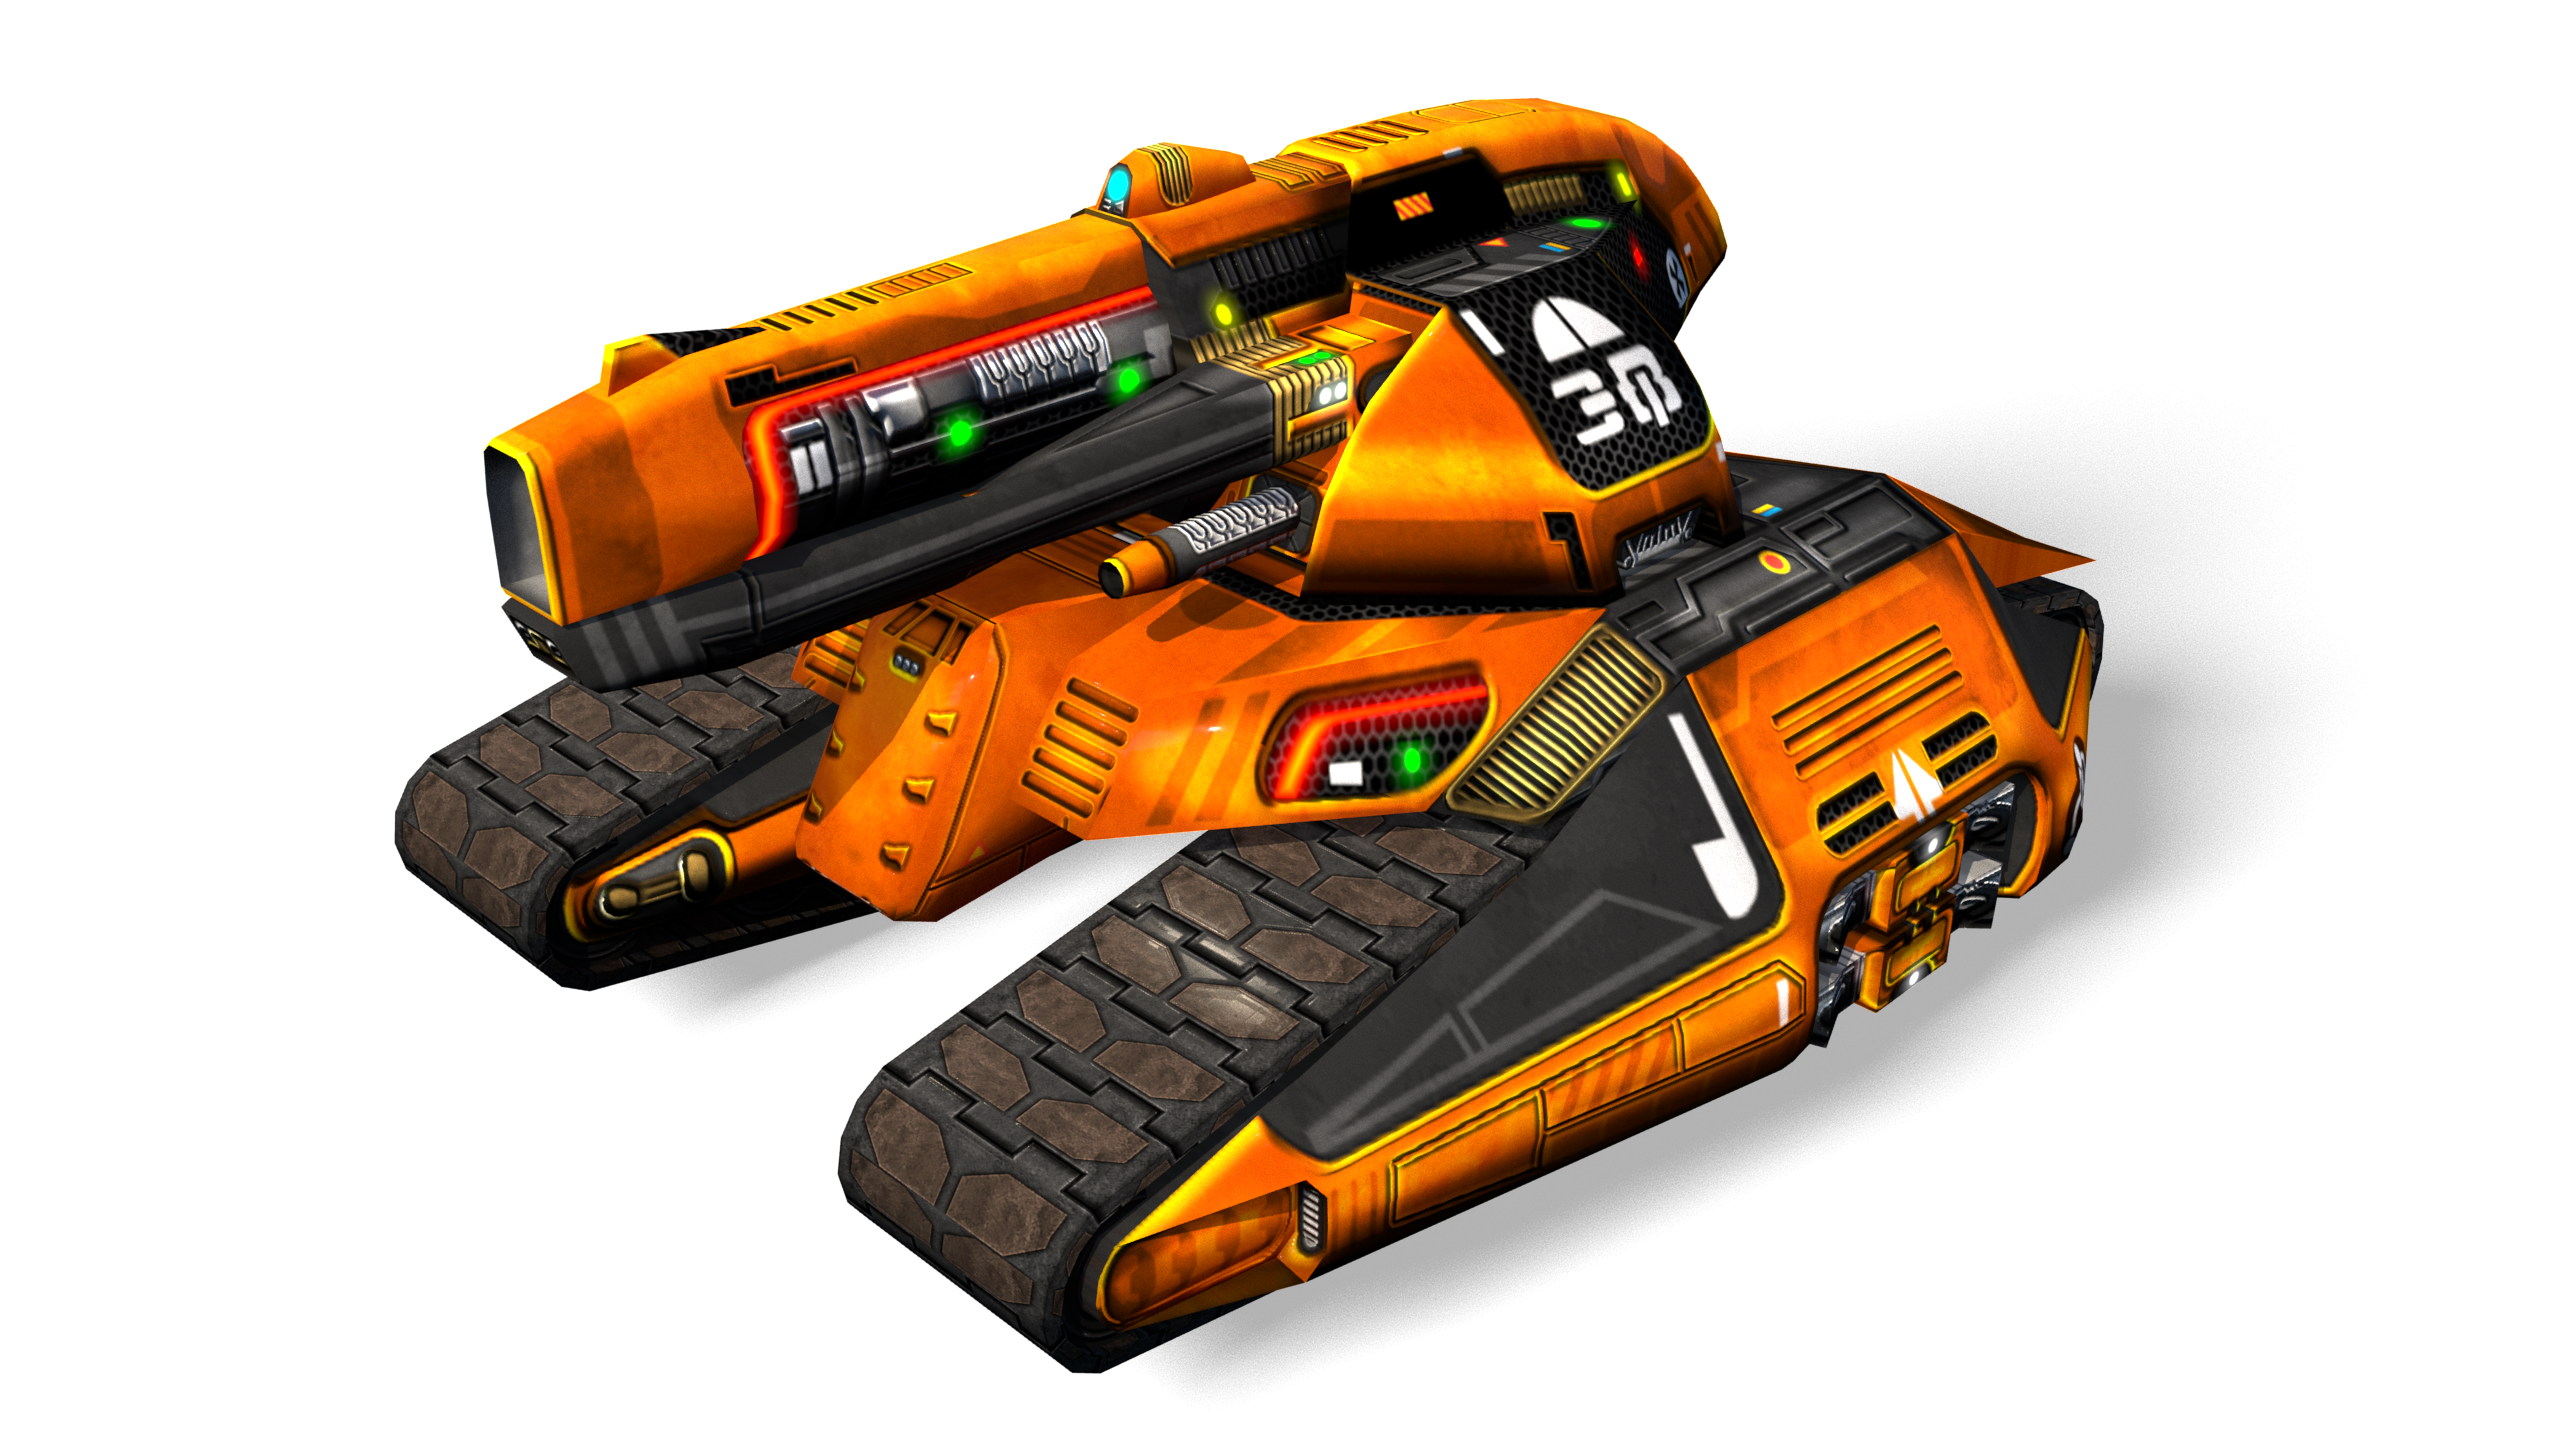
Treaded
SpeedSlow
ArmorHeavy
Cost70
Turn RateMedium
Hull Capacity4500
Ammo Capacity3000
Image Signature500%
Heat Signature50%
Radar Signature500%
Whilst Assault Tanks are pretty easy dispatch as solitary units, they are much more fearsome as a collective. The barrel of their cannon moves very slowly, so by circling them closely and firing at them during this process, you should be able to destroy them due to their limited movement. Finding ditches when up against Assault Tanks is beneficial as they cannot shoot down.
The Plasma Cannon of the Assault Tank has incredible range. Enemy Gun Spires should be targetted, as you will be able to inflict damage without resistance due to the significant range. These cannons can deal major damage
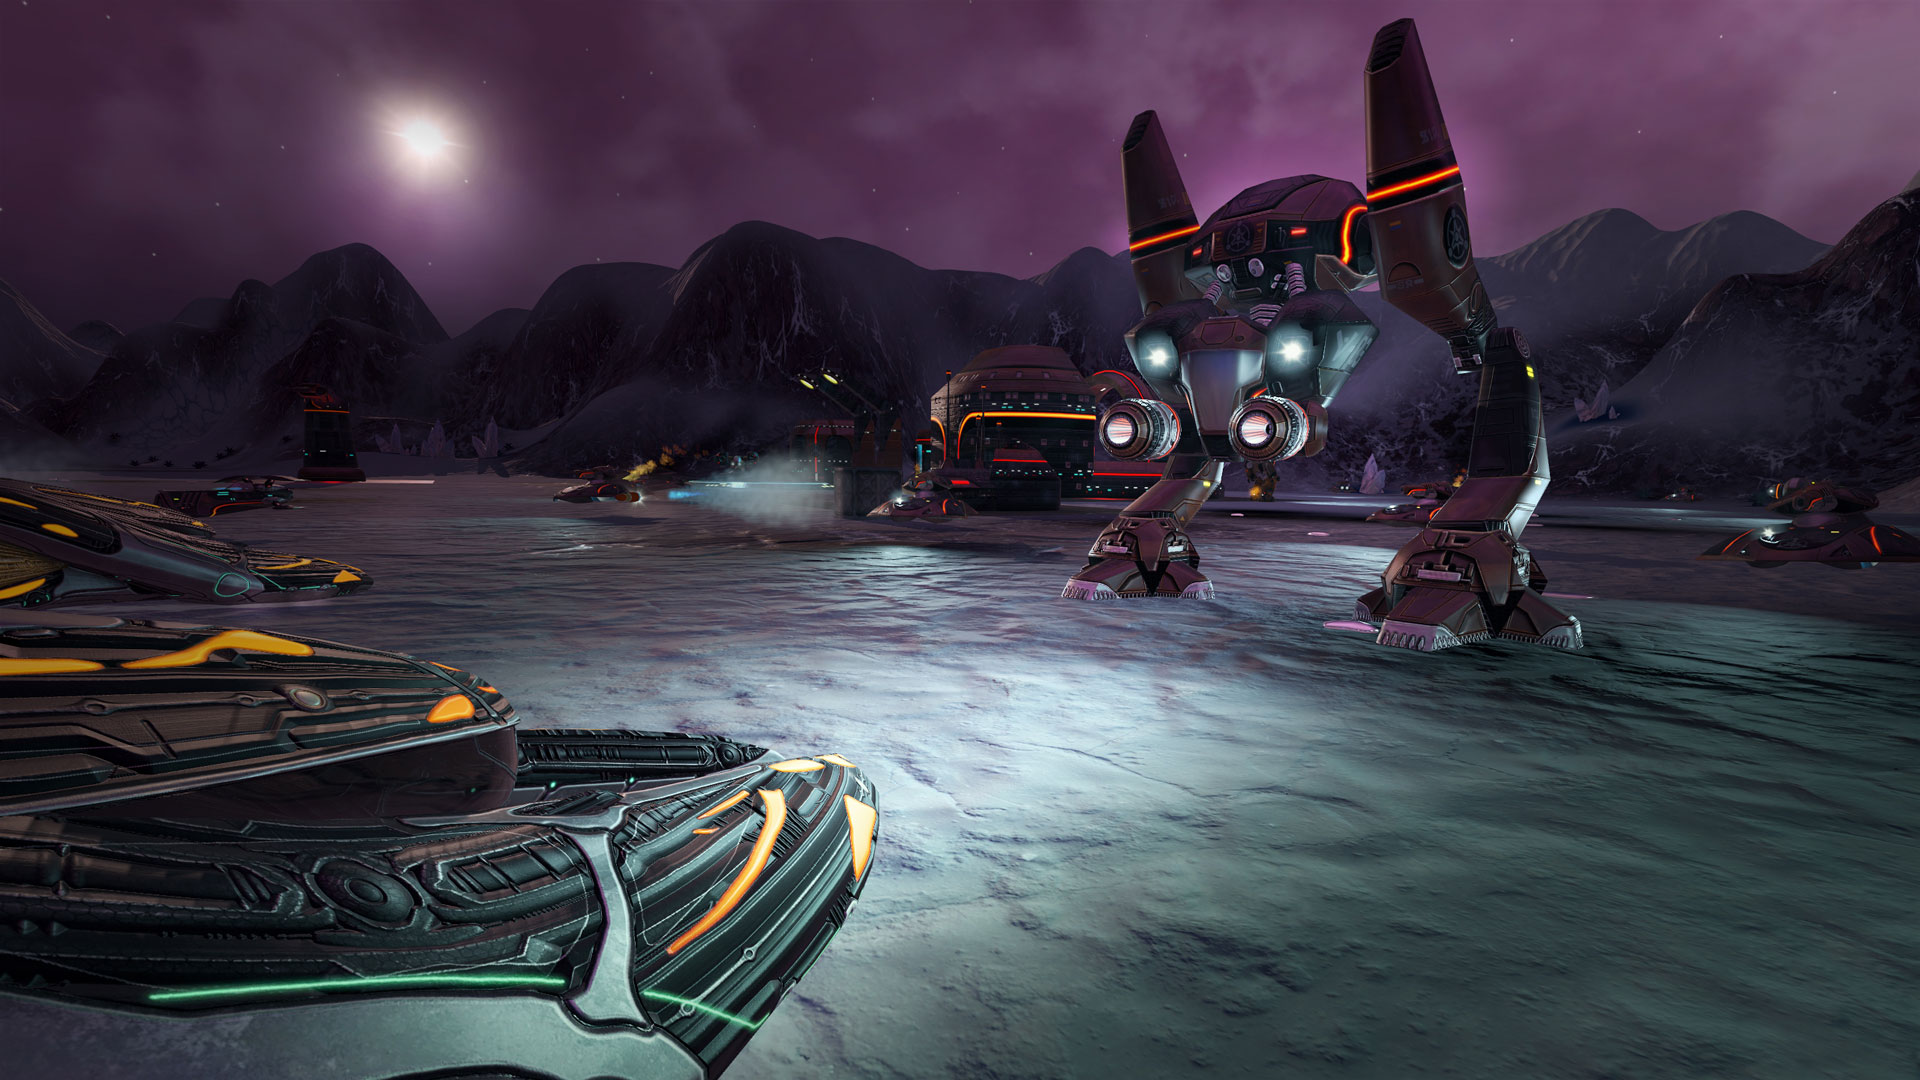
Walker:
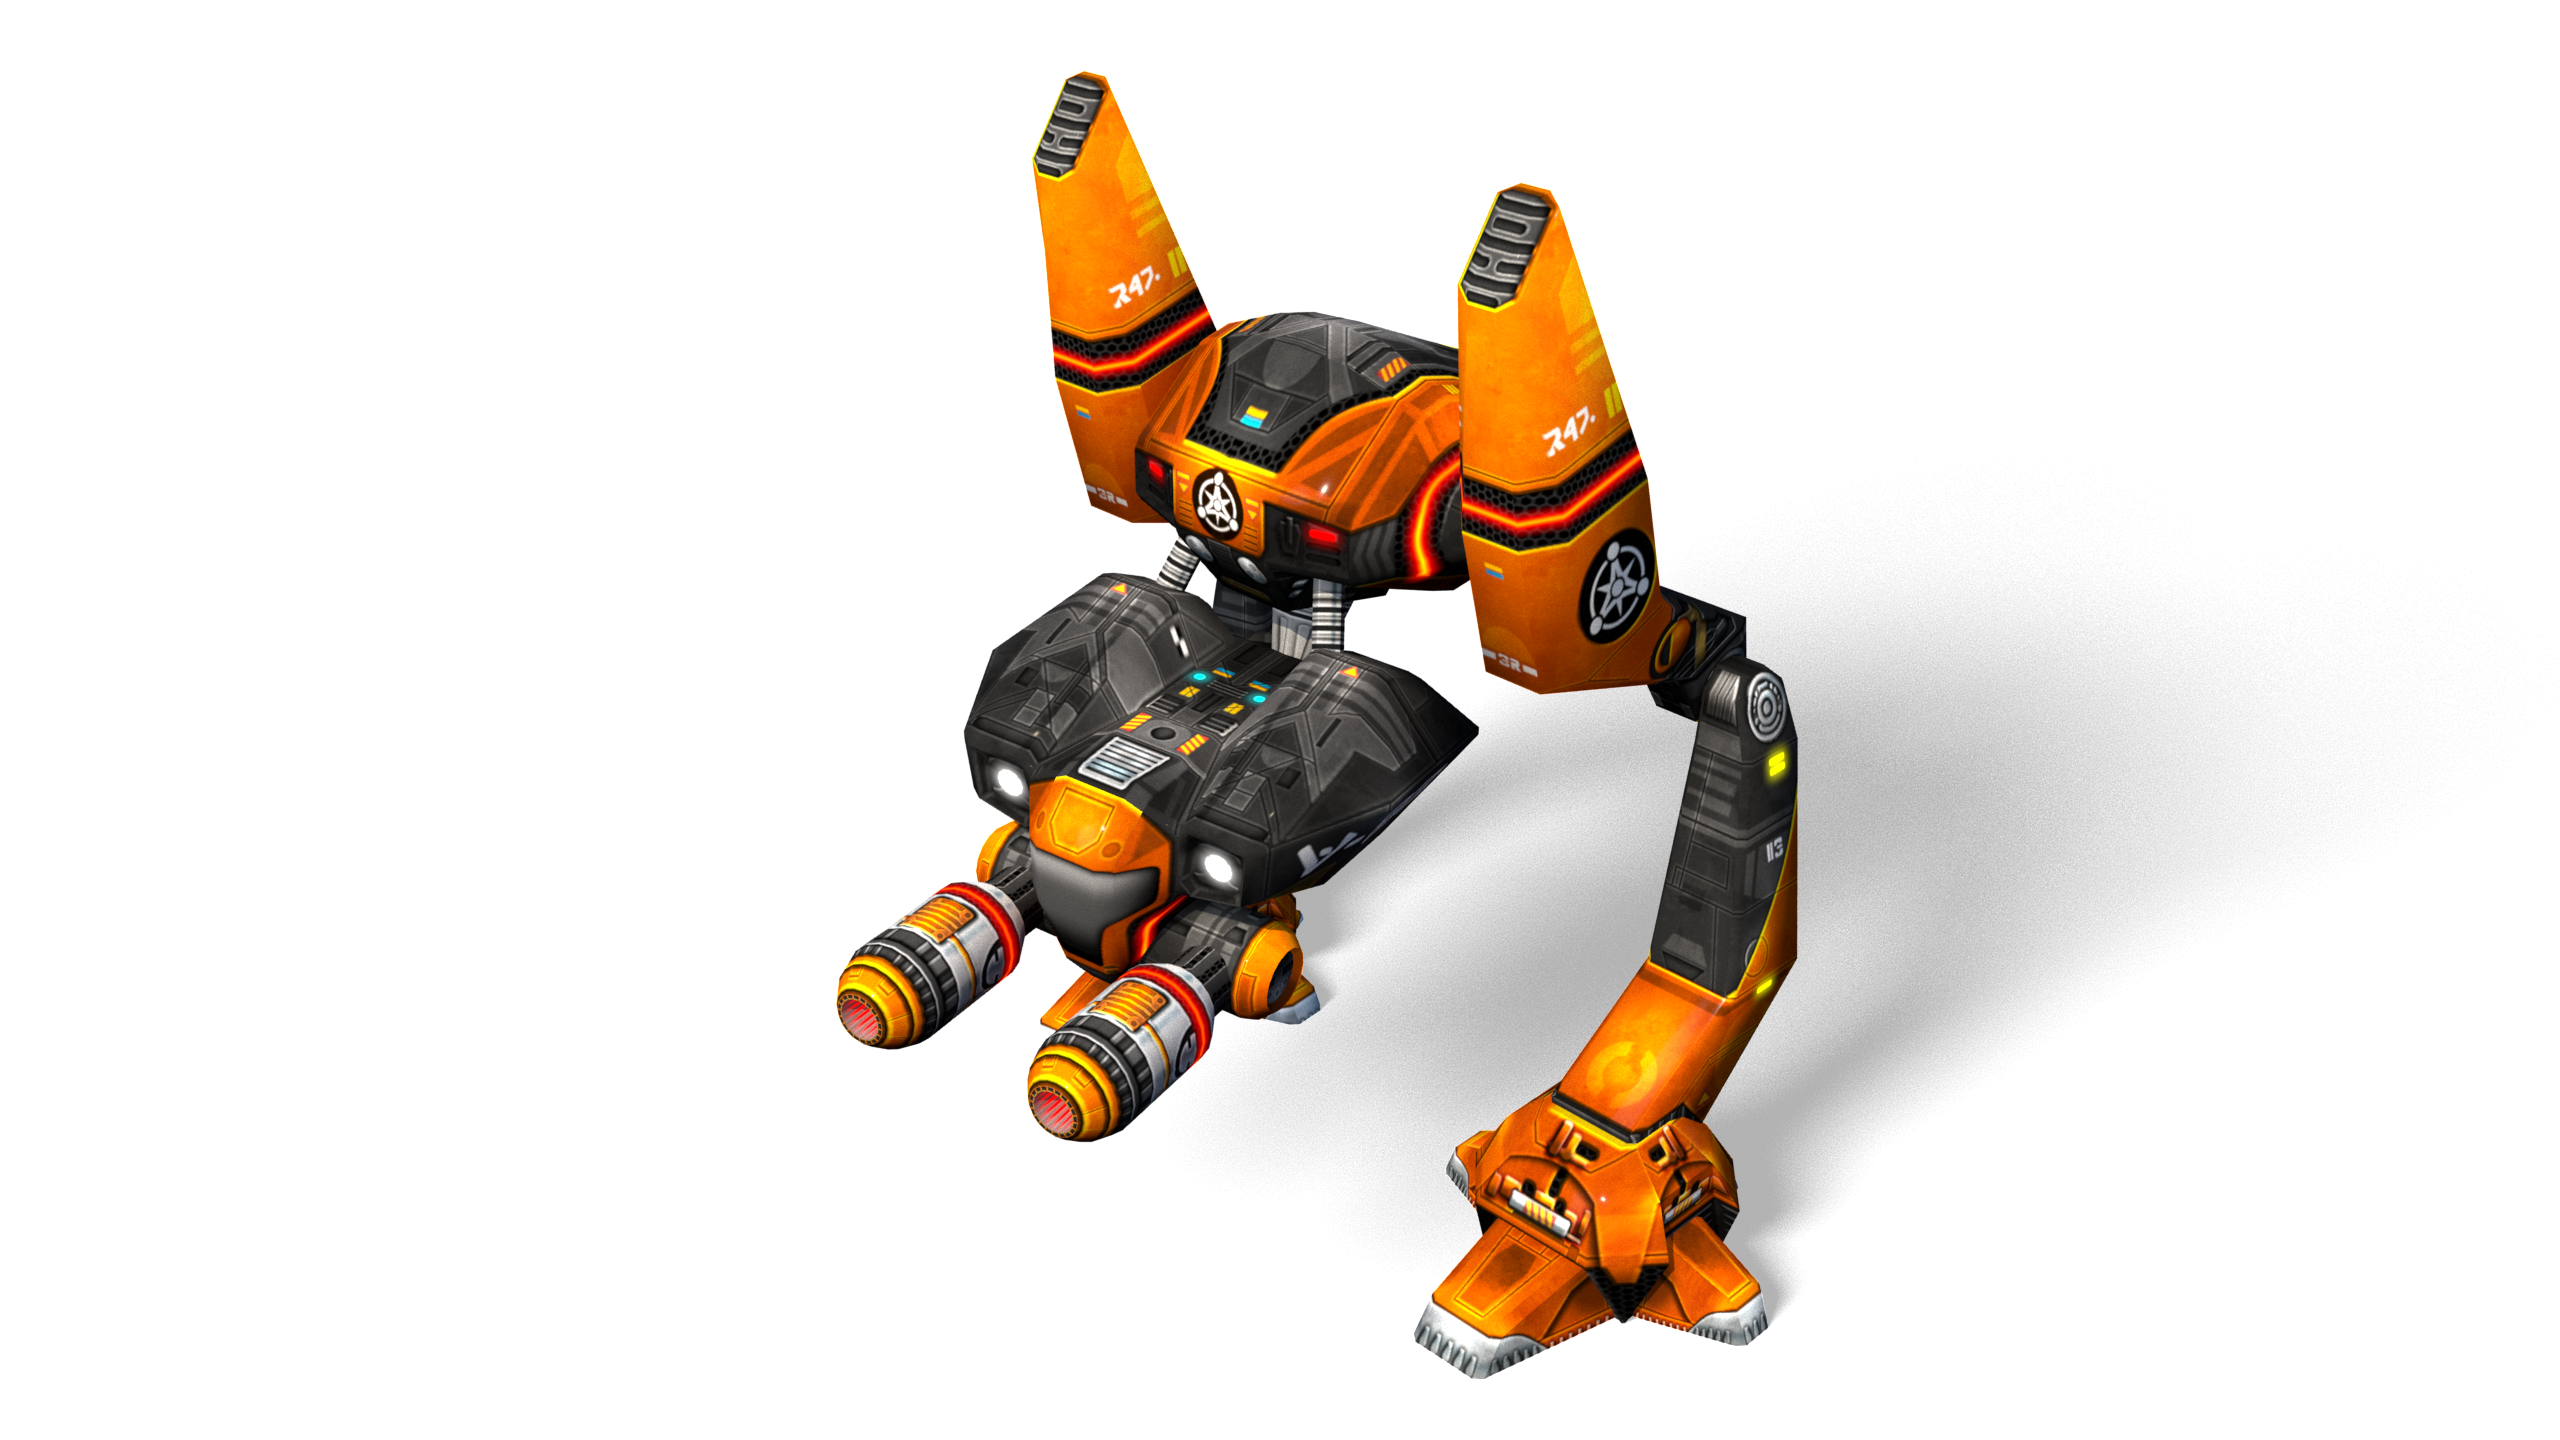
Walker
SpeedSlow
ArmorHeavy
Cost100
Turn RateLow
Hull Capacity8000
Ammo Capacity6000
Image Signature500%
Heat Signature10%
Radar Signature500%
Opposing AI utilise Walkers well and they are particularly dangerous. Attacking Walkers in force is advised as well as avoiding them all together if possible. Lone Walkers can take out multiple Warriors on occasion highlighting the severity of their damage capabilities. Using a wingman as a distraction could be as useful tactic while the focusing fire on the Walker to disable it.
The initial set-up for the Walker can be beneficial in combat, however a re-customisation of your weapons from Blast to Plasma can greatly improve your fire power. The range of the Plasma Cannons allow for damage to be inflicted upon oncoming enemies before you're able to be attacked yourself. The rate of fire enables major damage with a few precise shots.
Bomber:
Craft Type
Flying
Speed?
ArmorNone
Cost75
Turn Rate?
Hull Capacity2000
Ammo Capacity5000
Image Signature50%
Heat Signature1000%
Radar Signature0%
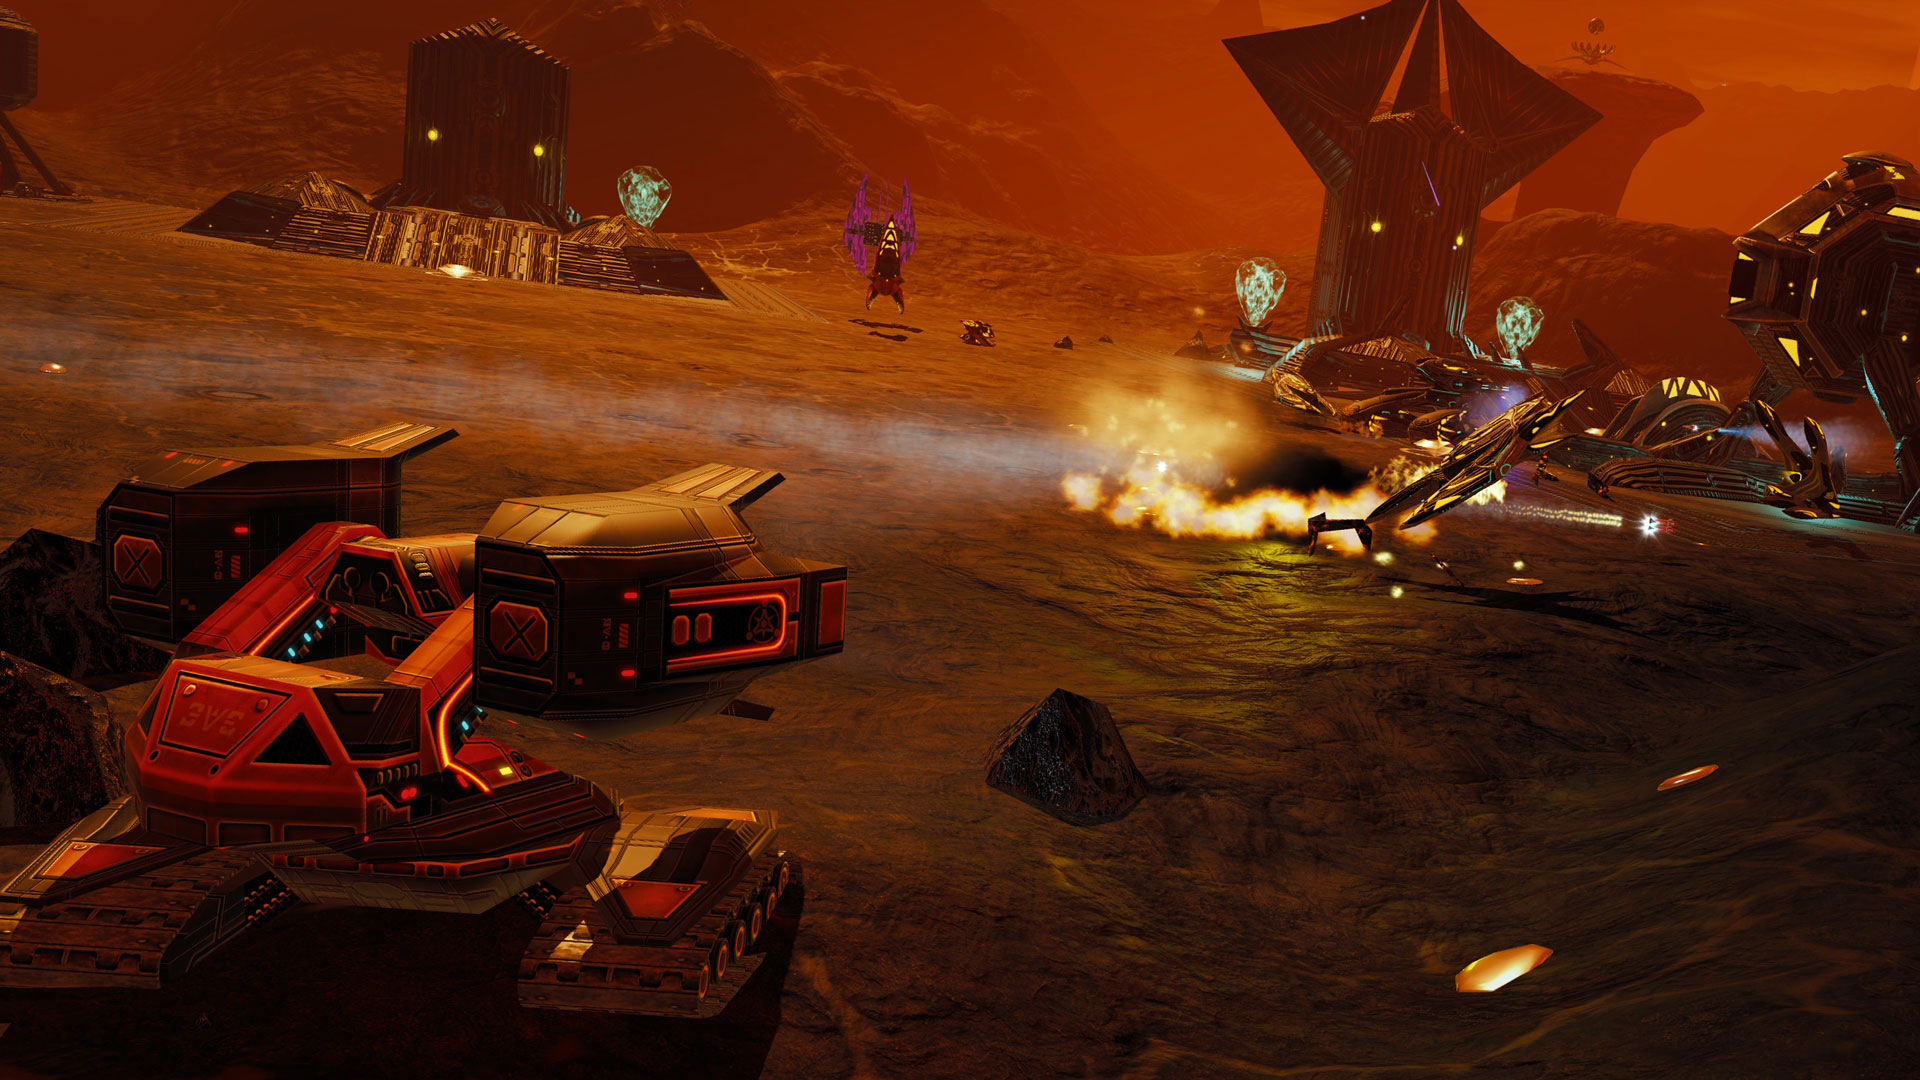
One of the major disadvantages of coming up against Bombers, is that defensive units like Gun Spires and your offensive units have a tendency to ignore Bombers altogether. It is crucial that Bombers are taken out as soon as possible as they are often ignored and can deal significant damage.
It is recommended the use of Bombers in continual and constand when playing as ISDF. Allow for the Bombers to get close to the enemy base and let loose, particularly focusing on Matriarchs and Recyclers.
APC:
Flying
Speed?
ArmorLight
Cost50
Turn Rate?
Hull Capacity3000
Ammo Capacity3000
Image Signature50%
Heat Signature1000%
Radar Signature0%
Buildings are the most at risk of getting major damage when up against APC's as they are useless againt units. An oncoming assault of APC's should be dealt with swiftly, however take into account you won't need to protect any wingmen you have. APC's carry troops armed with rocket launchers. Once deployed the troops attack structures and are assisted by the APC's.
It is recommended APC's are not deployed to attack units due to their ineffectiveness against them. Grouping APC's together improves their effectiveness when attacking Scion bases. Direct your APC's to focus on and destroy Recyclers during the attack so that the process is not thwarted.