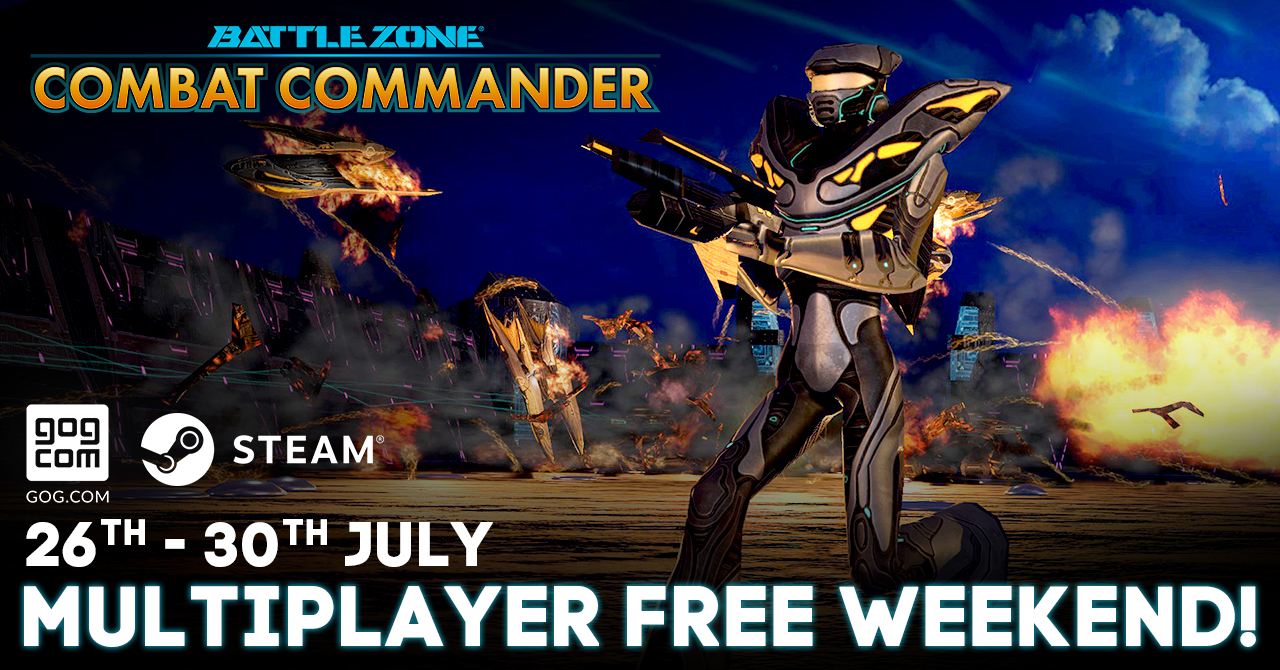
Multiplayer Free Weekend | 26th - 30th July 2018
Posted 26th July 2018
See details on the Multiplayer Free Weekend and sale
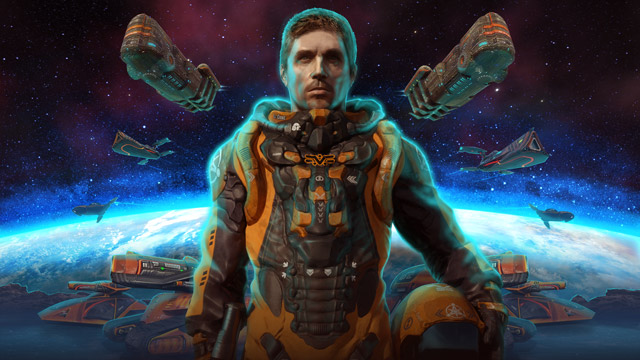
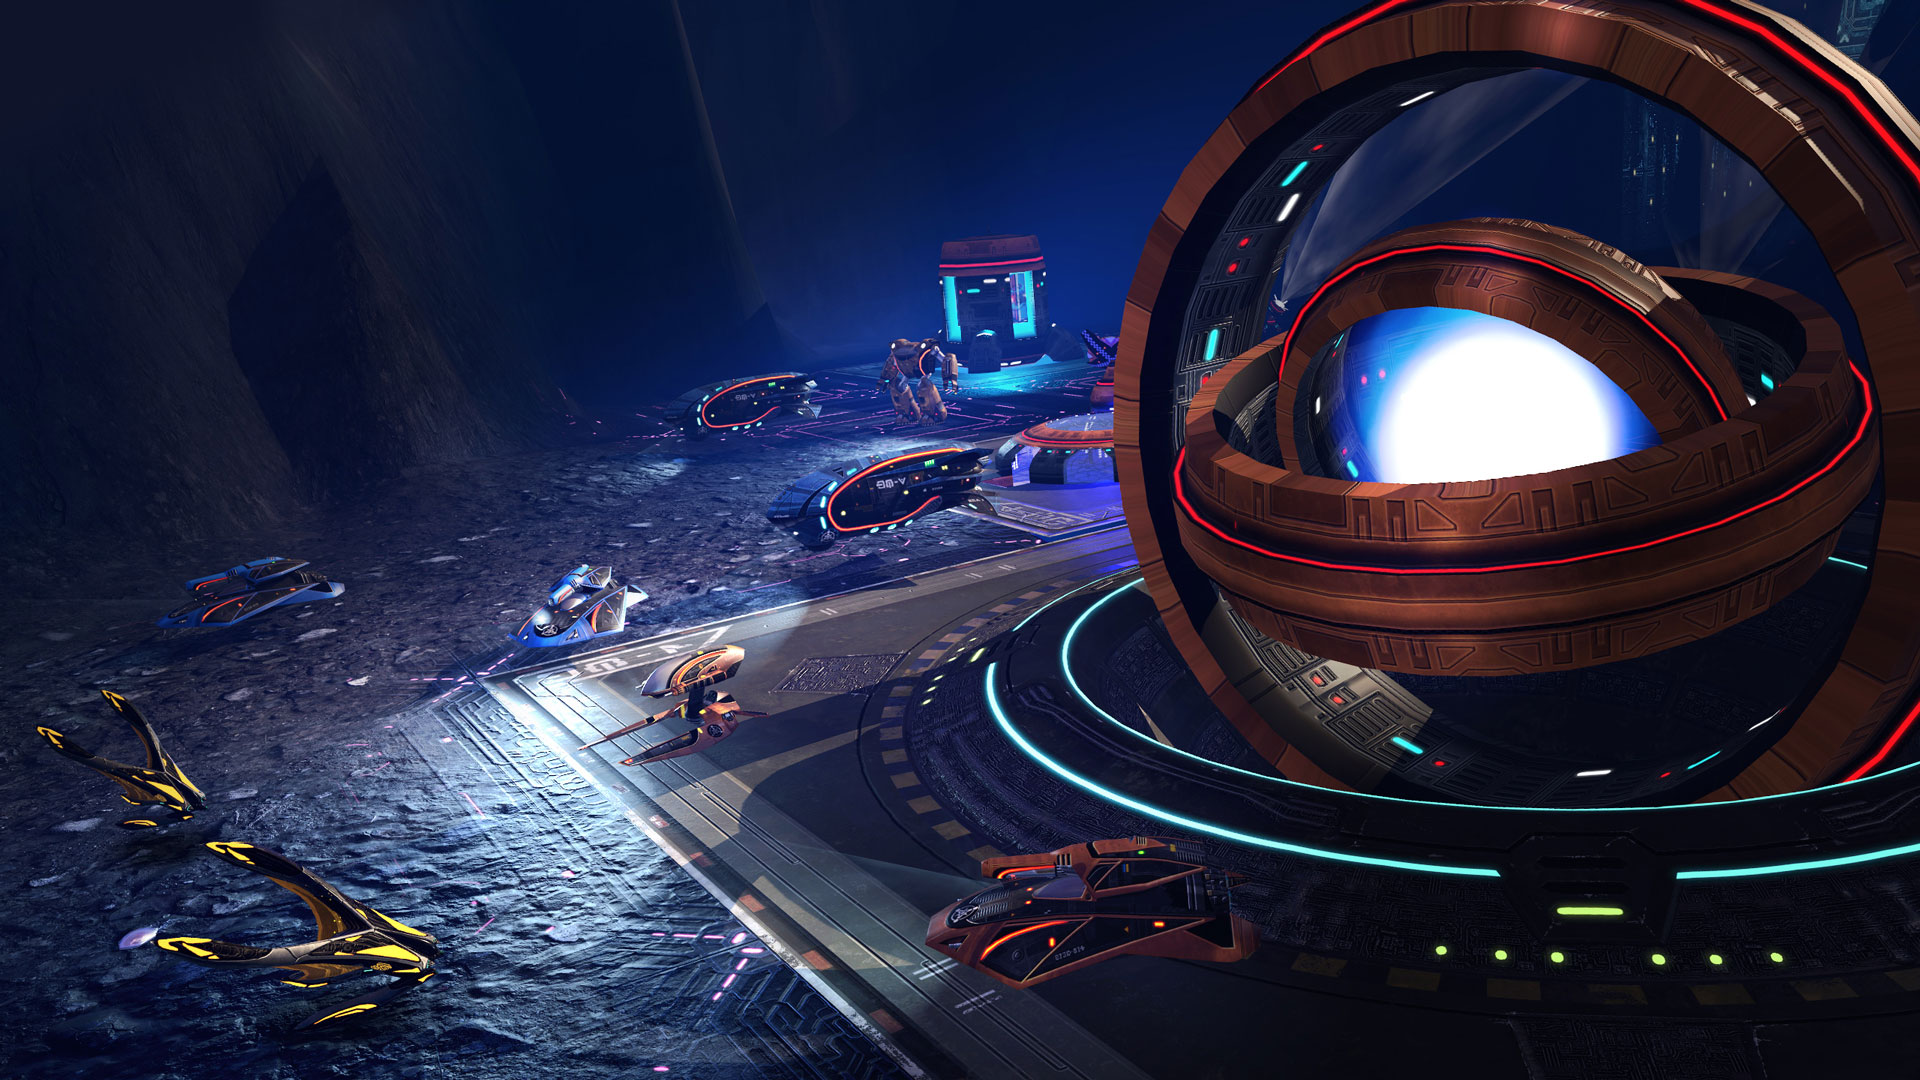
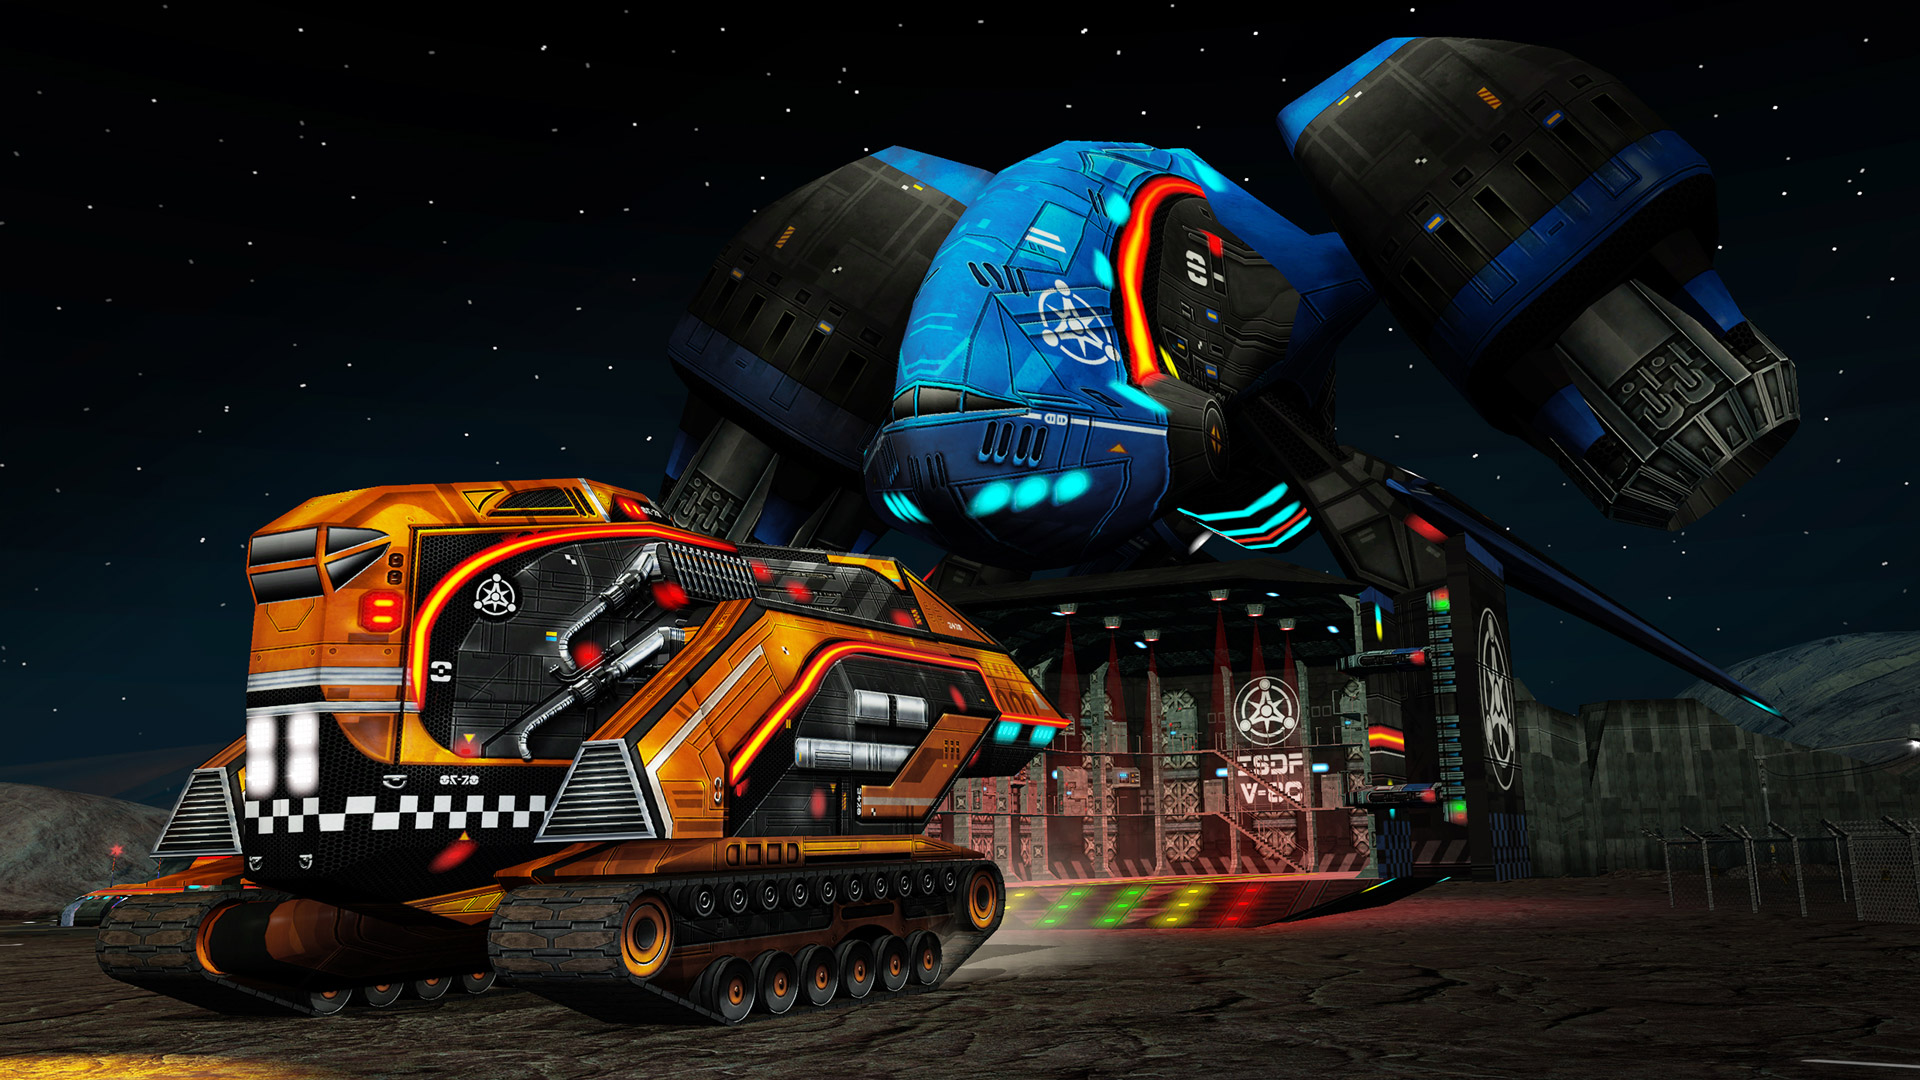
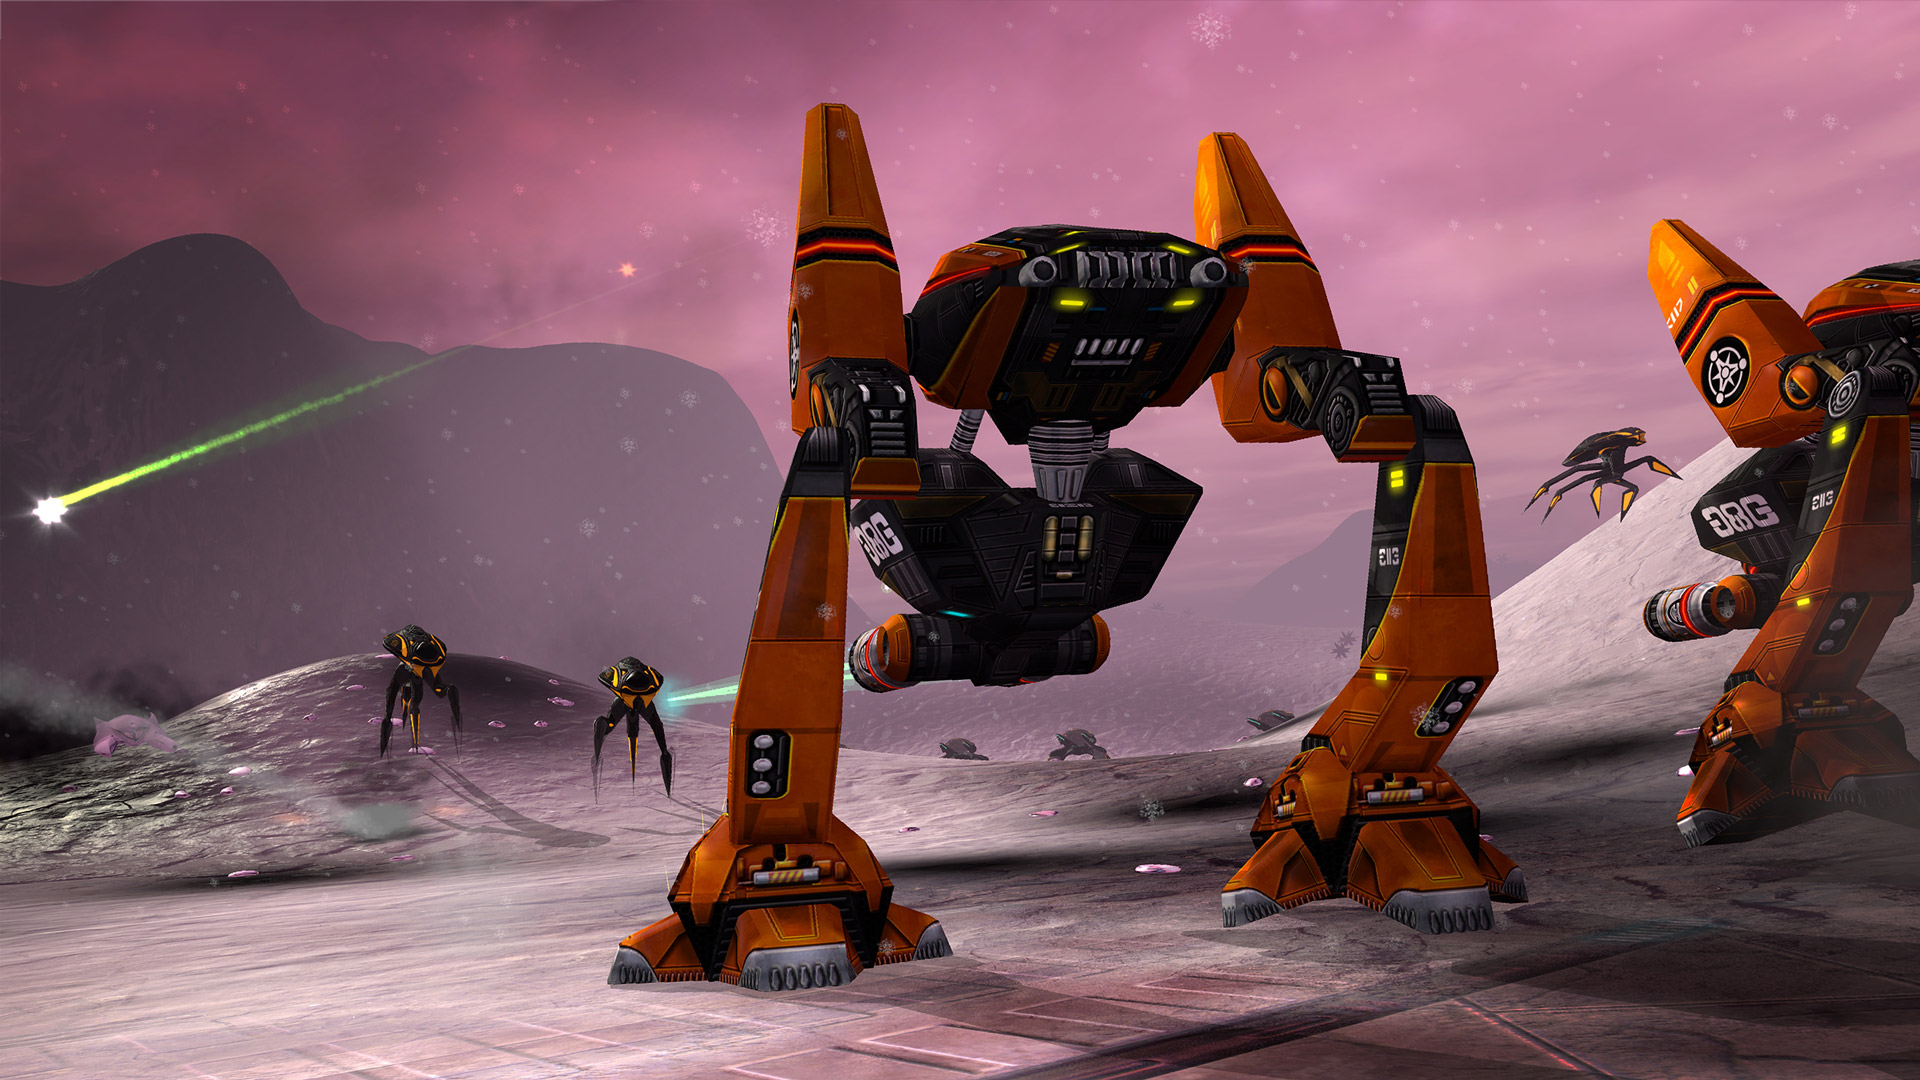
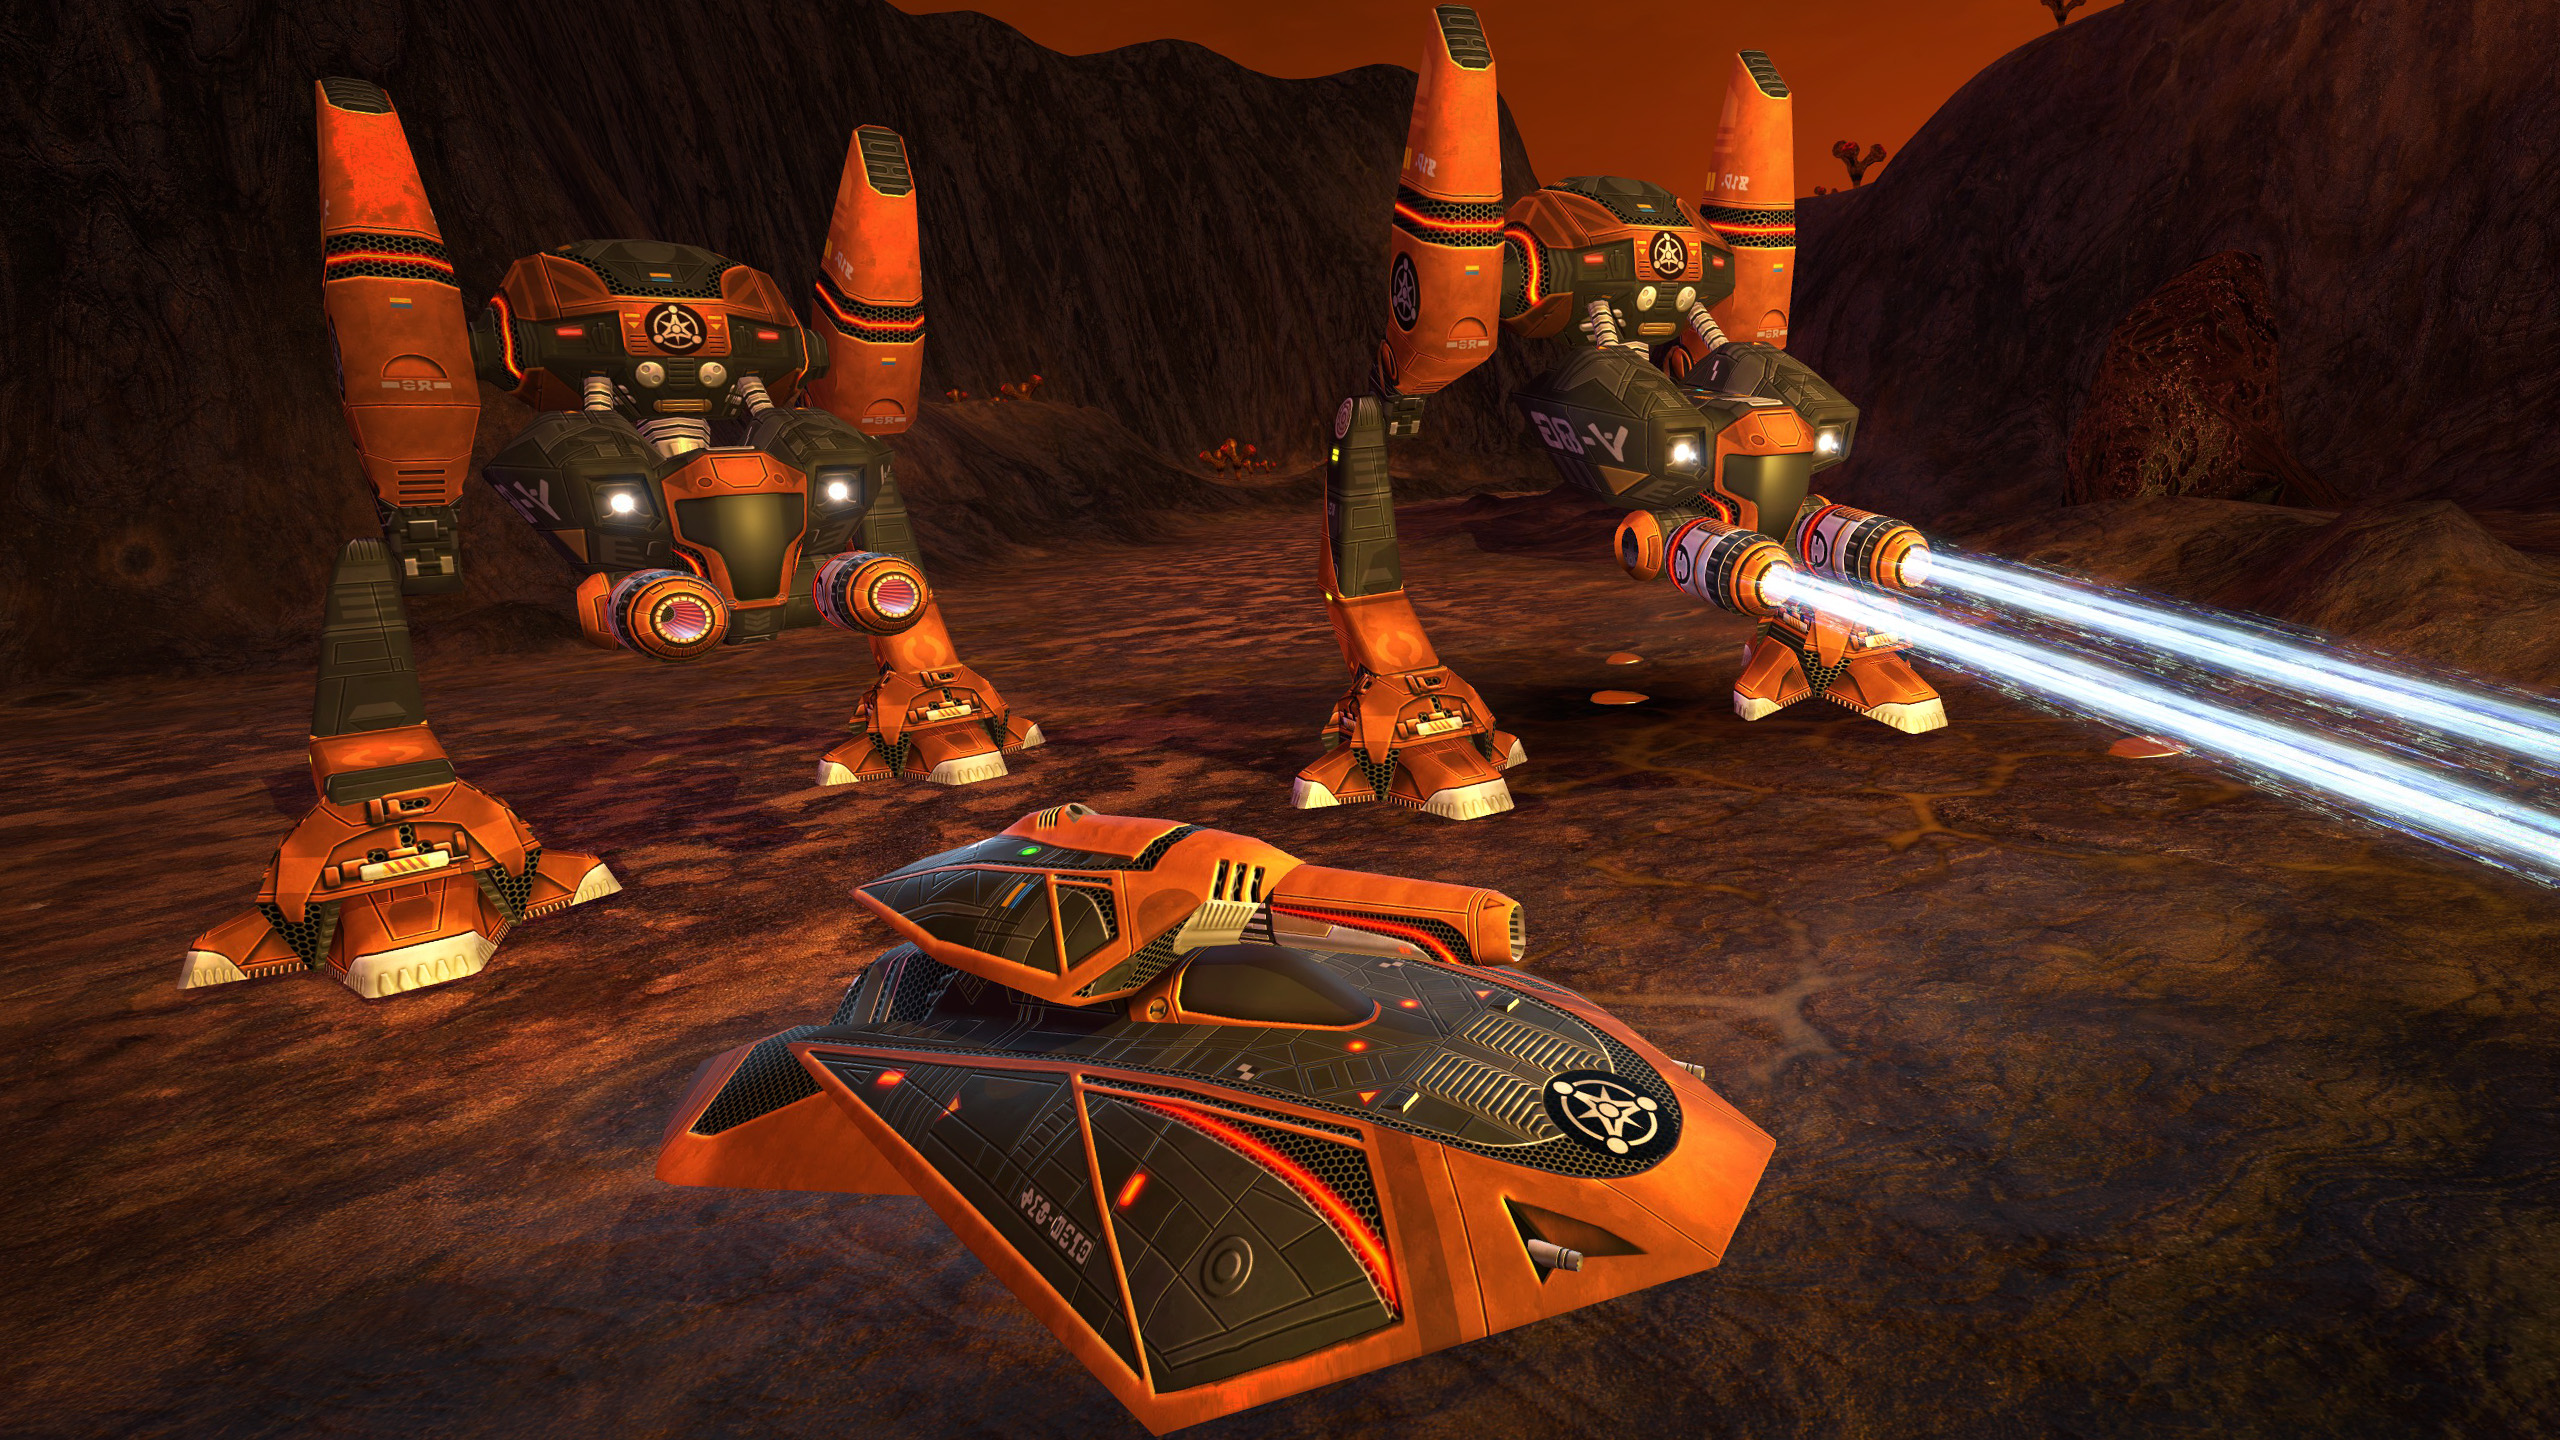
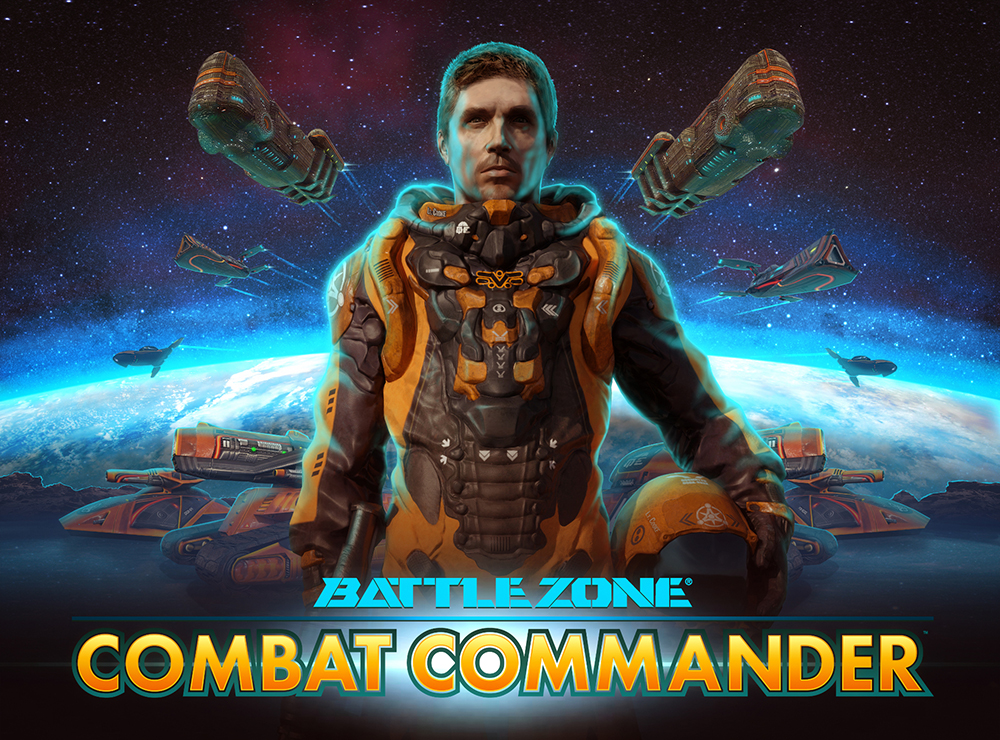
Once arch enemies, the US and Russia abandon their space race and unite their forces in the face of impending alien attack. Combining to form the elite International Space Defence Force, they recruit you to help lead resistance, before total devastation is unleashed on the human race.
The solar system is at war. Take command.
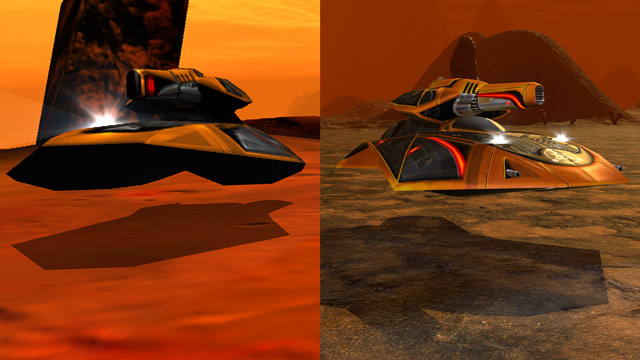
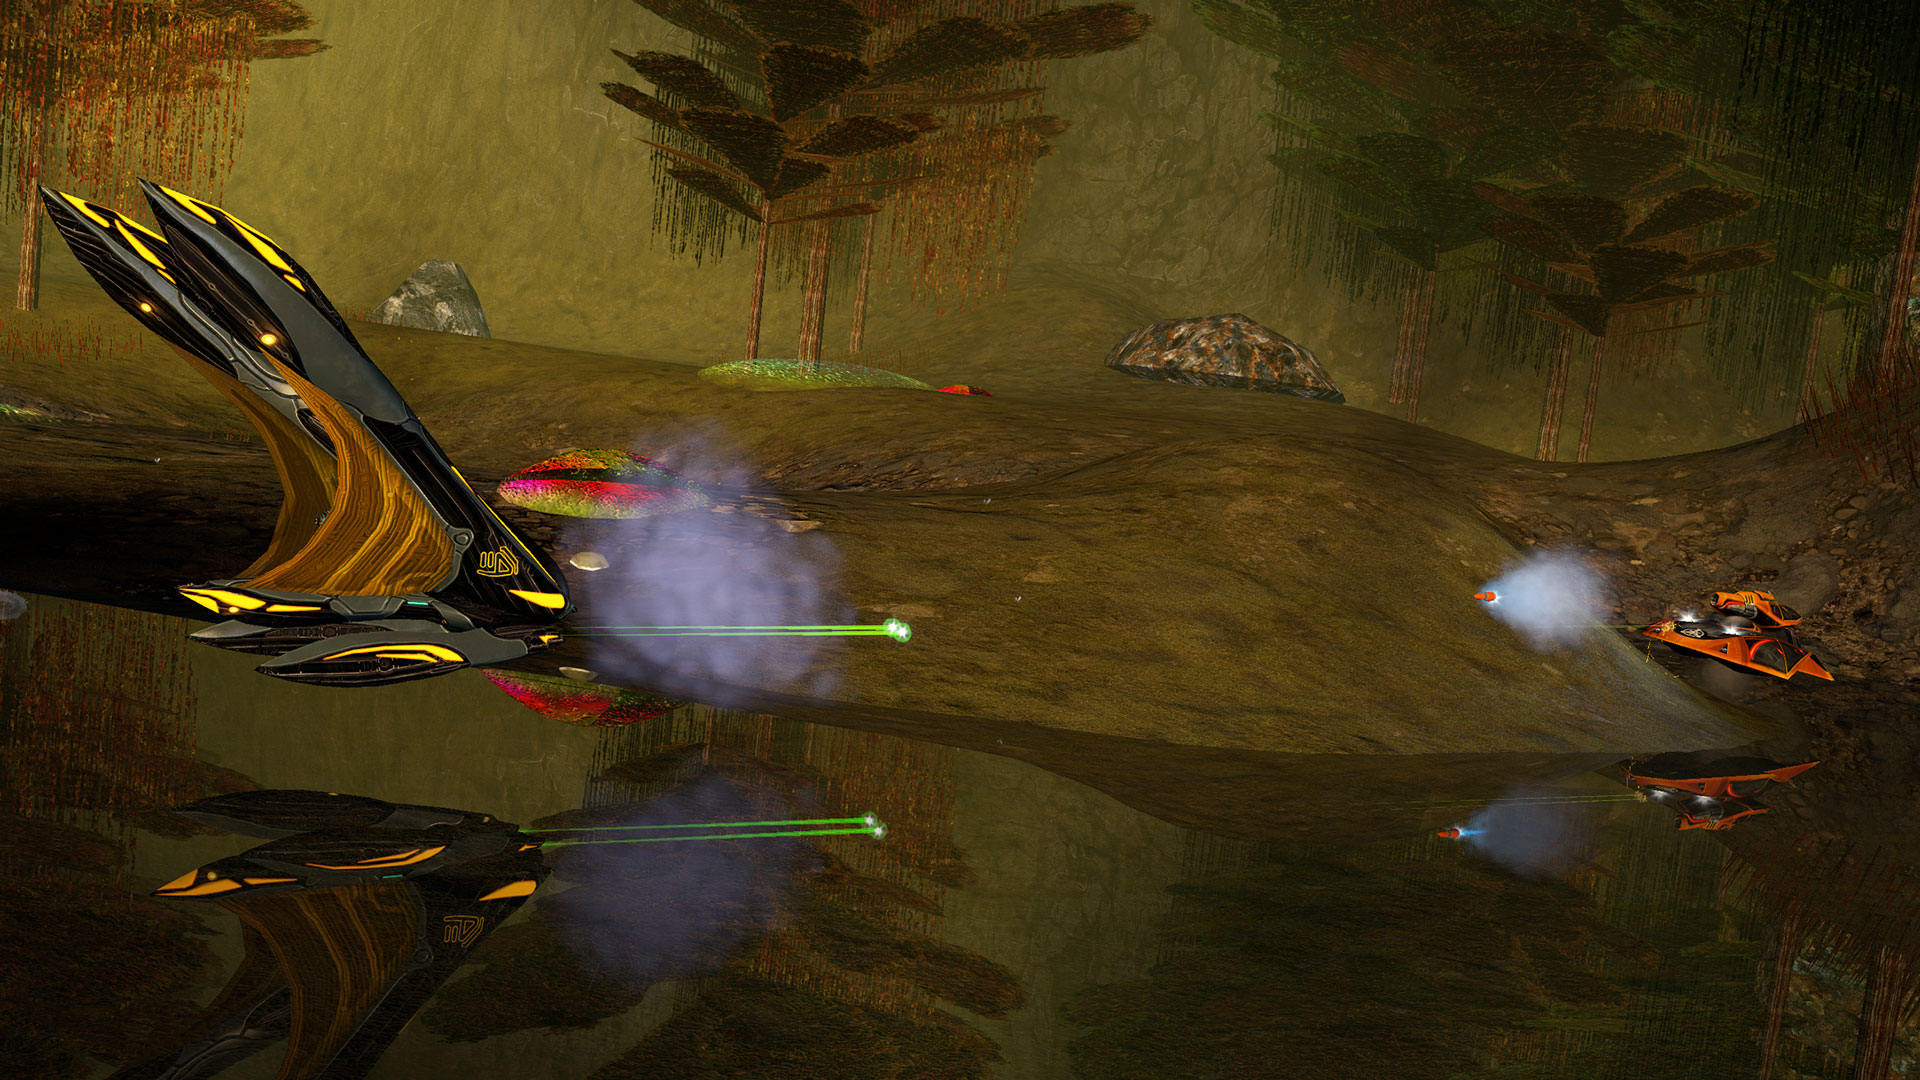
Battlezone: Combat Commander remasters FPS-RTS classic Battlezone II with slick new visuals, brand new achievements, Steam Workshop support and much more!
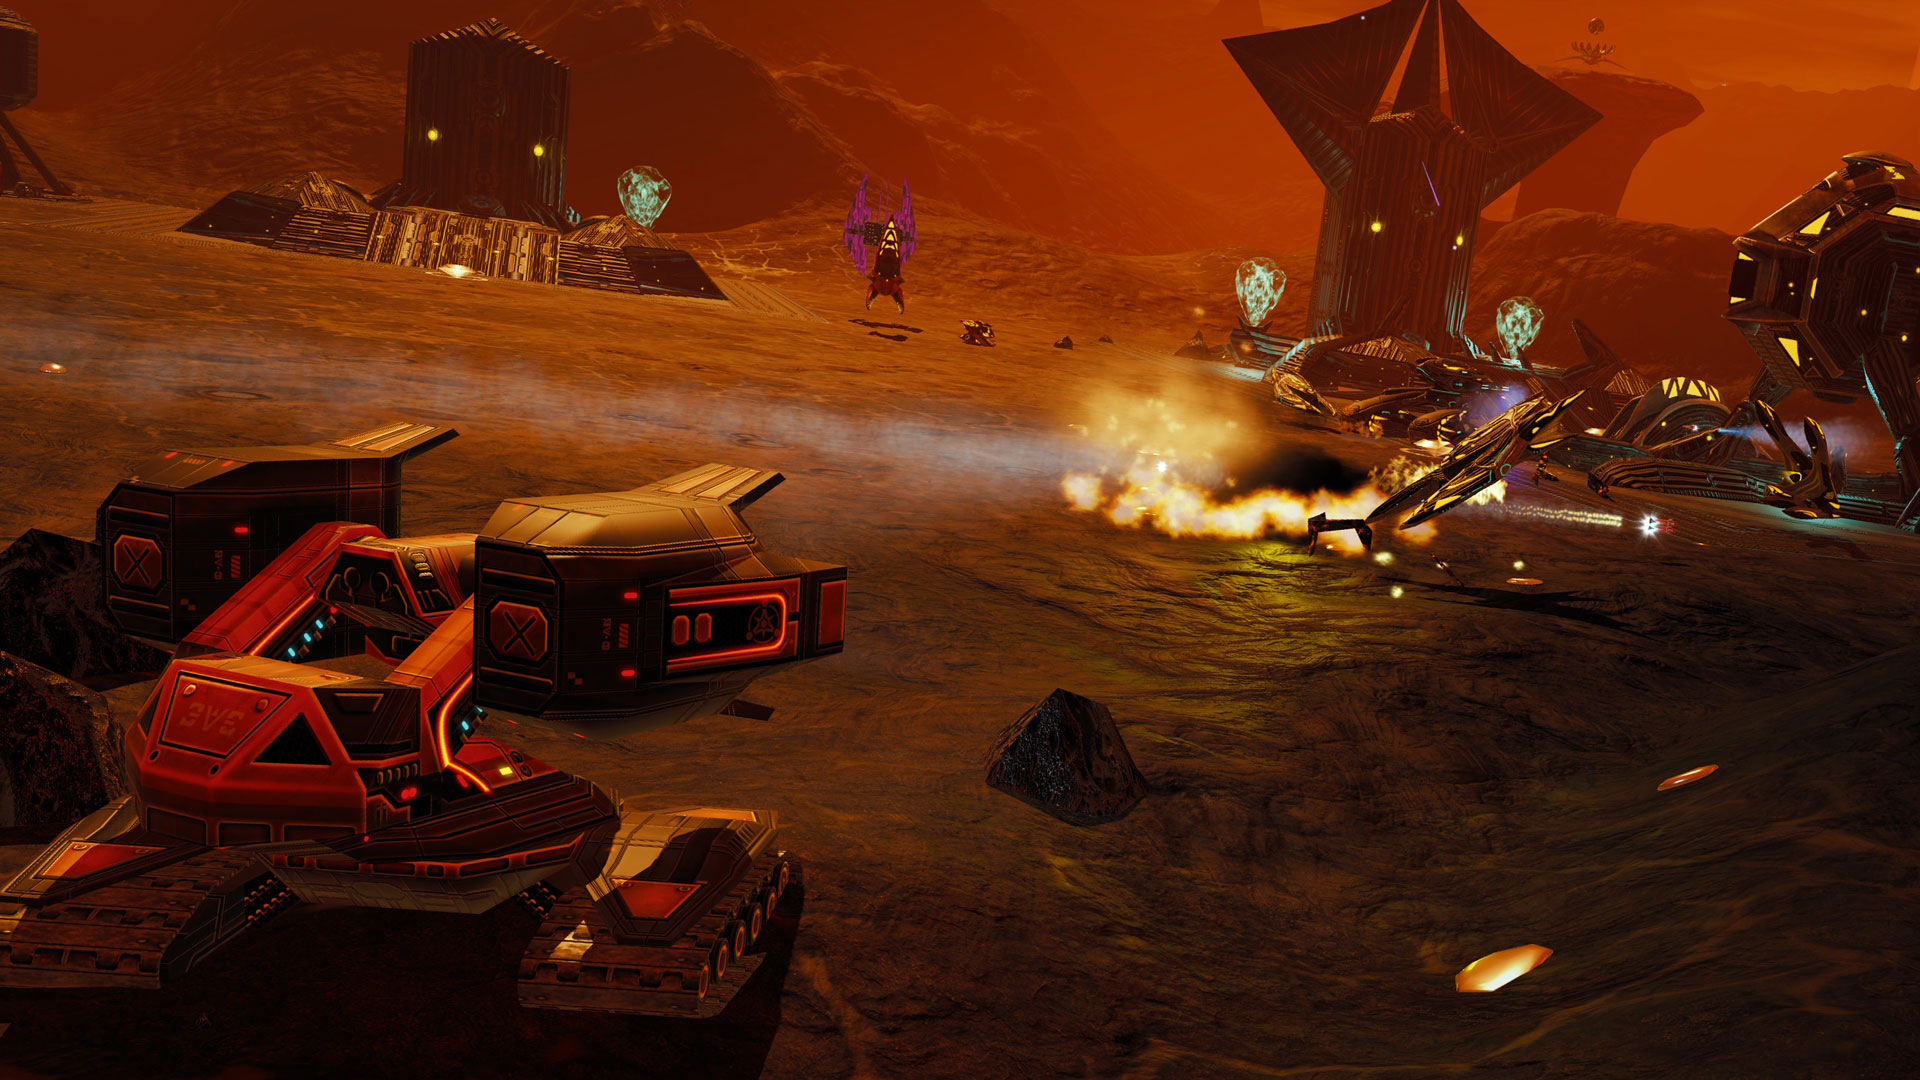
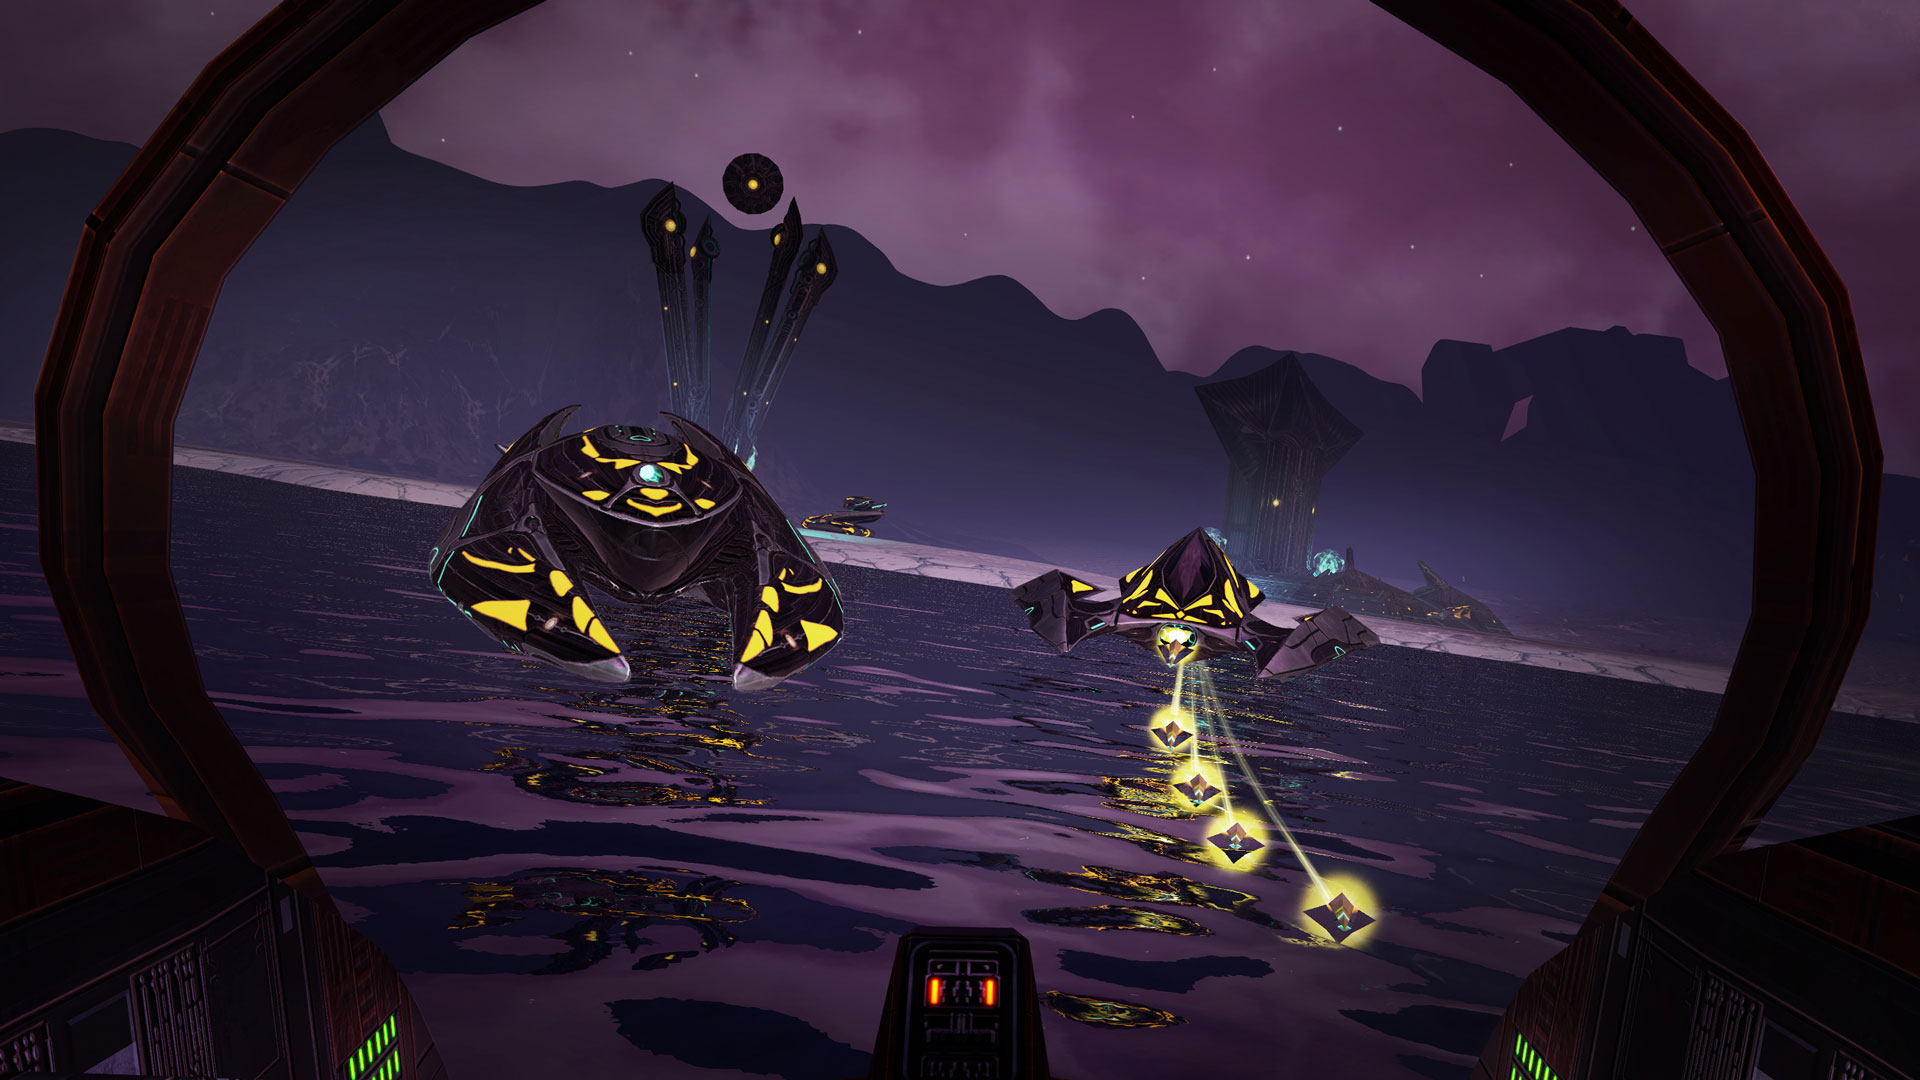
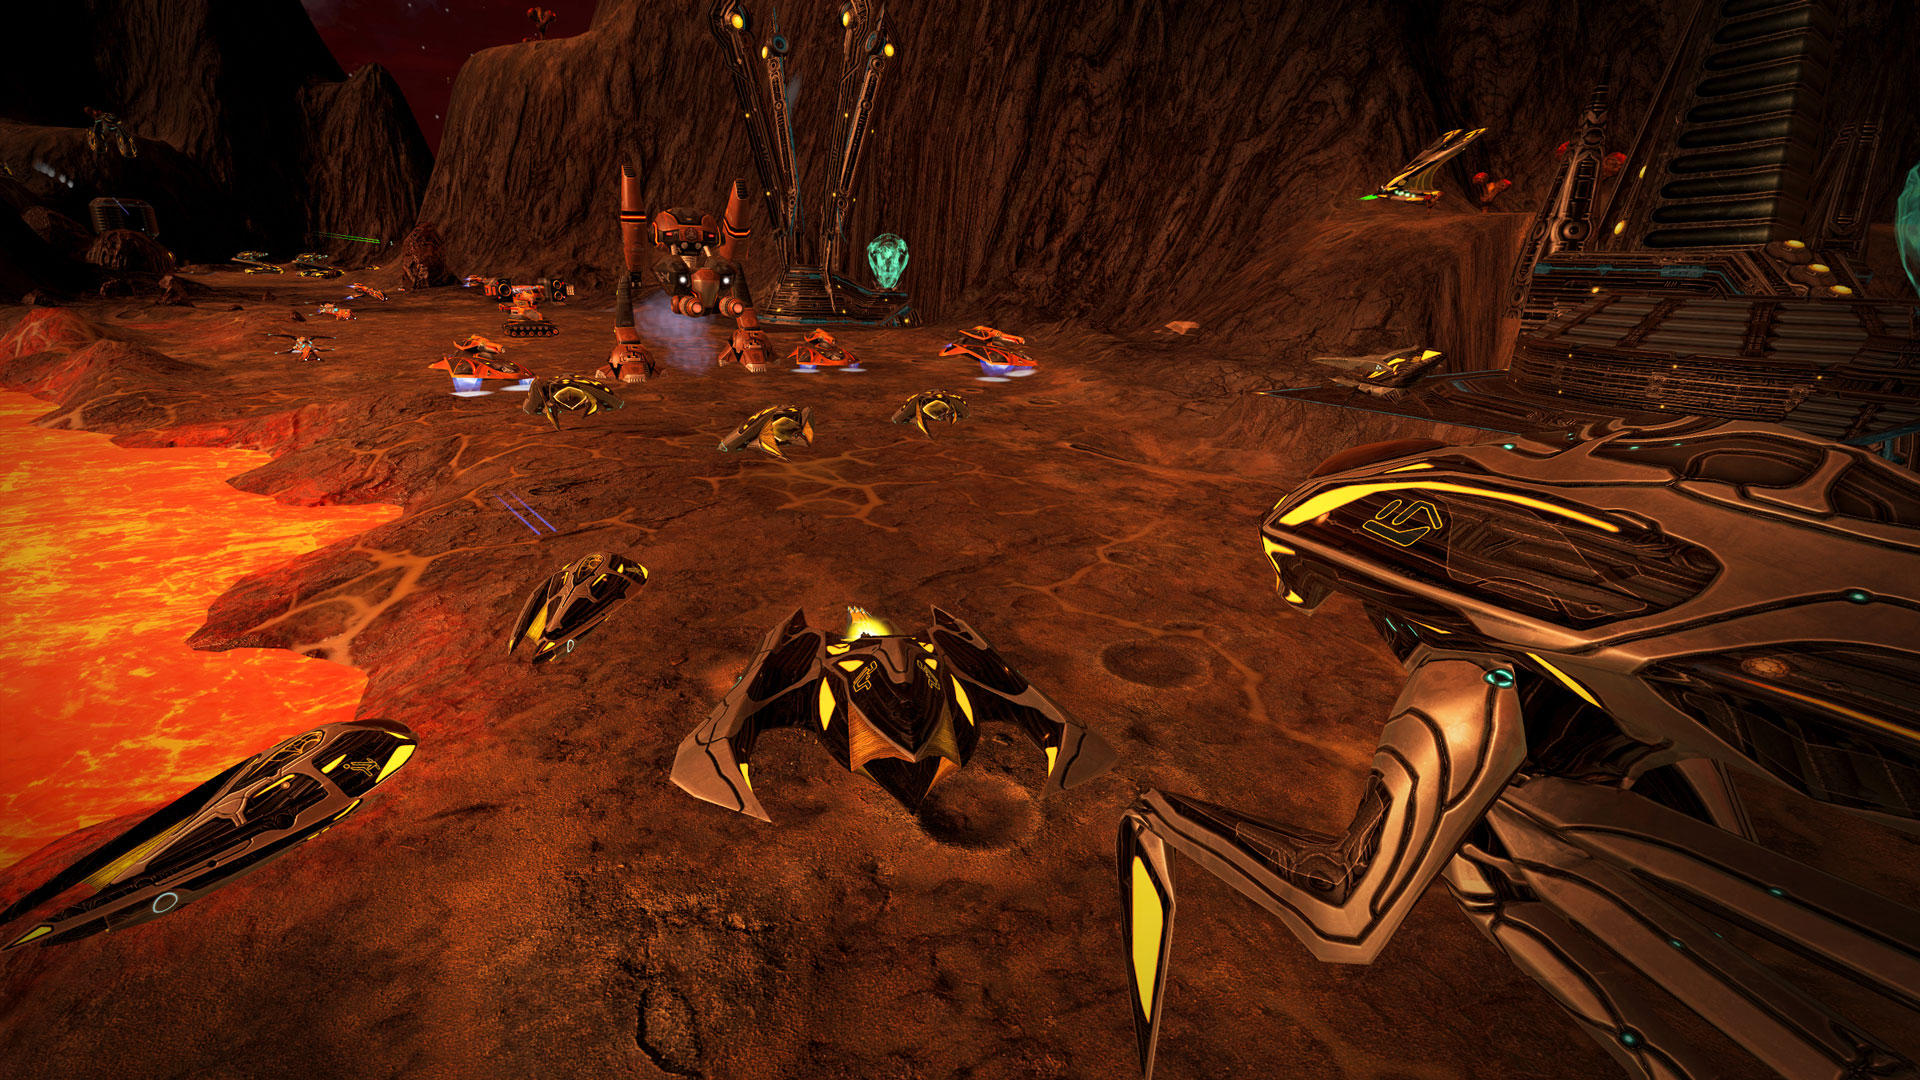
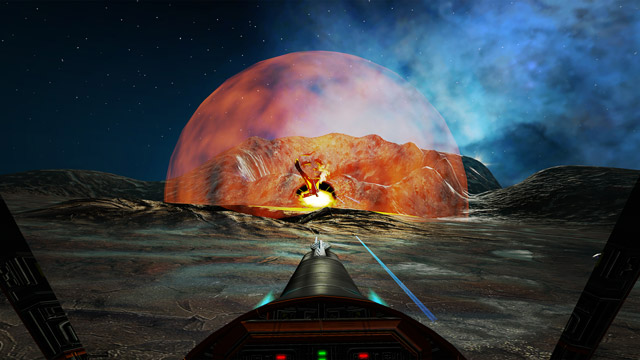
Fight across 24 intense missions, over 6 exotic living worlds, scavenging the battlefield for crucial bio-metal used to create powerful units, towering defenses, and vital facilities.

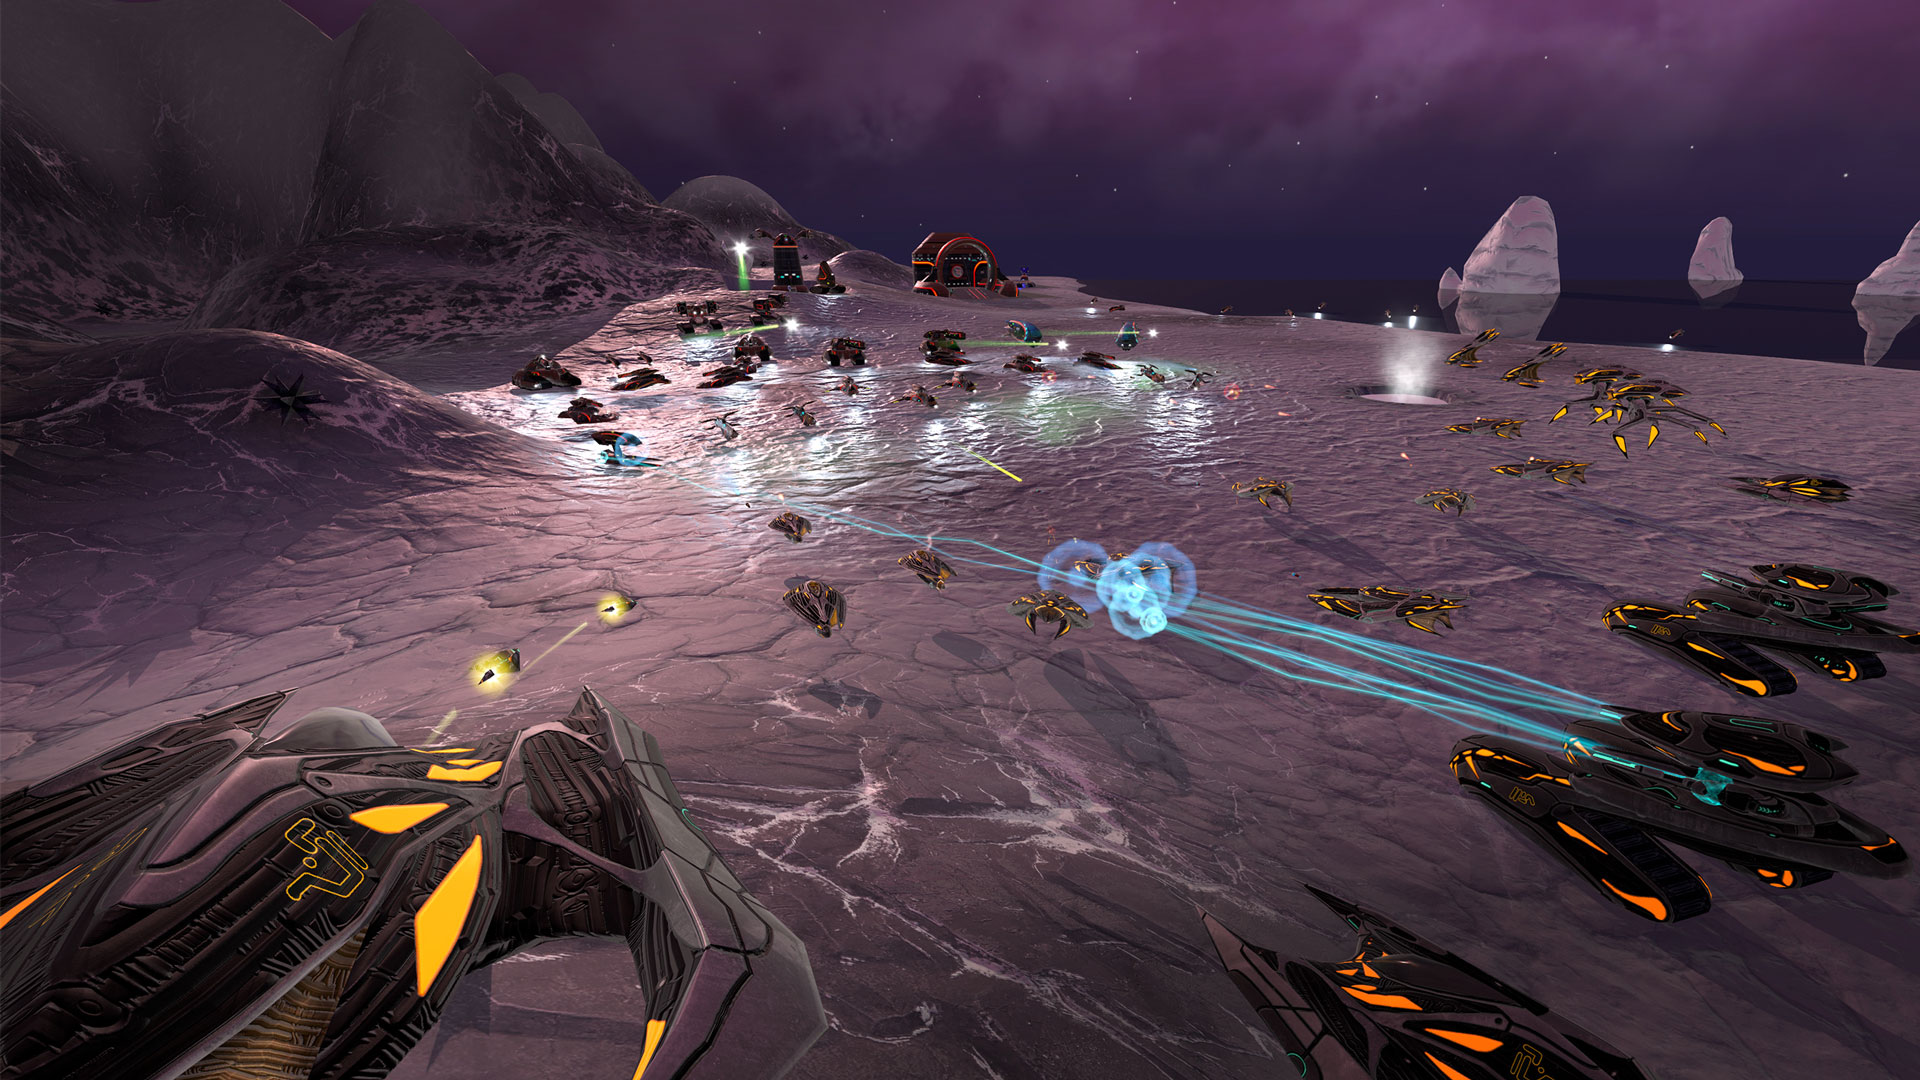
Units learn and improve as they gain combat experience - new units fight like recruits, while experienced units are a lot more effective in combat, using strafing manoeuvres, choosing weapons to suit the situation, or even retreating when necessary.
Experience Battlezone: Combat Commander like never before, with an all new DX11 renderer, shader based rendering, and a completely retextured and upscaled terrain.

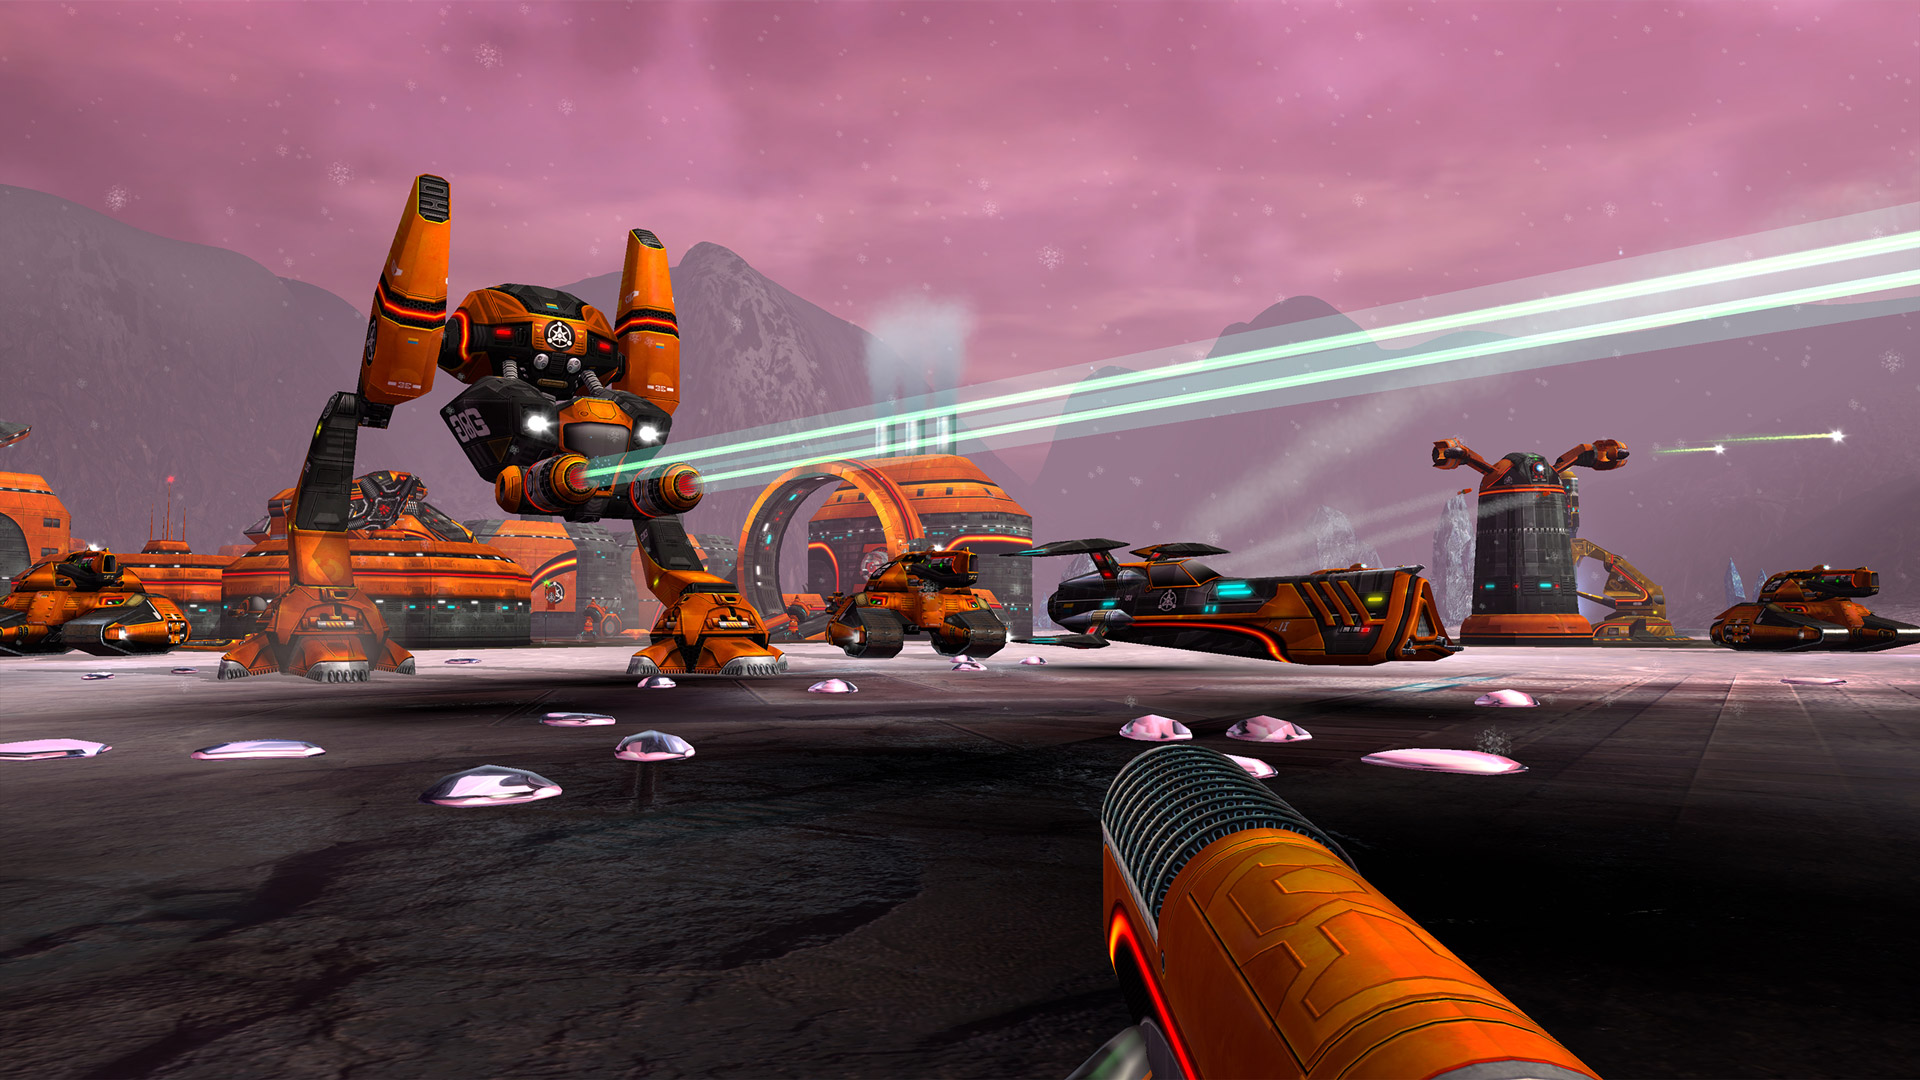
Invite your friends for a cross-play multiplayer experience, including the classic Deathmatch mode, and a co-operative mode ‘MPI’ where players must work together to win by managing their offence, defence, and scrap collection.
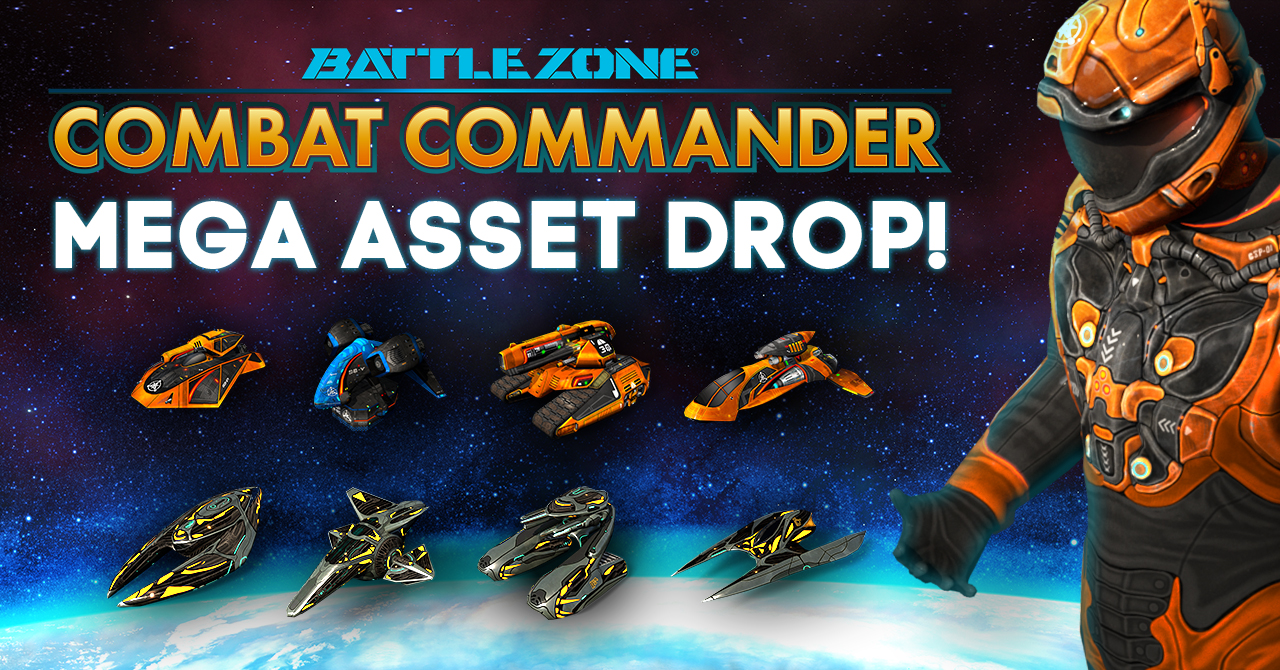
Enjoy unique community generated content with support for mods, such as new singleplayer and multiplayer map mods, new vehicles, HUDs, assets, custom scripts and much more.

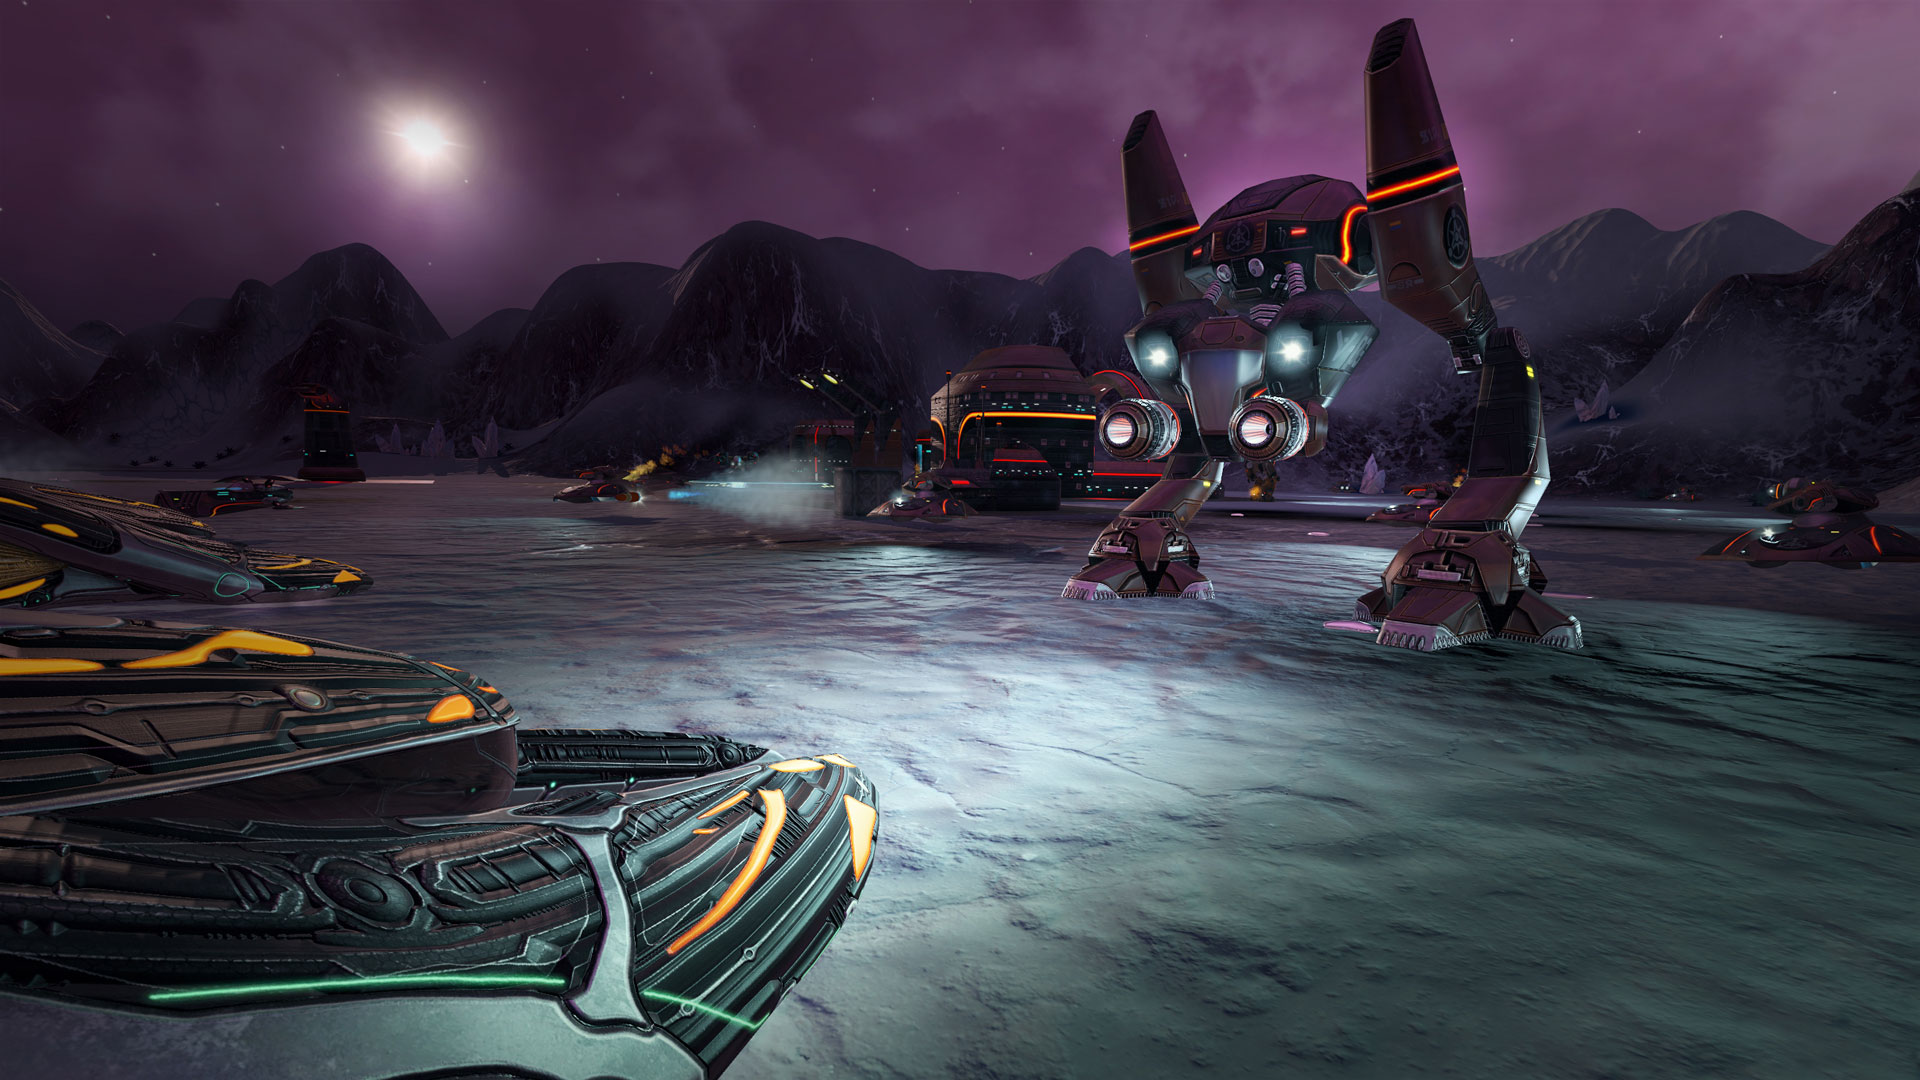
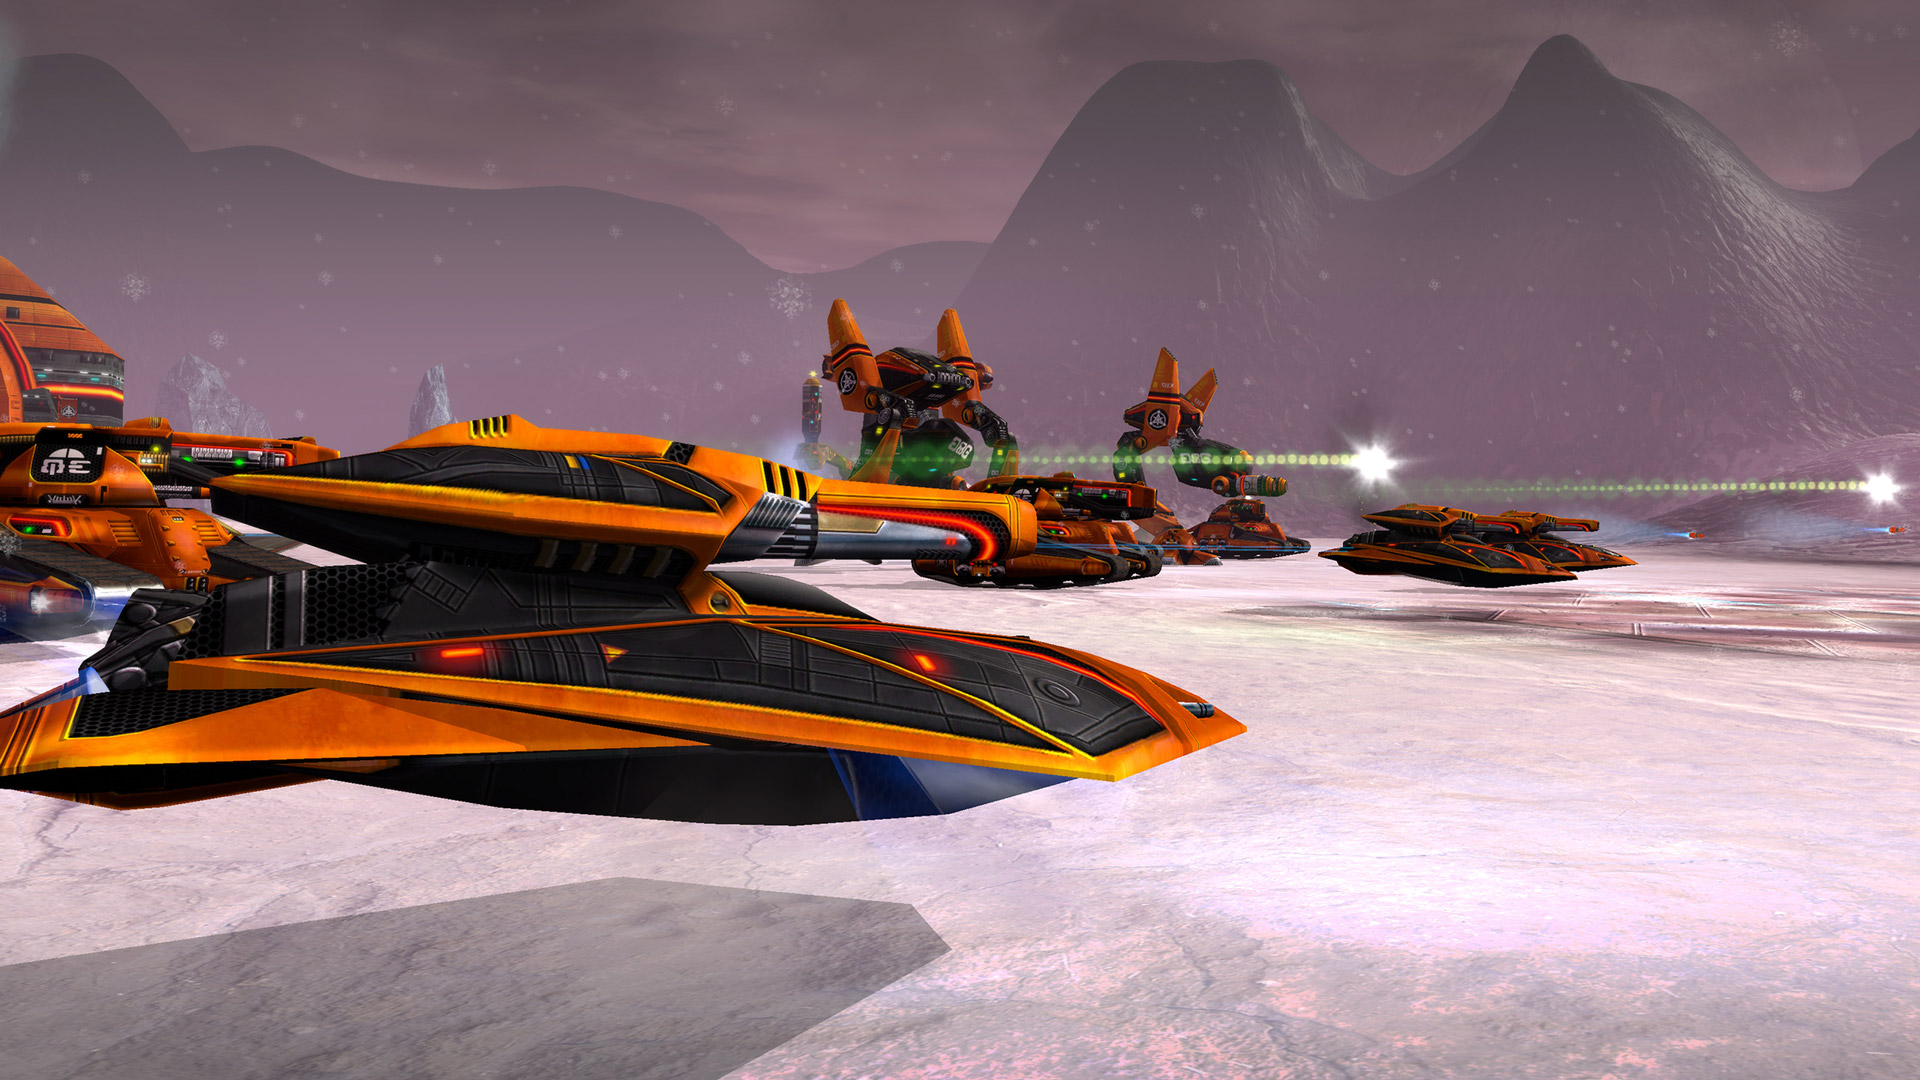
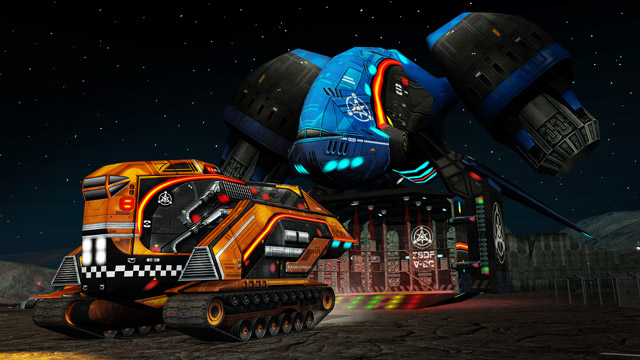
Control of over 30 unique unit types, from lethal tanks and tough ground units, to towering walkers and relentless air-support, and face off against the enemy in intense first-person combat.
1st March 2018
Welcome
In this guide we’ll look at making basic Instant Action and Deathmatch maps for Battlezone: Combat Commander. We’ll cover the most essential functions of the map editor. This includes making terrain height changes, colour and texture painting, creating water and placing buildings.
Each tool-related section below will begin with an overview of the tool’s functions, followed by how we will use it to alter our example map.
Getting Started
The first step is to open an Instant Action map from the game’s Main Menu. For this guide we’ll use "Chill". Once the map has loaded, open the console with Ctrl and ` and input the following:
game.cheat bzeditor
The screen should flash orange and a voice will announce that editing is enabled. Close the console again with Ctrl and ` and open the editor with Ctrl and e. This will take you to a satellite view of the map, with a variety of map-making tools. Time in the game is stopped while the editor is open.
If you are going to make a deathmatch map, select Load, and browse to the following location:
\BZ2R\maps\Missions\Multiplayer\DM
Choose the .bzn file for the map you want to edit
While in the map editor, use + and - to zoom in and out. Pan with WASD. You can also clear away fog using the Visibility Range options.
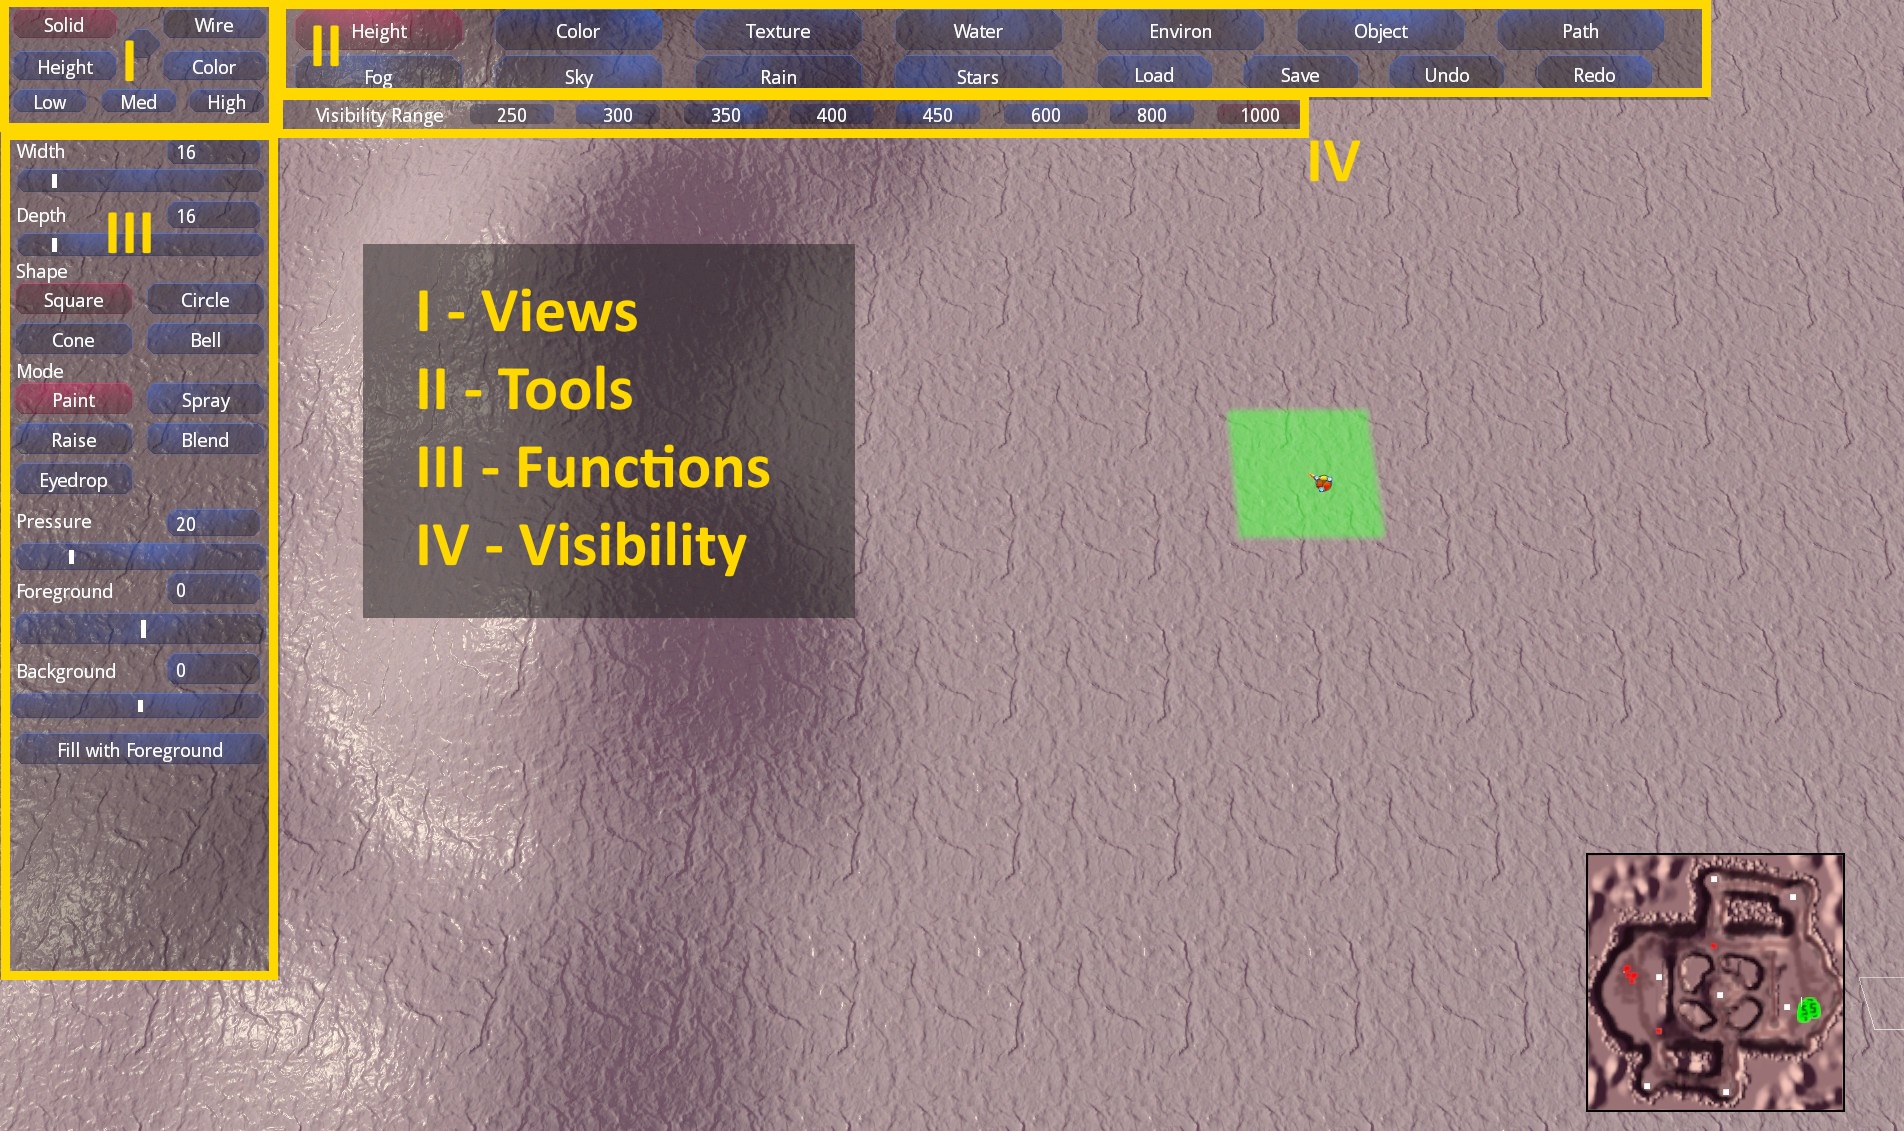
Take some time to familiarise yourself with how the editor’s menu is arranged:
Clearing the map
Before you start, select the Object tool and select the Erase function. We will return to this tool in more detail later in the guide, but for now we just need to erase any biometal pools or enemy buildings, as these prevent the terrain beneath them from being changed.
Do not delete spawn points! They look like this:
In the top-left corner there are four buttons that alter the view you have of the map:
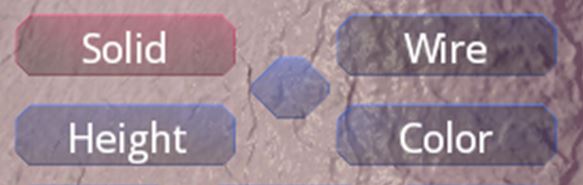
For now we will only be using the Solid view, so don’t worry about changing these for now.
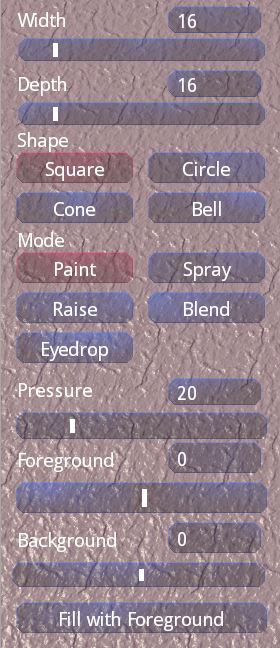
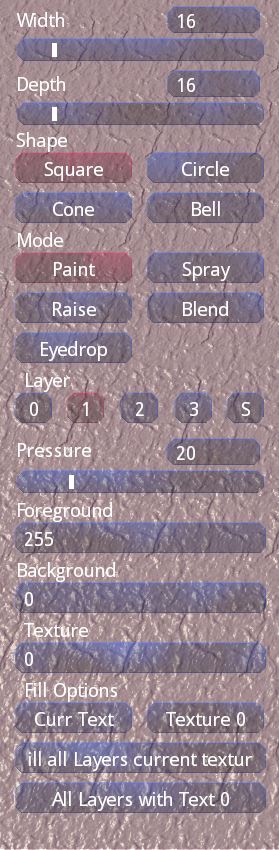
Functions Overview
Width and Depth – These alter the size of your brush - the green highlighted area.
Shape – These are brush shape settings:
Mode
Pressure
This determines the speed of the Spray and Raise modes.
Foreground
The height in metres of terrain painted with LMB.
Background
The height in metres of terrain painted with RMB.
Altering Terrain
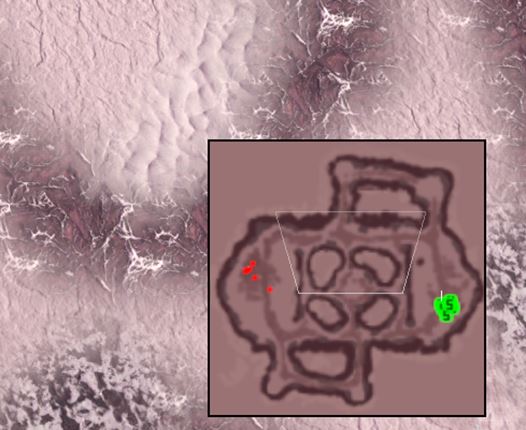
To start with, we’re going to make the map completely flat – select the function called Fill with Foreground, and the entire map will be set to the current Foreground value. You’ll notice that the texture of the terrain doesn’t change, only the elevation. This can be confusing – especially if you look at the minimap, as its height and texture features can be hard to distinguish:
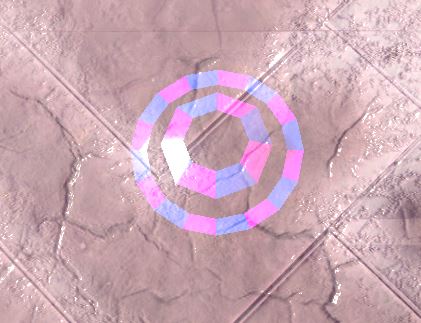
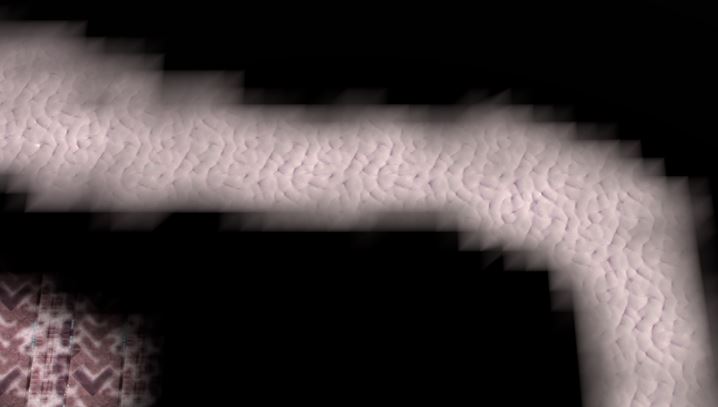
Now we’ll have a go at creating some terrain. Start by creating a boundary wall around the map. The player will be bounced back automatically if they try to go beyond the limits of the minimap, but it’s a good idea to have a visible barrier as a clear signal to the player.
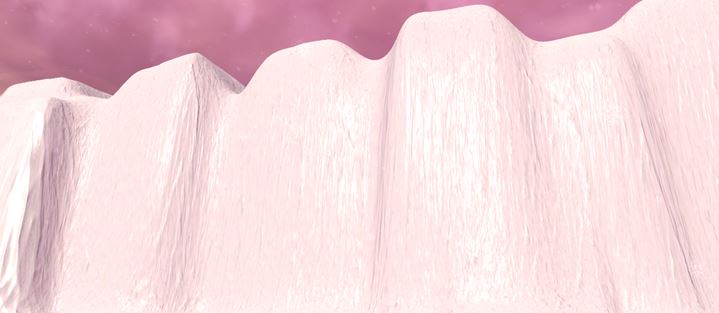
In the example above we made a wavering wall with the Square brush, and raised the height sporadically along the top. Finally, using the Blend function, we smoothed over the whole thing. That is enough to give it a fairly natural look already – with trial and error it is possible to make very detailed and realistic-looking terrain formations, especially with the addition of textures later on. The Blend function is very important for this, though sometimes you may want features to be more unnatural and hard-edged.
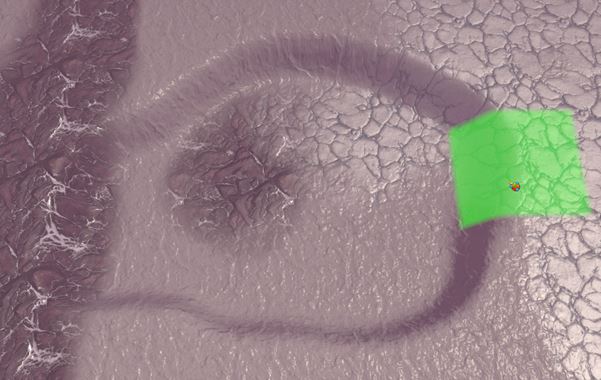
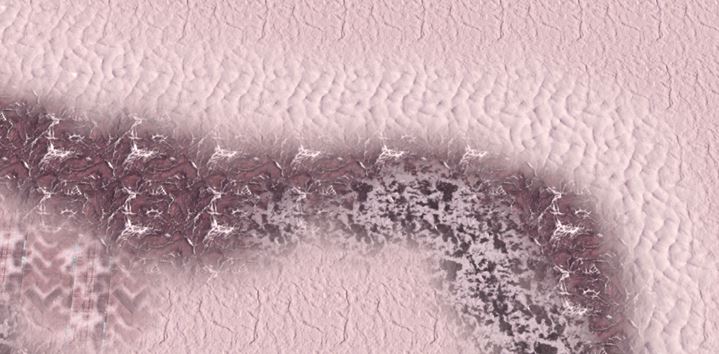
In this example, we lowered the Background value to enable us to sink a hole into the terrain. Using the Bell brush shape and right-clicking we made a pit. Blending isn’t as necessary here as it is when you have painted with the Square brush, but we used it anyway. Making holes like this is a good way to create natural-looking pools for liquid to go in (of which more later).
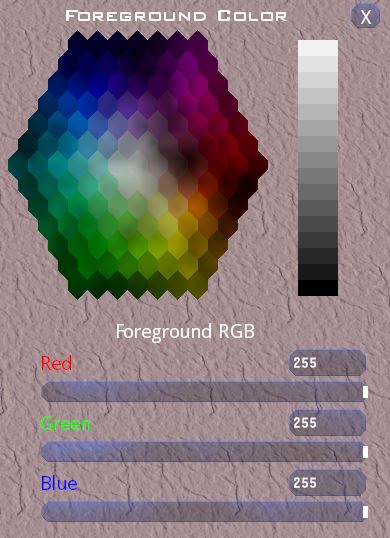
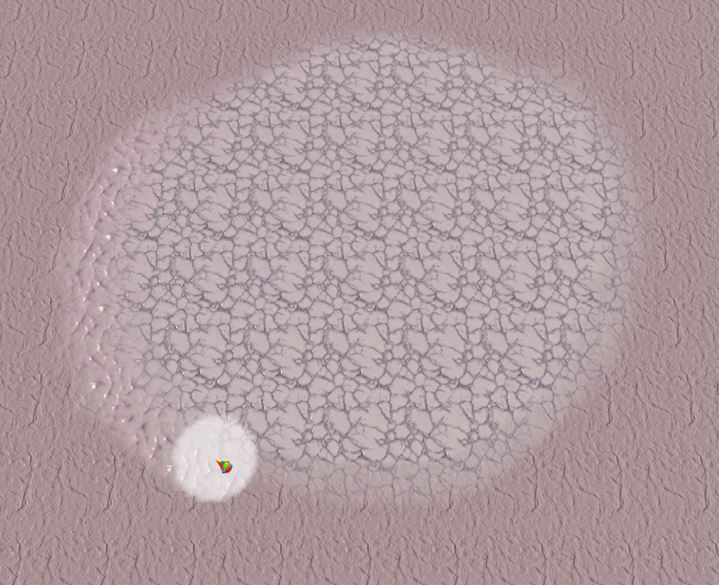
This is the same basic toolset as Height, except that it alters the colour of the terrain, not the height. The Foreground and Background can be set to RGB values, or selected from a palette.

The Color tool has great novelty value of course, but can also be very useful. For example it can be used to alter the colour of the available textures on a map, without them having to be edited outside of the game and imported. Using functions like Blend and Spray it is possible to achieve quite subtle colouration.
If you’re going to be painting with a lot of colours it can be helpful to paint out a colour palette on a spare bit of terrain, as you can then see how the colours will really look when you lay them down. You can then use Eyedrop to select from this palette.

Finally, you can erase by right-clicking with the Paint function, or left-click with the Raise function to erase gradually.
Functions Overview
Width and Depth alter the size of your brush.
Layer
Foreground/Background – Sets the alpha value up to 255 (LMB or RMB).
Fill Options
Layers and the S Function
Understanding layers is crucial to being able to create and alter the texture of your terrain. Layer 0 is the base layer – for this it is best to choose one of the more plain textures you have available. You’ll see that you can only paint to this layer in squares, without any kind of blending, as it is simply the background texture.
Layers 1, 2 and 3 are where you will be doing the creative stuff. Each layer overwrites the one below it.
To start with a blank canvas here, select the Paint function and make sure you have the level 0 texture selected. Start with level 3 and use right-click to erase.
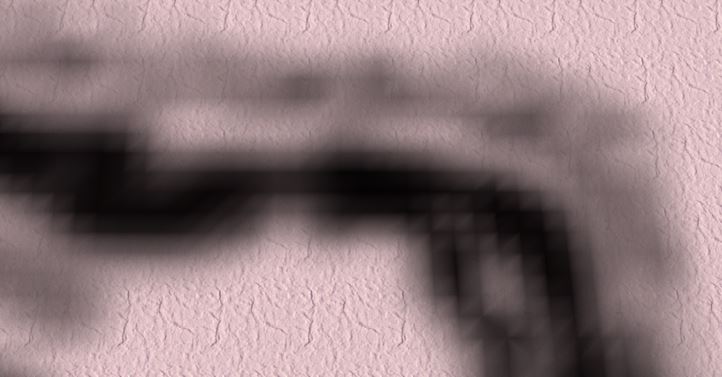
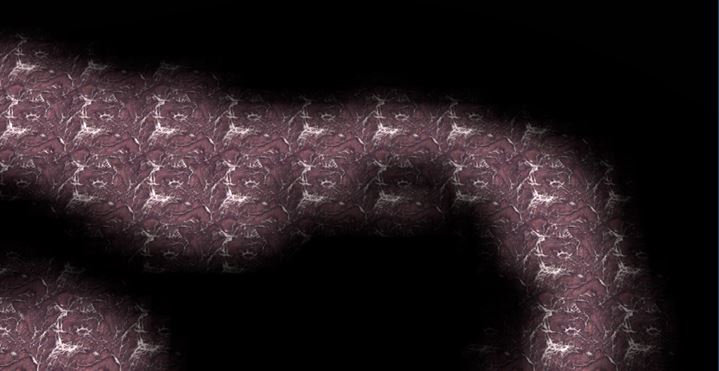
The S function is incredibly useful once you get used to what you are seeing – it will show you only what is on the selected layer, with everything else blanked out in either black or white. Also, anything covered over by texture on a layer above will be blanked out too. This allows you to make sure you have fully erased the current layer before moving on to the next.
Here’s an example piece of terrain, showing the S function in action, and how a texture is built up of layers:
Layer 0
Layer 1
Layer 2
Layer 3
Final Texture
Some Tips
In the example above we made a circle of cracked ice on layer 3, using Spray to give it soft edges. Next we switched to layer 2 and began outlining the circle with a dimpled snow texture. The two textures overlap quite a lot so that the snow just pokes out from underneath.
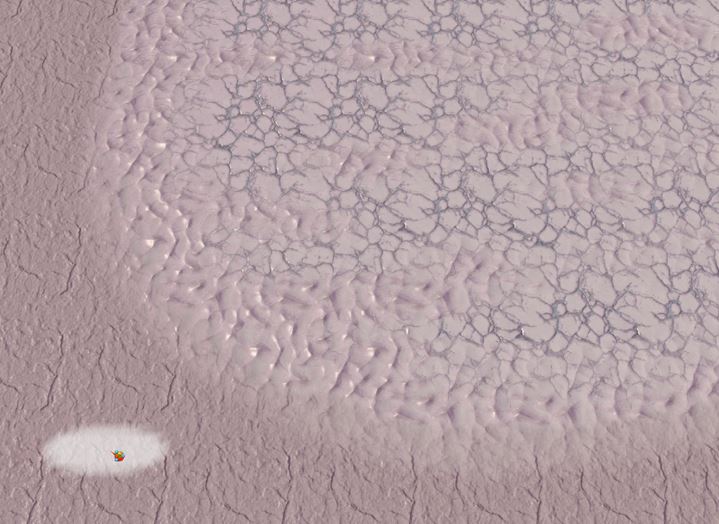
Next we painted the dimpled snow texture entirely underneath the cracked ice and then used Raise (remember to change textures when you change layers!) and right-clicked to remove patches of the texture on top so bits come through. This can give the effect of patches of dimpled snow lying on top of the ice. It’s also worth experimenting with the Width and Depth values of your brush.
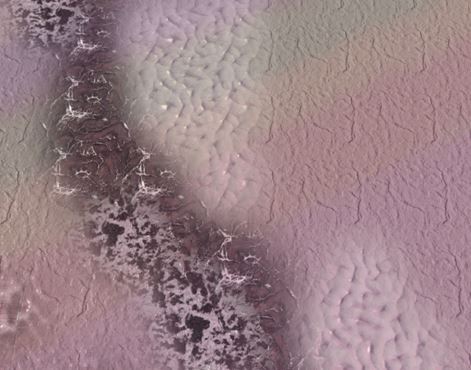
Less is probably more when it comes to texturing; it can very easily become far too cluttered. It can be a good idea to set consistent rules for how you use the textures on your map. Here’s that patch of terrain from earlier as it appears on the original map before it was flattened out:
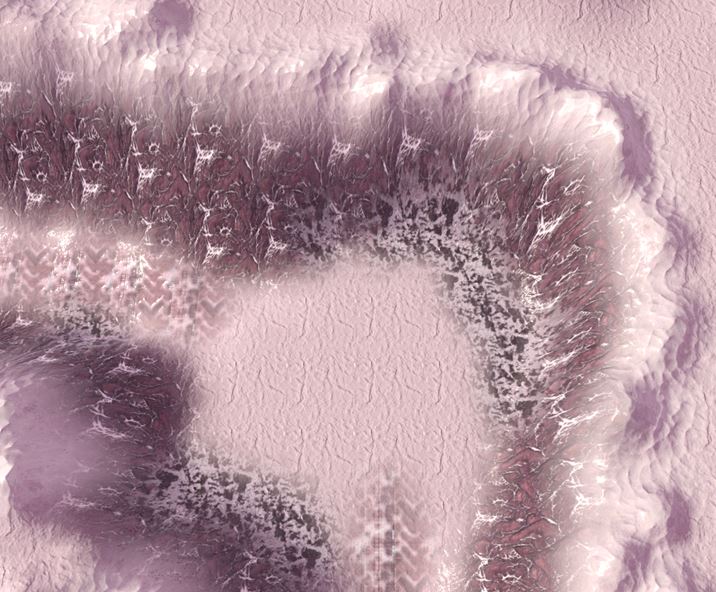
You can see that each texture has been given a specific role – that dimpled snow texture is used for clifftops; bare rock is used for vertical cliff faces. Narrow canyon floors also have a bare rock effect, while open spaces are covered with snow or ice.
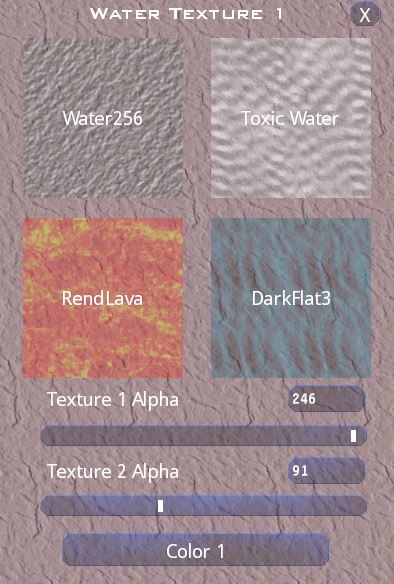
Functions Overview
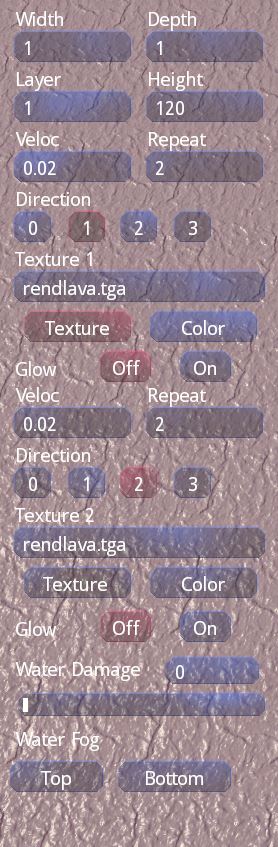
Layer
Height
Textures
Each layer has two textures.
Choose Texture 1
Repeat for Texture 2
The two textures are combined, and you can alter their alpha values to balance them together.
Water Damage – The amount of damage being on or in water deals.
Water Fog – Change colours and visibility of upper and lower layers of water.
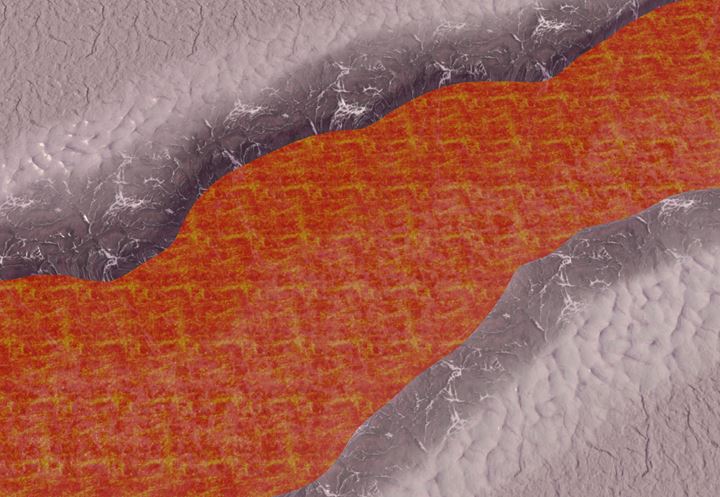
Placing Water
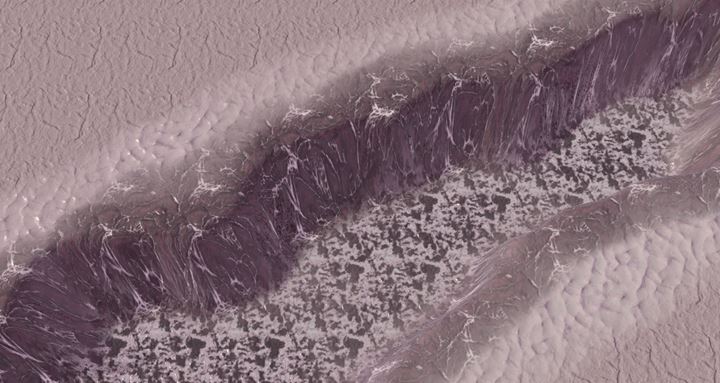
Using what we have already covered, we have made a large trench and textured it. Next we want to fill it with lava, to warm up this snowy level a bit:
When you first place water you won’t be able to see it.
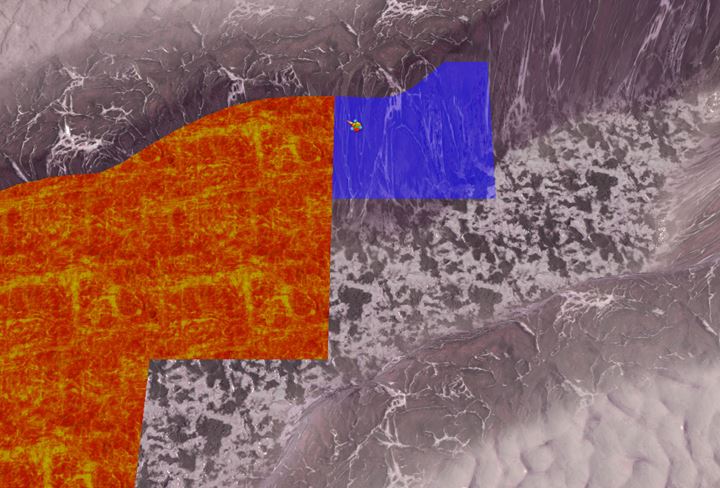
Now we’ve started to fill in our lava trench. Once it’s filled in completely, we’ll have a better idea of how the changes we make affect its appearance.
Next to the Texture function there is a button labelled Color. Depending on the texture you choose, and how the two layers interact, the colours you pick may not look as you expect. Trial and error is again the best approach here.
For each texture you can also set Velocity (how fast the liquid flows), Direction (the direction in which it flows) and Repeat (how much the texture pattern repeats per tile).
You don’t always need to use both textures – again, if you’re after a subtle effect sometimes less is more.
Functions Overview
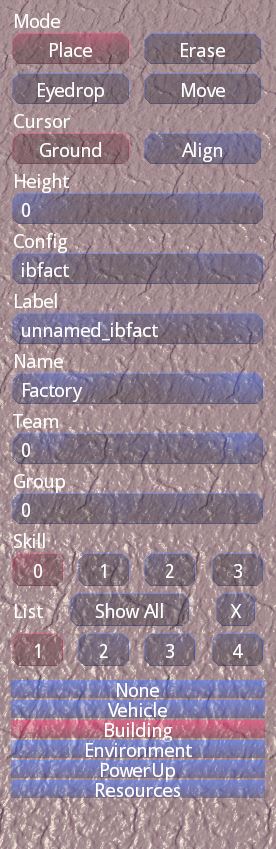
Mode
Cursor
0 = Neutral
1 = Player
5 = Enemy
Show All = Shows all lists
Numbers = Groups of lists
X = Closes current open list
Placing Objects
Now we're ready to place some buildings, health/ammo pickups, and scrap pools. Placing enemy units and spawn points is beyond the scope of this guide; we will keep those as they were on the original ‘Chill’ map.
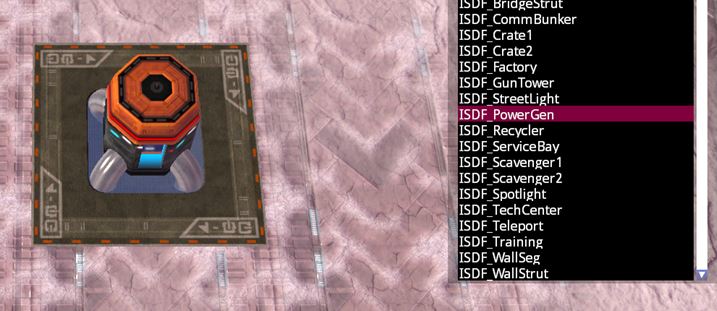
First let’s try placing a building:
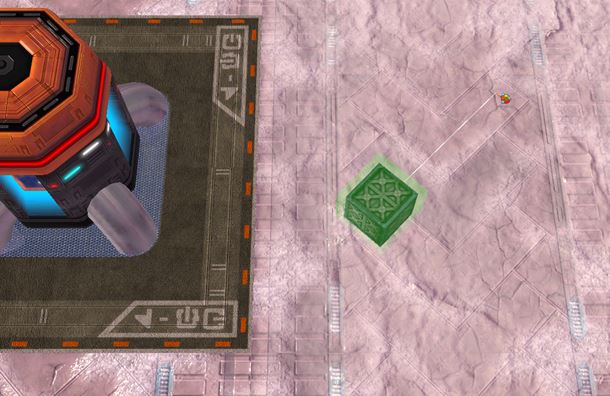
When placing, right-click to rotate an object, and left-click to place. Next to the power generator, we’ll place a crate, ‘ISDF_Crate1’.
Once you have placed an object you can use Move to change its position; left-click and drag it around or use right-click to rotate it. When you hover the cursor over the building you will see a white line going from its centre to your cursor – hold right-click and move the mouse to rotate using this line. Some objects, like our power generator, will snap to the four cardinal directions, whereas others, like our crate, can smoothly rotate.
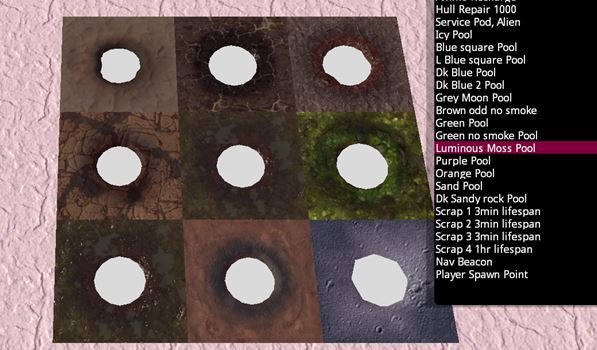
You can find scrap pools to match your terrain in the Resources menu.
As we have been editing a map from another that has already started, we need to delete all spawned objects before saving, otherwise they will be duplicated when we load up our map.
Do not erase the spawn points.
Remember to use the Visibility Range function to replace fog too!
Instant Action
When saving, browse to (depending on where you have Steam installed):
C:\Program Files (x86)\Steam\steamapps\common\BZ2R\maps\Missions\Instant\
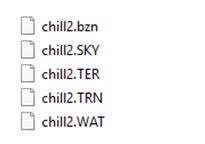
Make a folder here and save your map in it as a .bzn file. For this guide we're going to call our map chill2.
Other files
If you now browse to the save location above you should find your .bzn file accompanied by four new ones:
Before you get your map working in the game, there are a few extra files you should add. First of all, open a new text document and type the following (make sure the names you use match across all the files in your map’s folder):
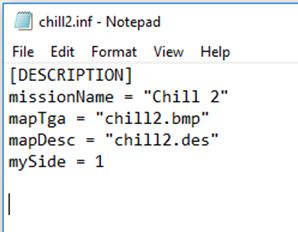
“missionName” is the name your map will appear under in the game. “mySide” determine which side the human player is on – for Scion put 0 and for ISDF put 1. Save this document as a .inf file.
Creating a Minimap Image
Finally, you need a .bmp image for your map. You can either create a square image and save it as .bmp, or (if you want a minimap like the other maps have) you can get the game to create one for you. To do this, press the Windows key + R and type the following (depending on where you have Steam installed):
"C:\Program Files (x86)\Steam\steamapps\common\BZ2R\battlezone2.exe" /shellmap 128 chill2.bzn
You will get a Steam message asking you to confirm this command, and then the game will open into the custom map. Close the game and browse to Documents\My Games\Battlezone Combat Commander – you should find your new .bmp there. Copy it to your map’s directory.
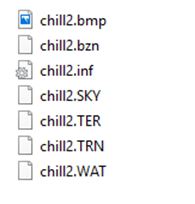
You should now have the following files in the map’s directory:
Deathmatch
Save your deathmatch map in:
…\Documents\My Games\Battlezone Combat Commander\addon
When you browse to this folder you will find four other files have been created: .SKY, .TER, .TRN, and .WAT
- Make a folder with your map’s name and move the files into that.
- Create the following folder structure in that folder:
Content/Missions/Multiplayer/DM/[map name]
- Move the .bzn and associated files into /DM/[map name]
- In the Missions folder also create a folder called ‘instant’
To upload your map to the Steam Workshop, you will need to install the BZ:CC Uploader Tool. Open your Steam client and browse to LIBRARY > Tools. Find the uploader tool in the list and install it.
Next, browse to C:\Program Files (x86)\Steam\steamapps\common\BZ2 Uploader\ExampleConfig
There are four files in this folder:
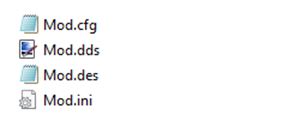
Copy these to your map’s folder but do not rename them. Make a new subfolder there and put all the other files in it, leaving these four where they are.
Instant Action
You do not need to edit the .cfg or .dds files.
Edit the .des file to contain a description of your map as it will appear in the game.
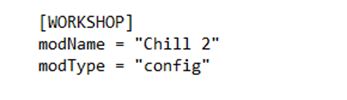
Finally the .ini needs to be edited to contain the following:
Deathmatch
With a Deathmatch you will need to edit the .cfg file a little. Find the line that says:
//These are local asset folders for this mod
And underneath type:
AddLocalWorkshopDirRecurse(“Content”);
Edit the .des file to contain a description of your map as it will appear in the game.
Finally edit the .ini file as with the Instant Action version above, with your map’s name.
Uploading
Now open the uploader tool, input a name for your mod and the description to appear in the Workshop.
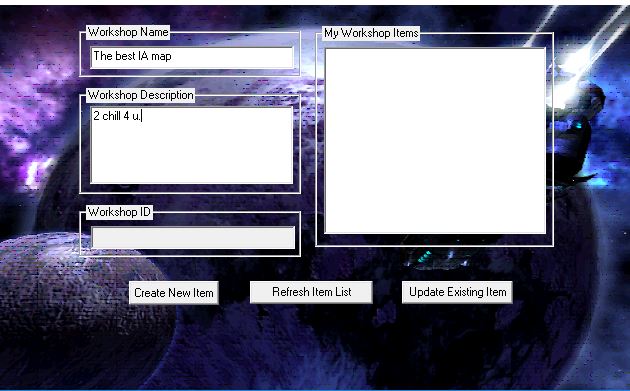
Click on Create New Item, select your mod’s root folder, and select the .bmp – this is the image that will represent your map on the Workshop; you can use any image under 1 MB, but it's most helpful to other users if you show the map.
The upload should then begin. The four ‘Mod’ files will automatically be renamed with the ID number of your mod in the Workshop.
You now have a map on the Workshop for others to download!
My cursor has disappeared
Check that you have the correct function selected - this usually happens when you have selected Eyedrop.
Texture - There are sharp edges/corners between two textures
Avoid placing two textures next to each other on the same layer.
Texture - I cannot paint or erase textures
Make sure you have the right layer selected.
If you have used any of the automatic Fill functions, you may need to erase the existing texture before you can paint.
Water - I cannot see the cursor
If you have the right function selected, then most likely the Height setting is below that of the terrain.
Water - I have placed water but cannot see it
You need to make sure you have chosen a texture and colour for your water, and then increased the Alpha values for the texture to make it opaque.
Water - The water is the wrong colour
The colour of water is not as predictable as it is with the Paint tool. The way the two layers of the water texture interact will also affect the colour. In general, the colour will be darker than you expect.
Object - I can't see the object I'm trying to place
Check the Ground and Align settings. The object is probably set higher than your current viewpoint.
Object - objects I place are neutral when I load the map
Check the Team setting:
0 = Neutral
1 = Player
5 = Enemy
Where can I get more help?
A great place to start would be the Battlezone Community Discord Channel