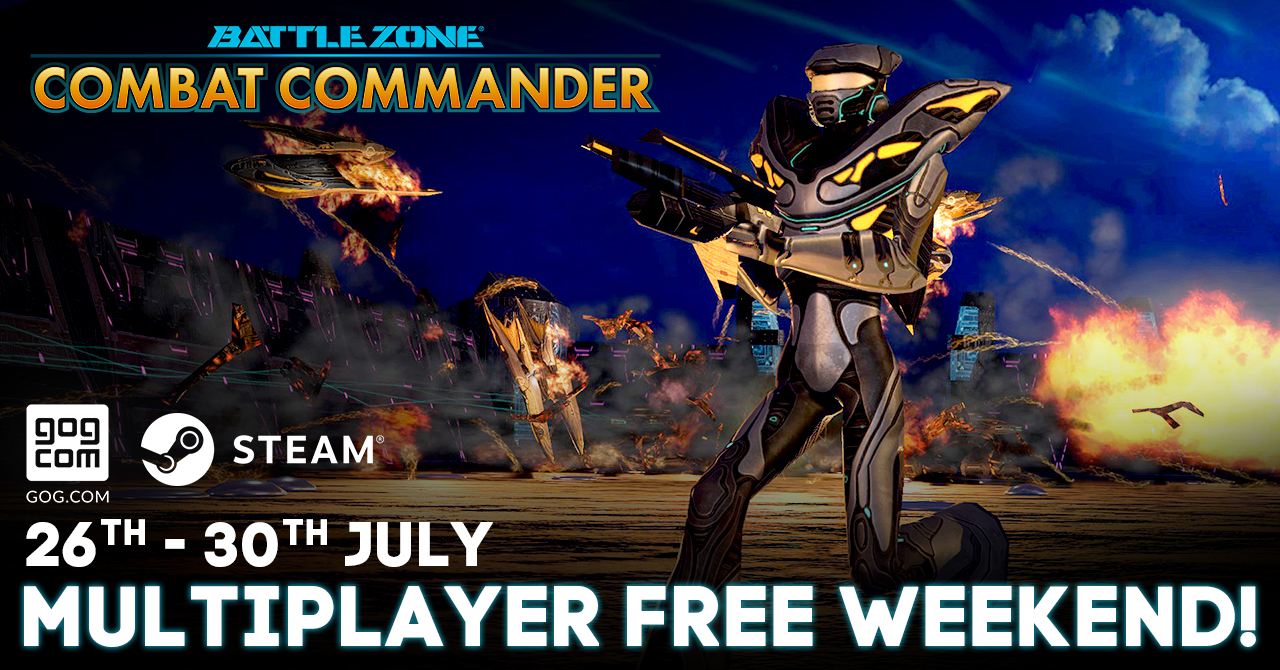
Multiplayer Free Weekend | 26th - 30th July 2018
Posted 26th July 2018
See details on the Multiplayer Free Weekend and sale
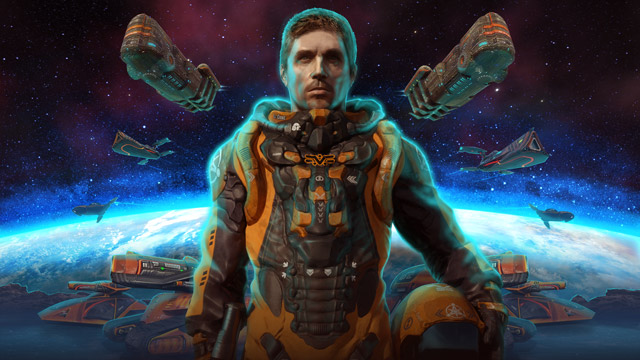
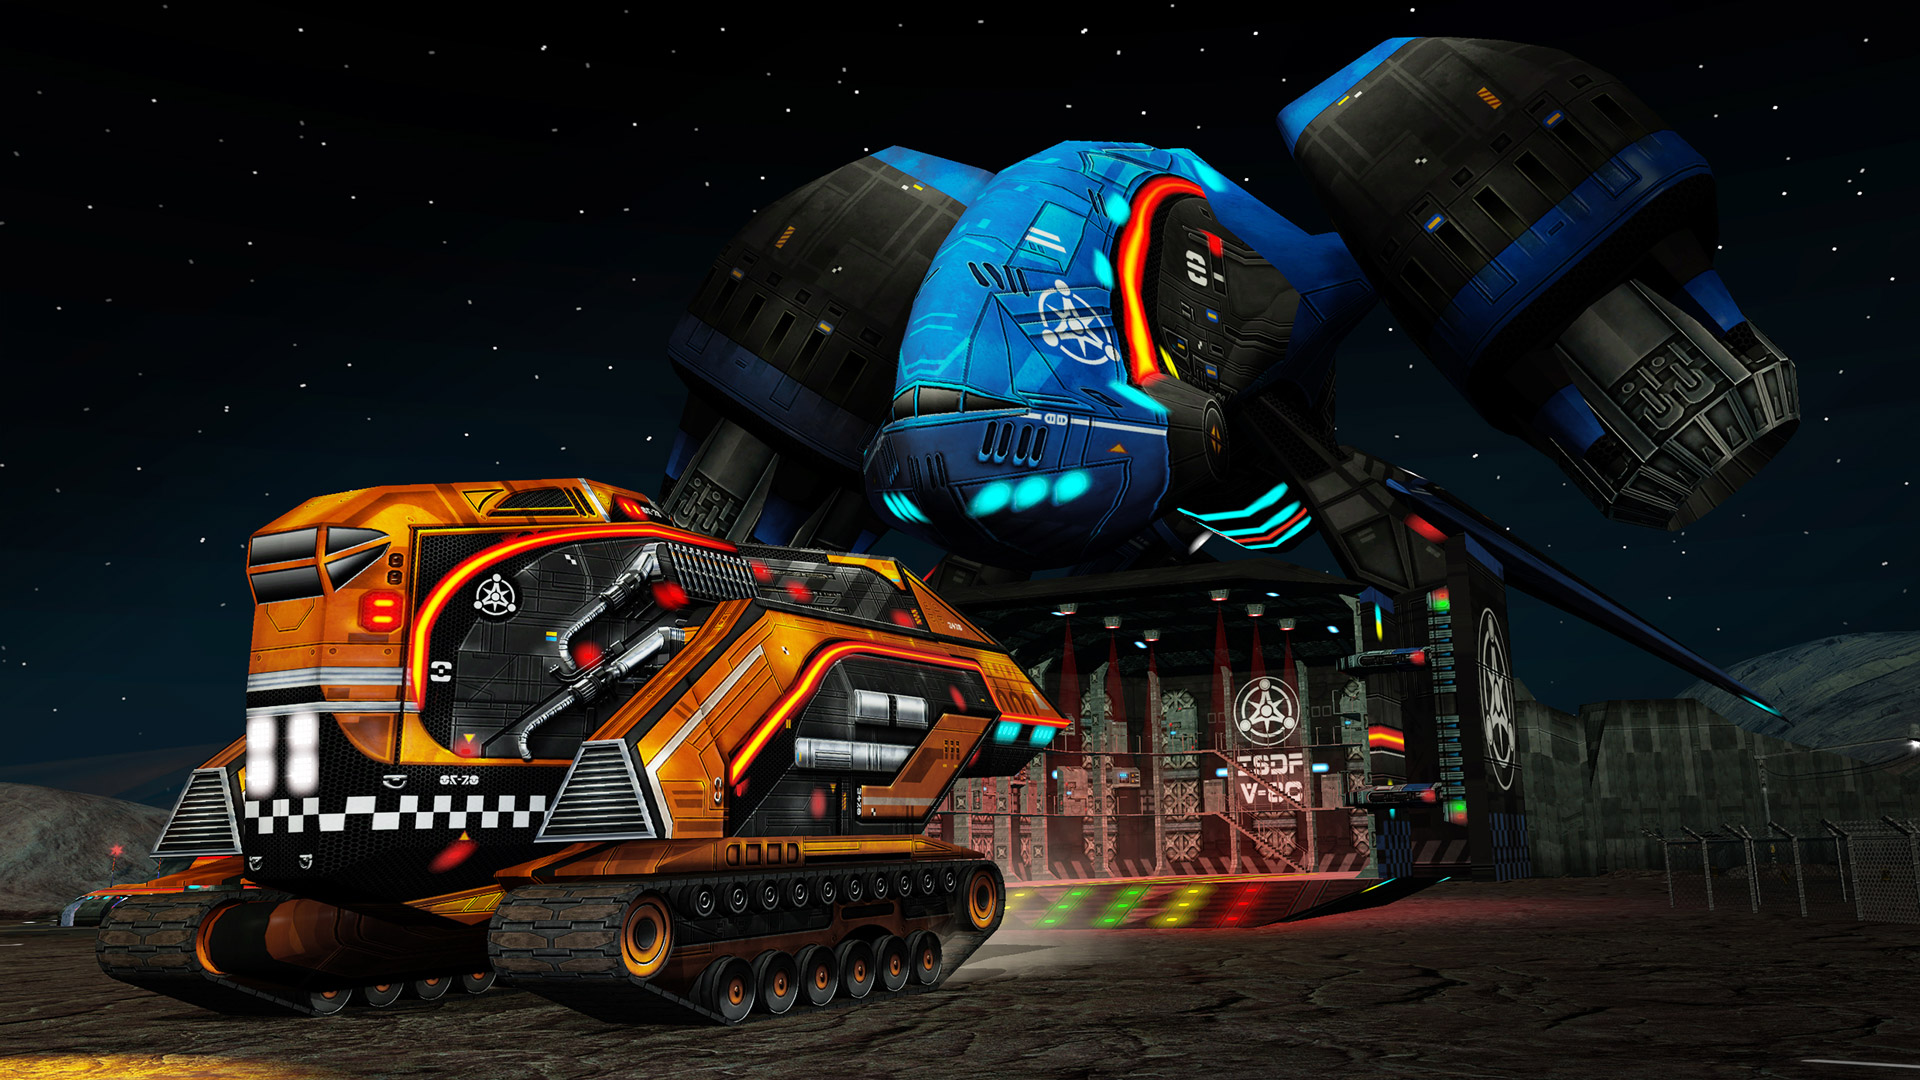
Once arch enemies, the US and Russia abandon their space race and unite their forces in the face of impending alien attack. Combining to form the elite International Space Defence Force, they recruit you to help lead resistance, before total devastation is unleashed on the human race.
The solar system is at war. Take command.
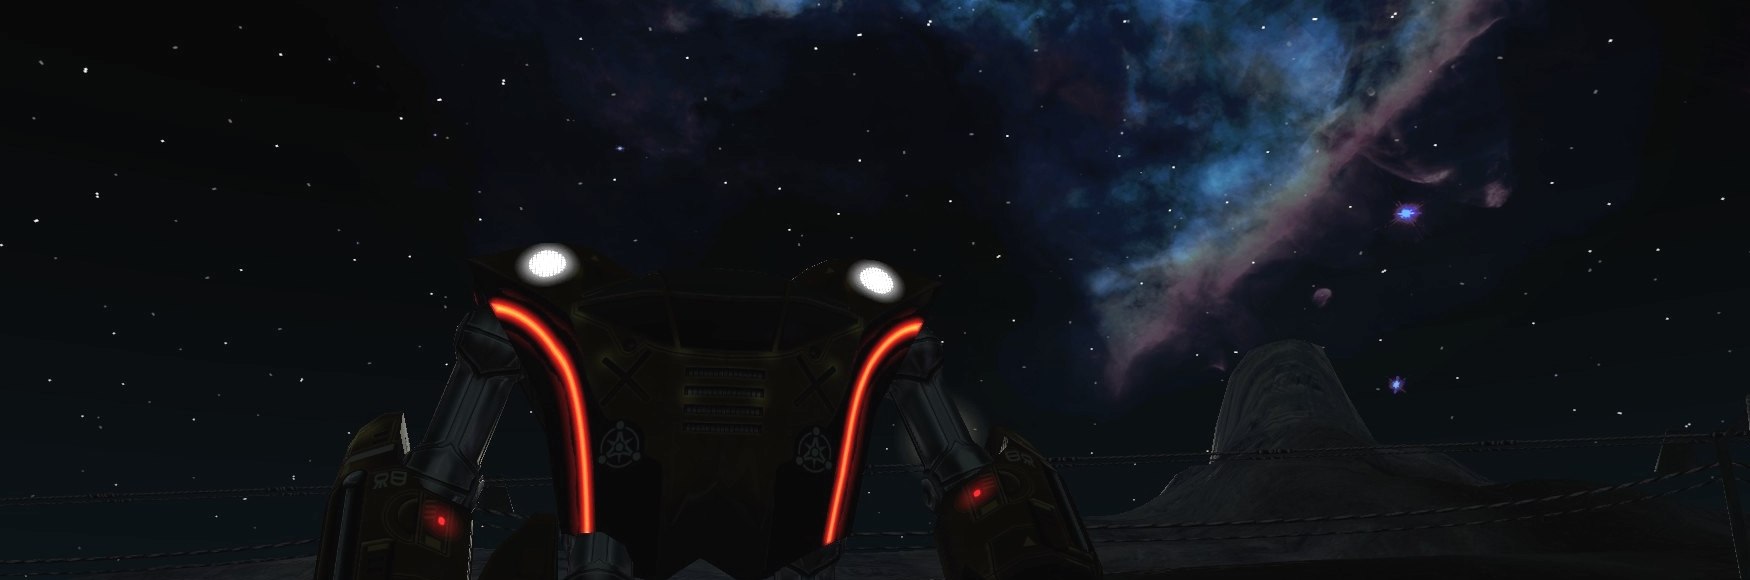
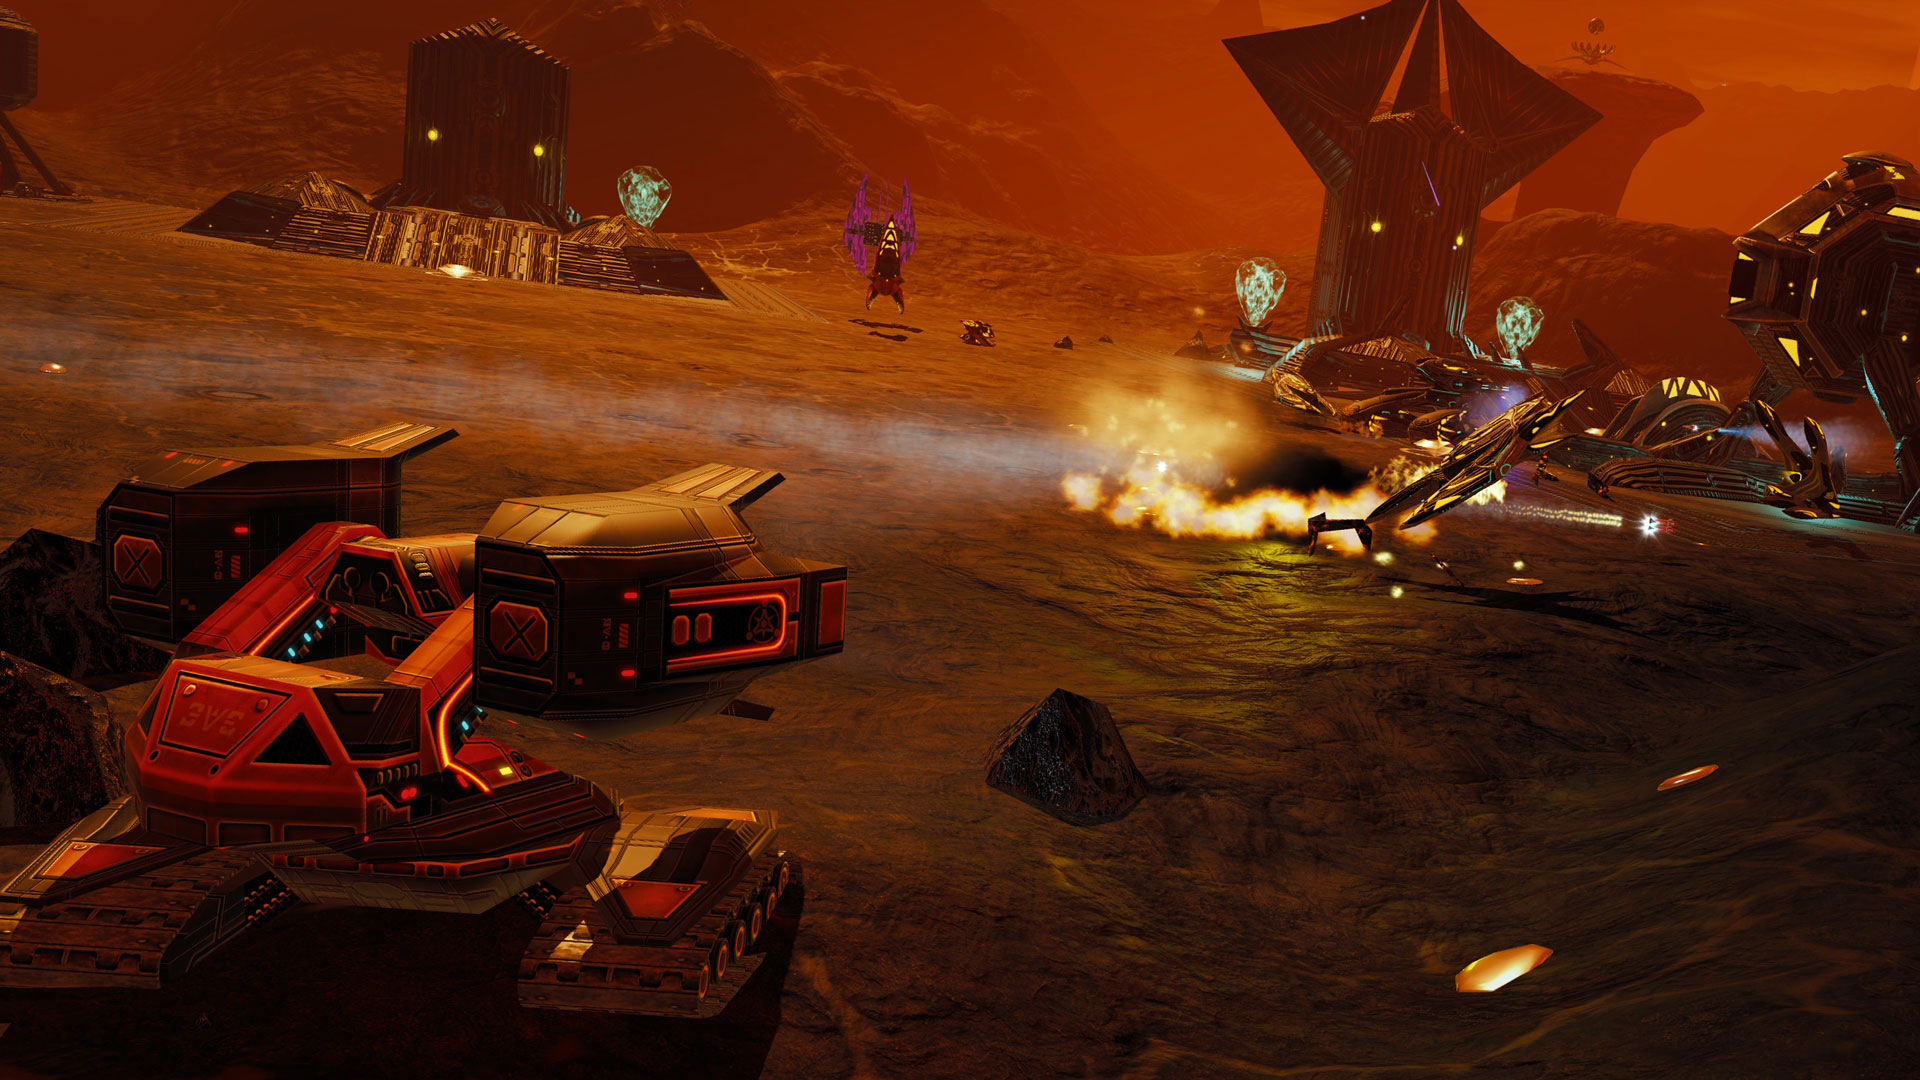
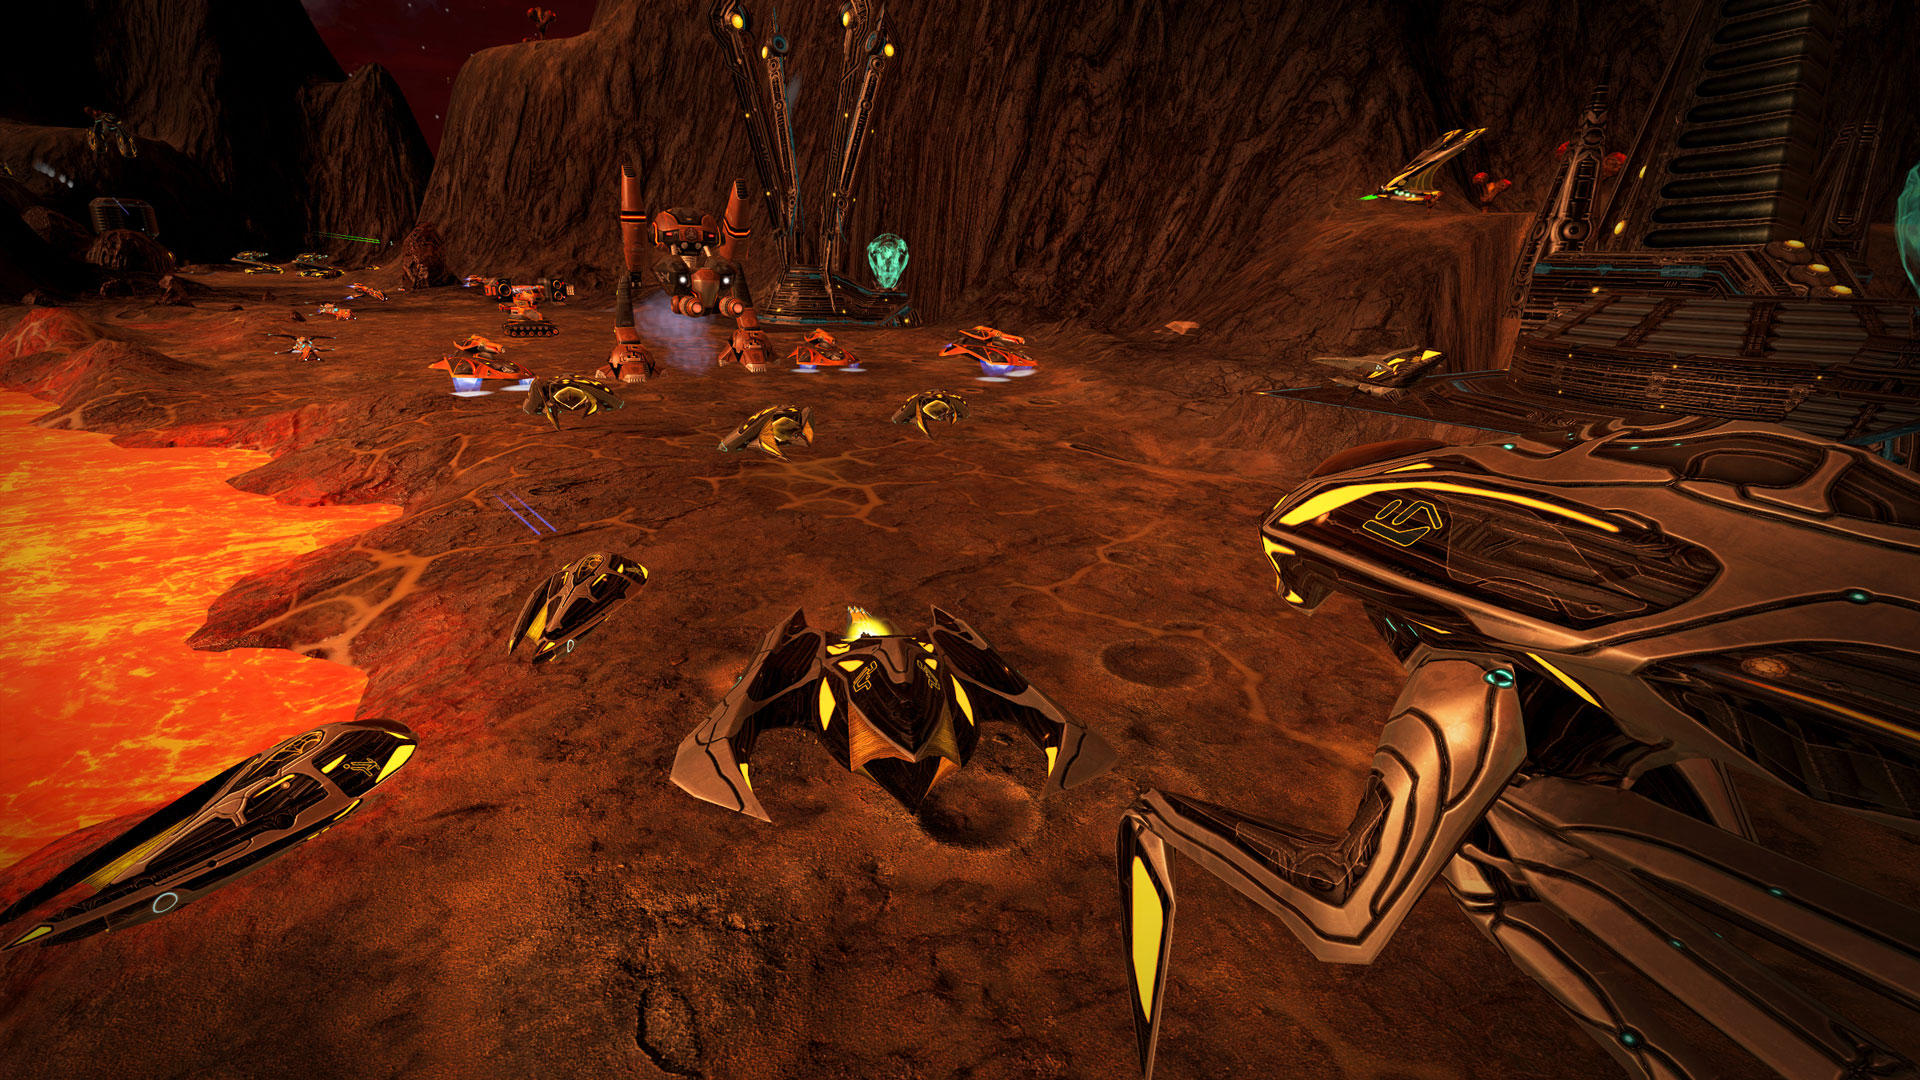
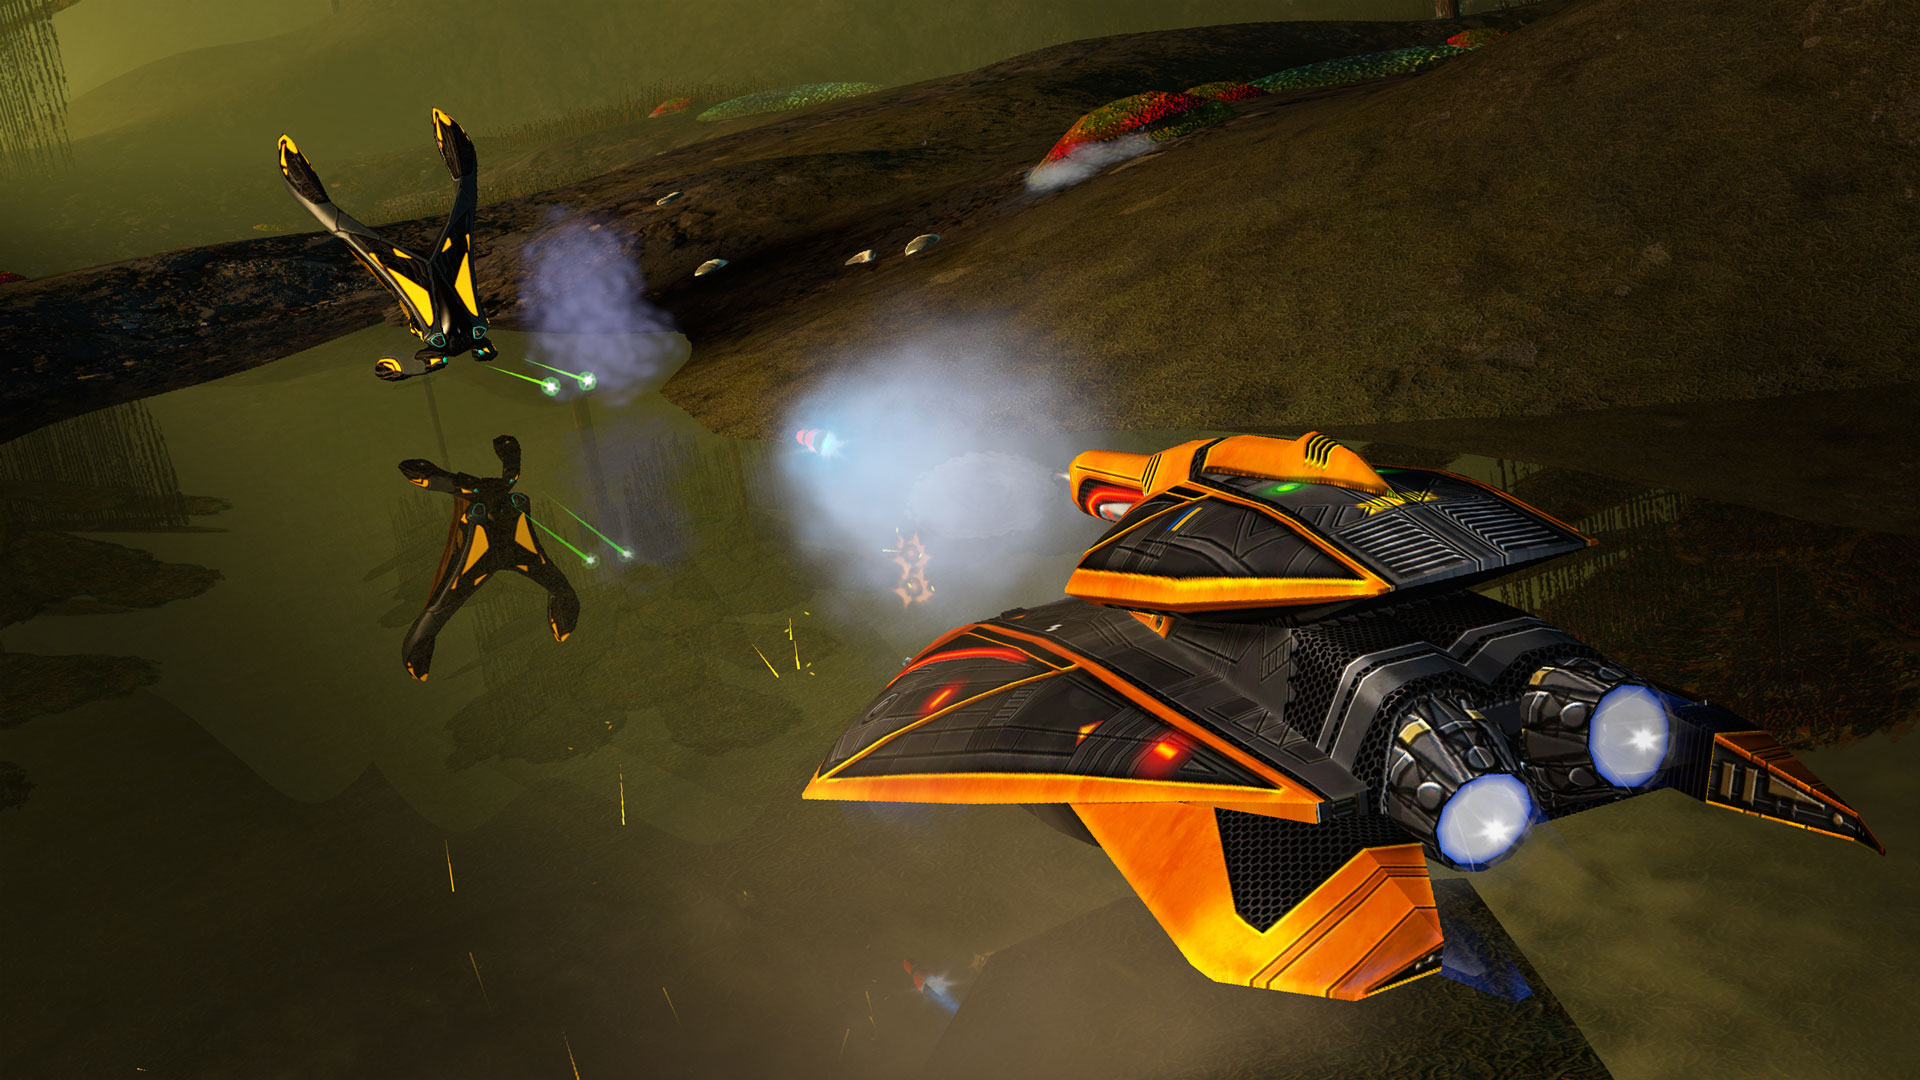
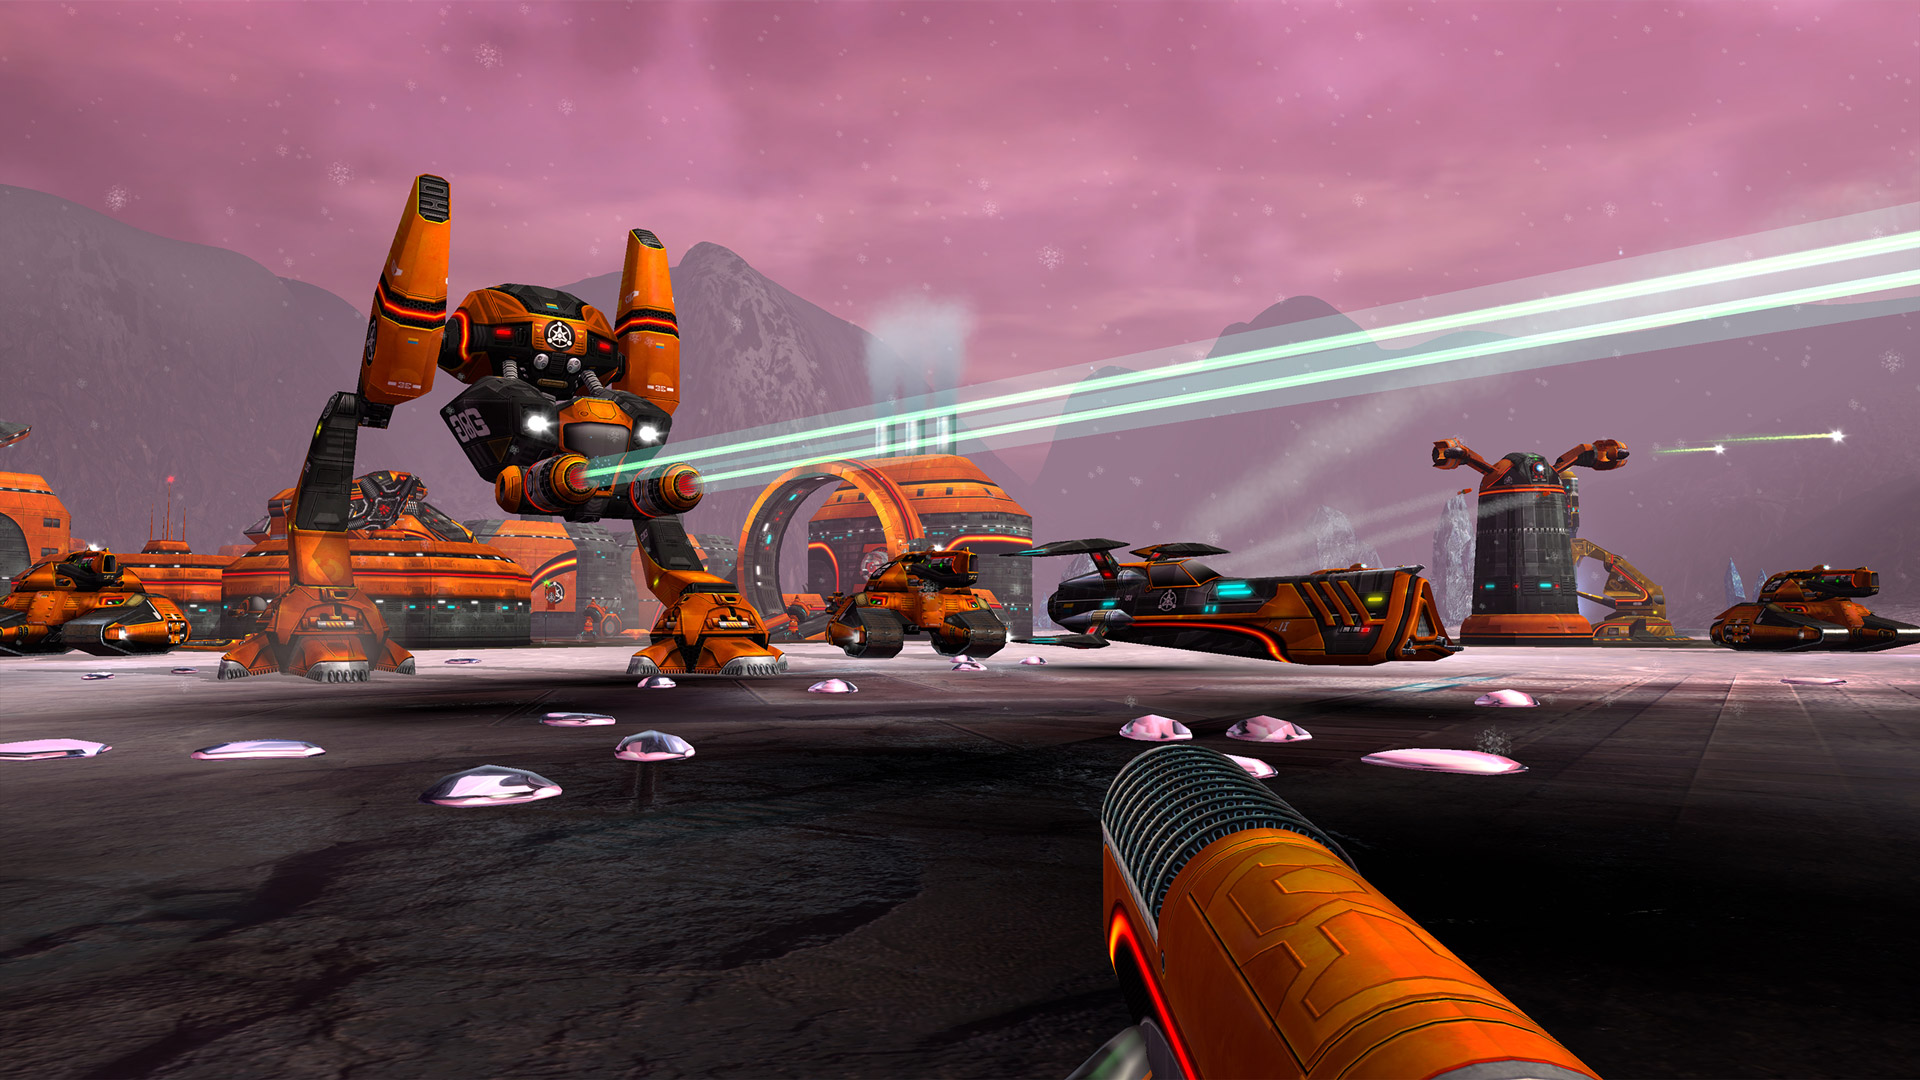
Battlezone: Combat Commander remasters FPS-RTS classic Battlezone II with slick new visuals, brand new achievements, Steam Workshop support and much more!
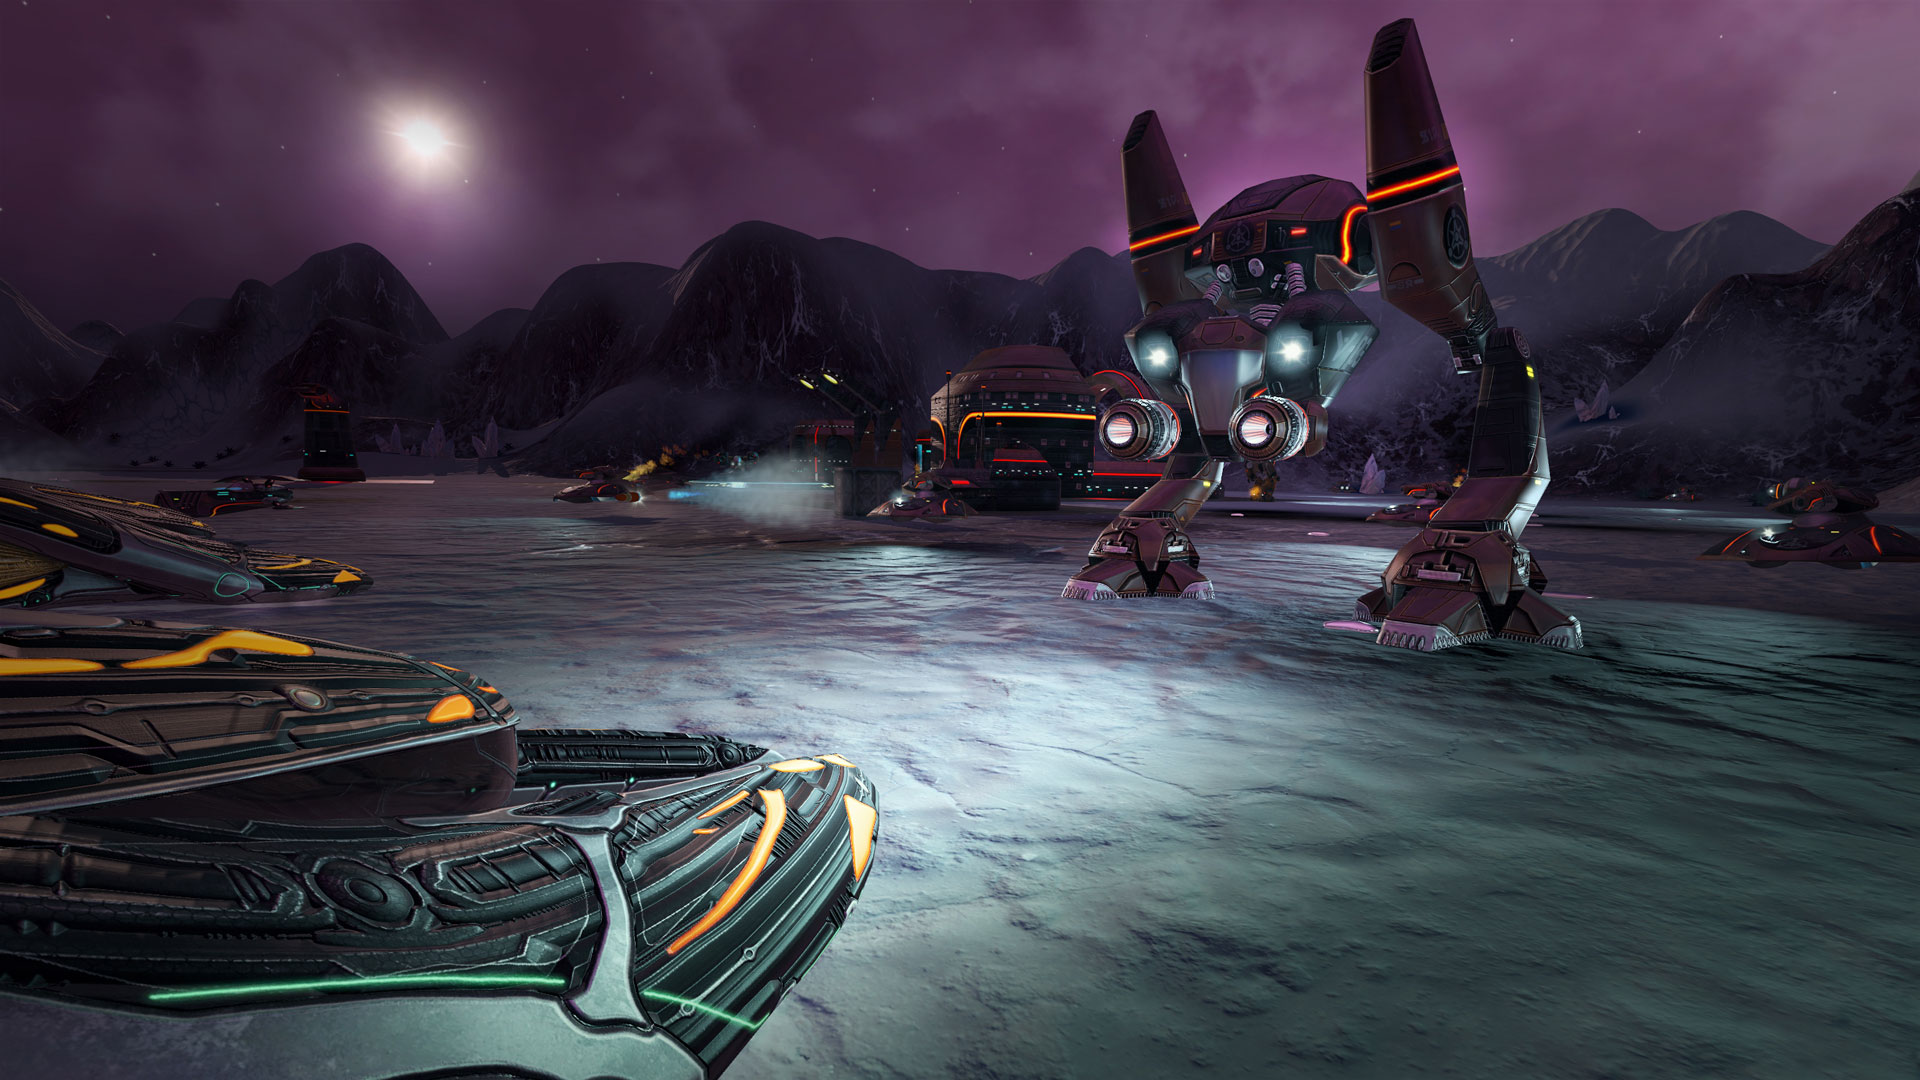
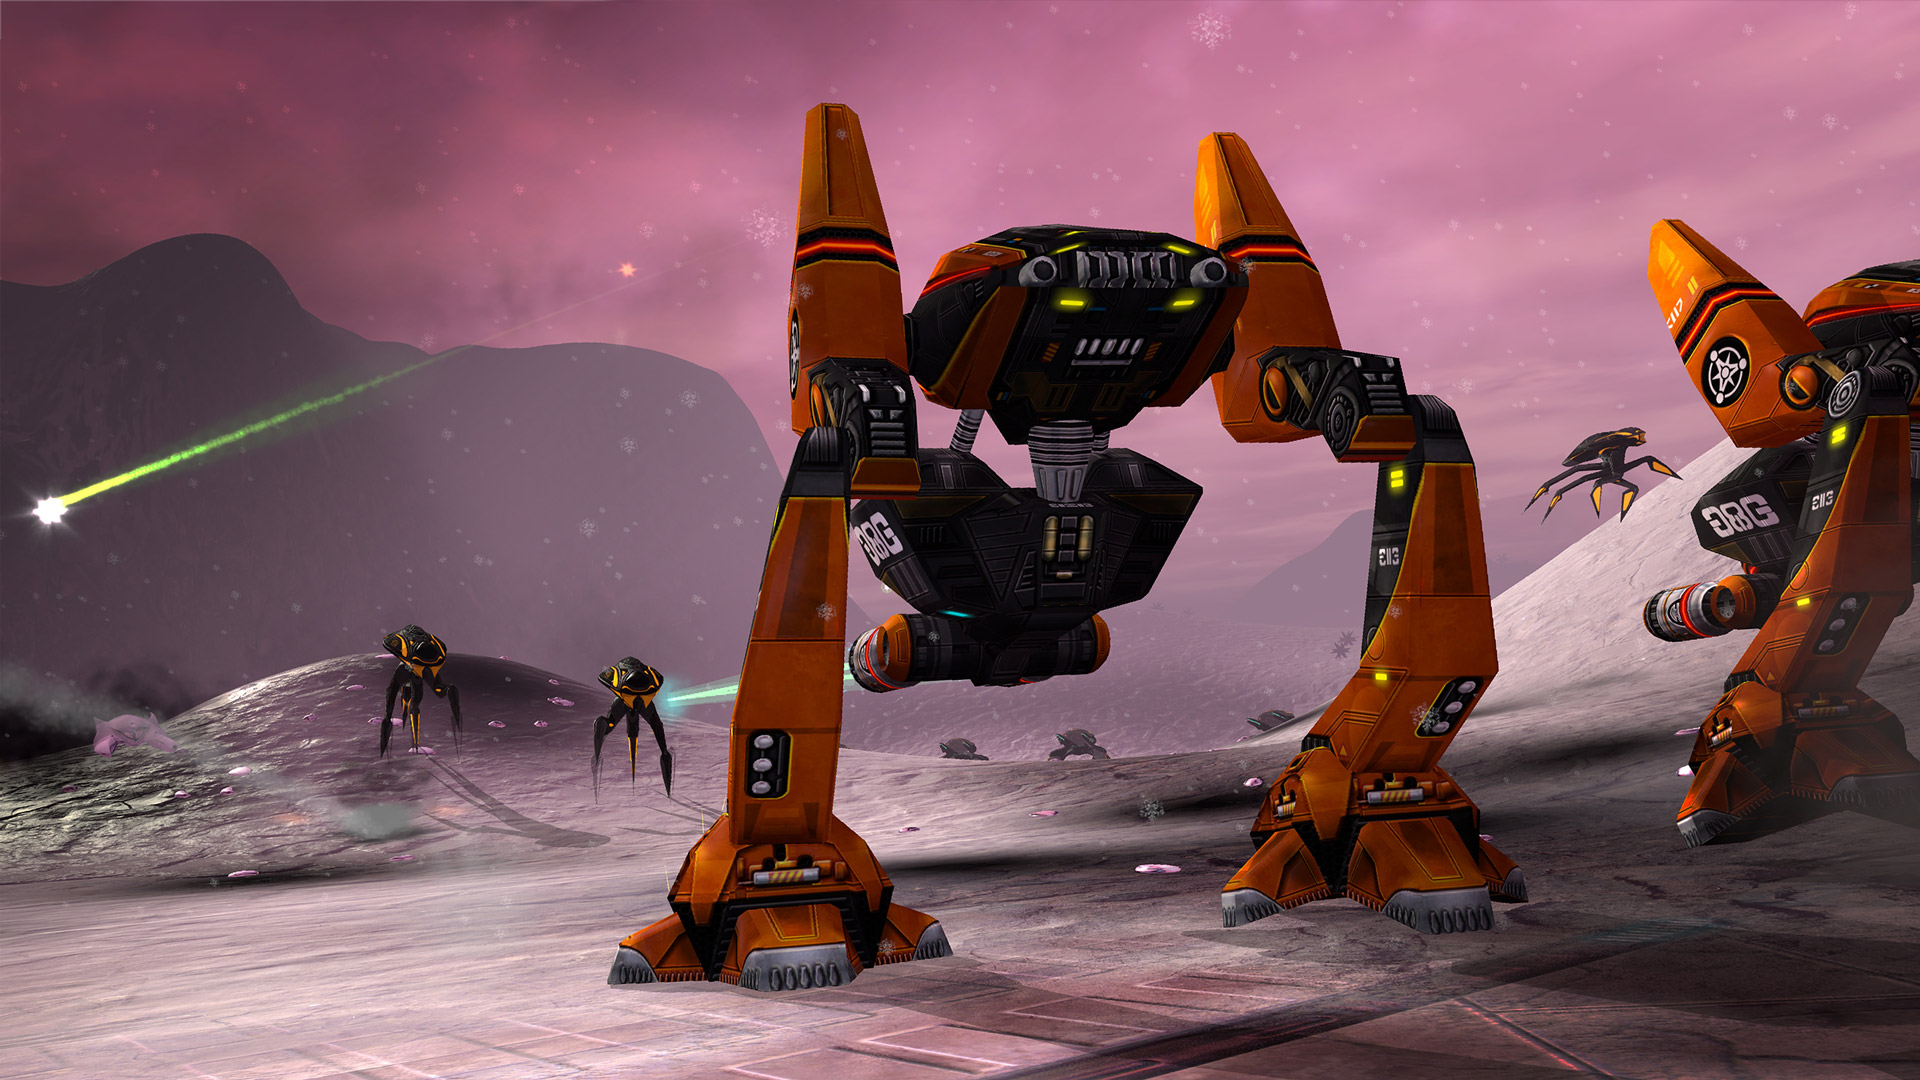
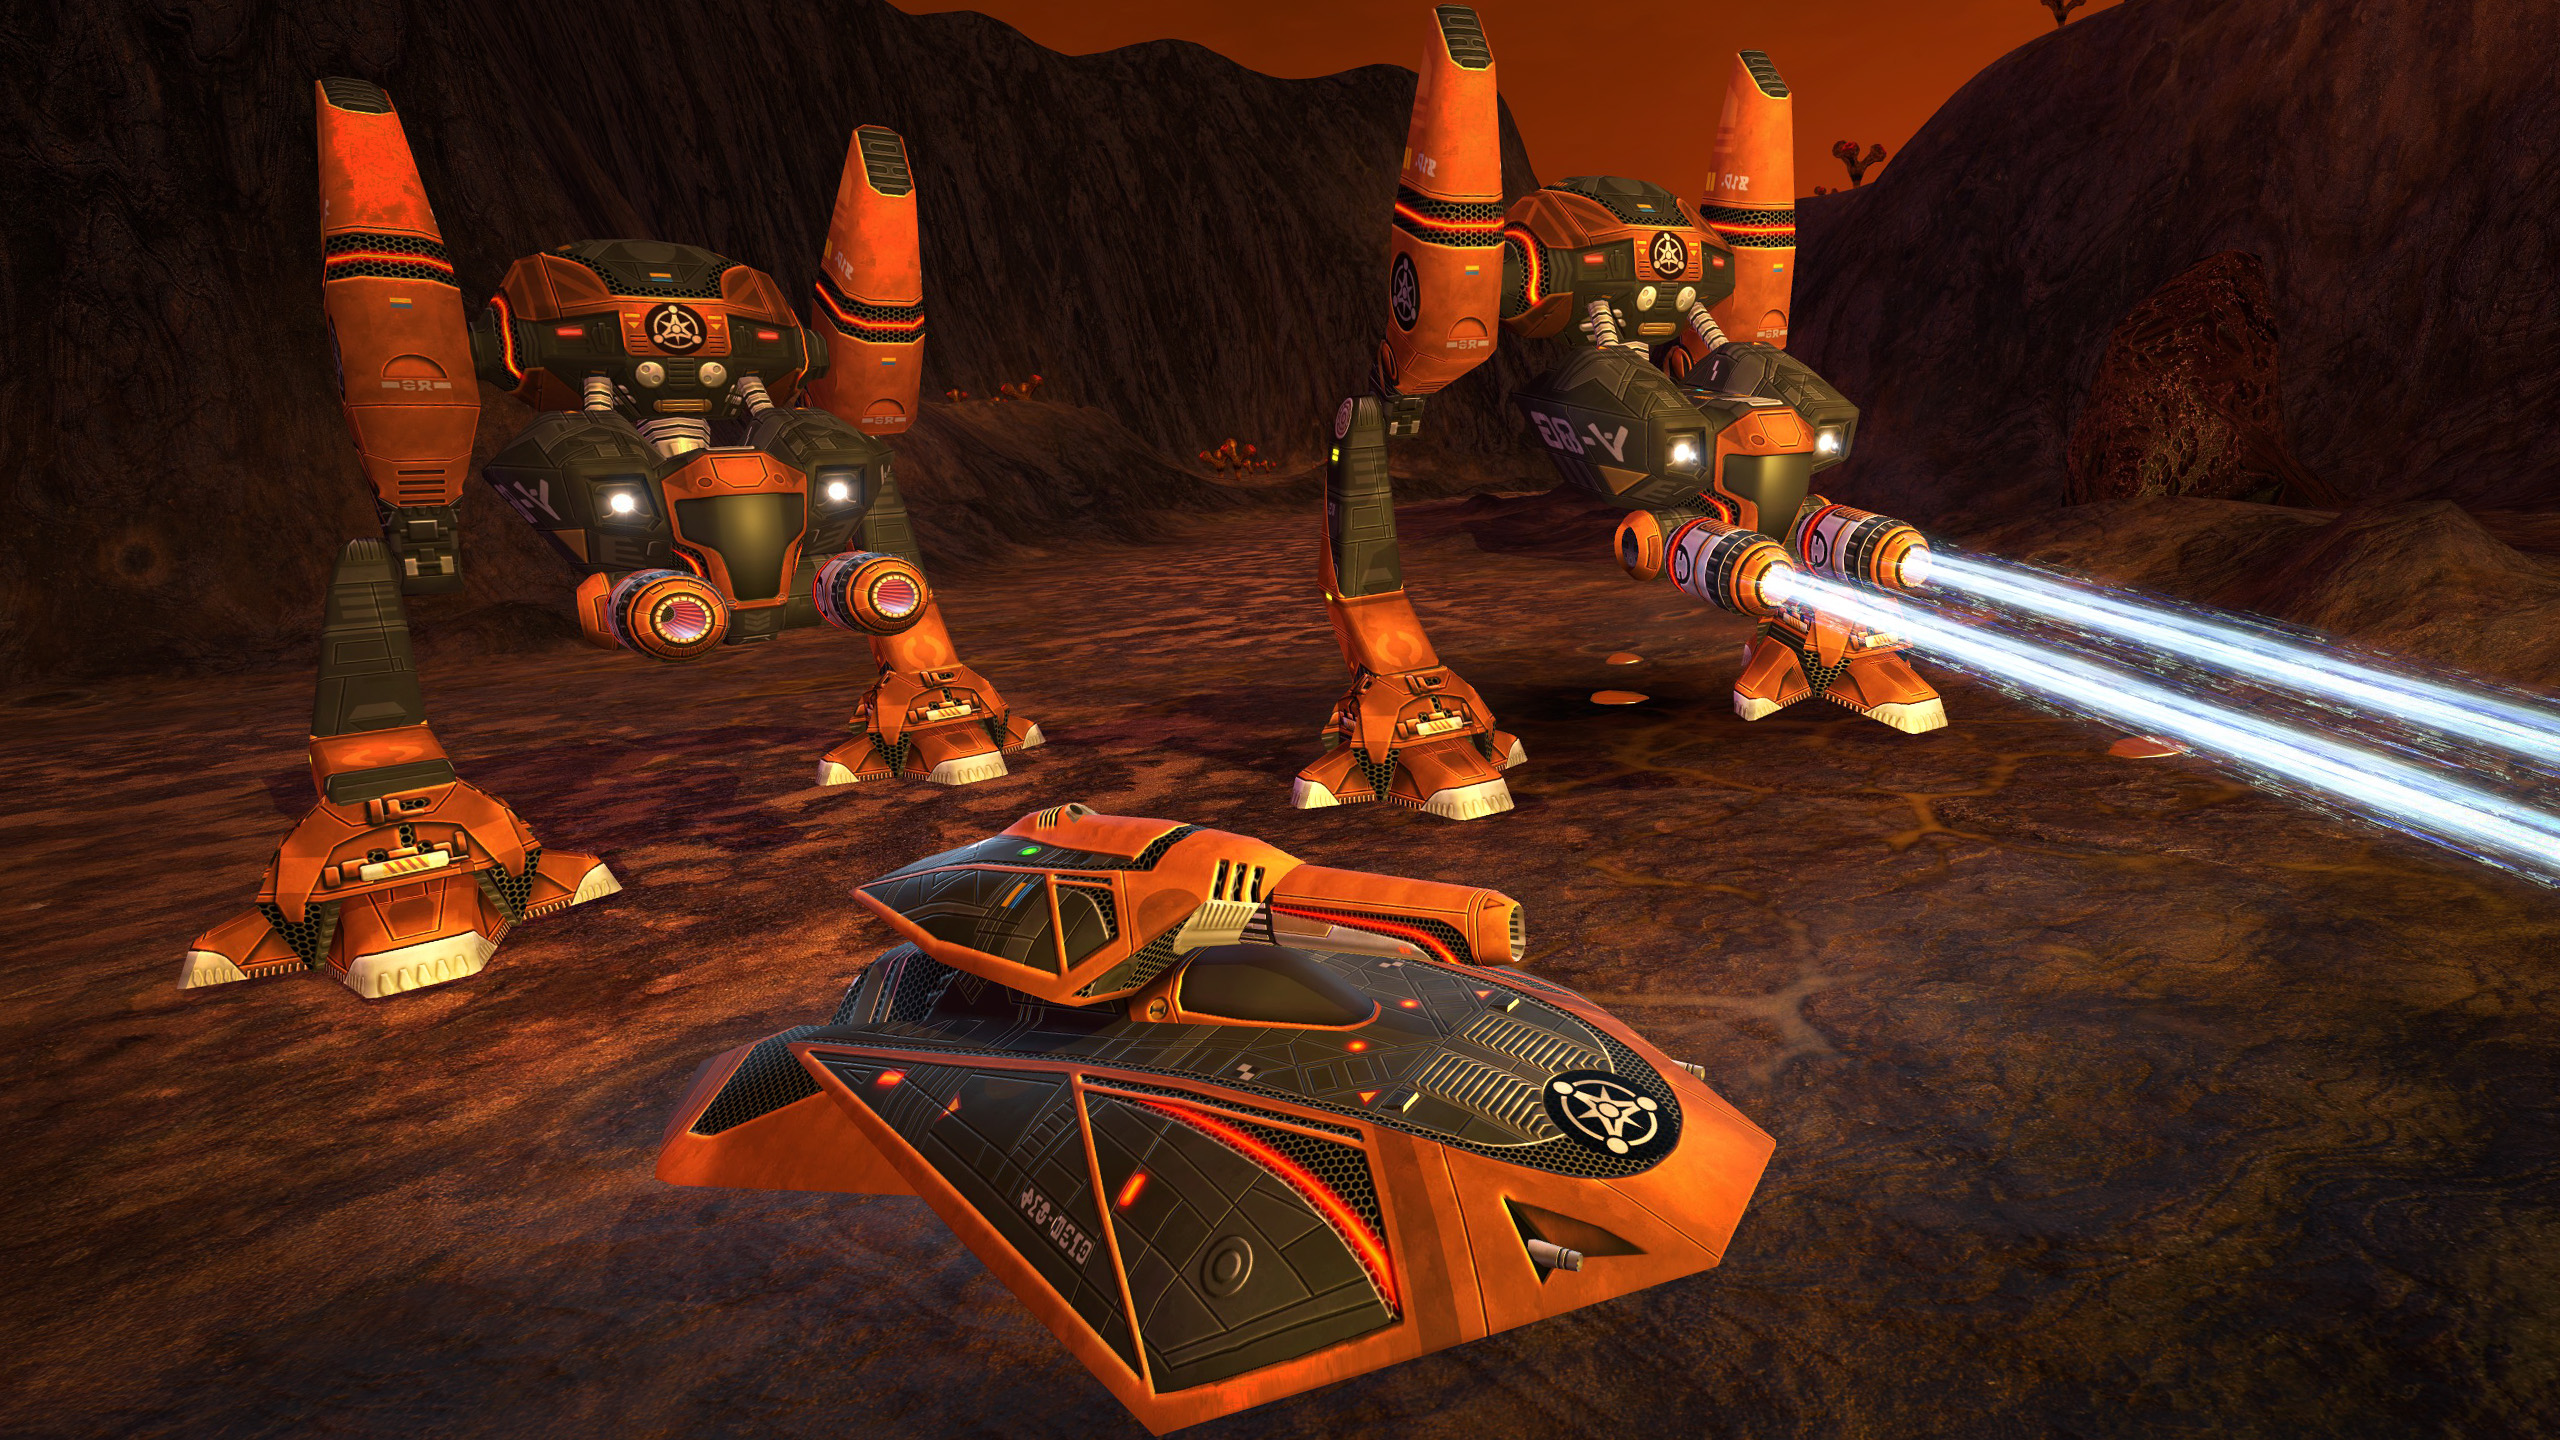
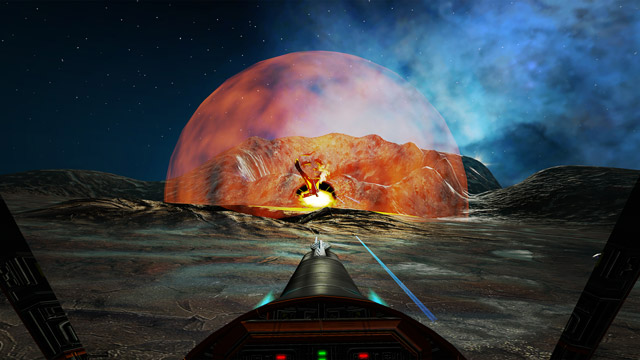
Fight across 24 intense missions, over 6 exotic living worlds, scavenging the battlefield for crucial bio-metal used to create powerful units, towering defenses, and vital facilities.

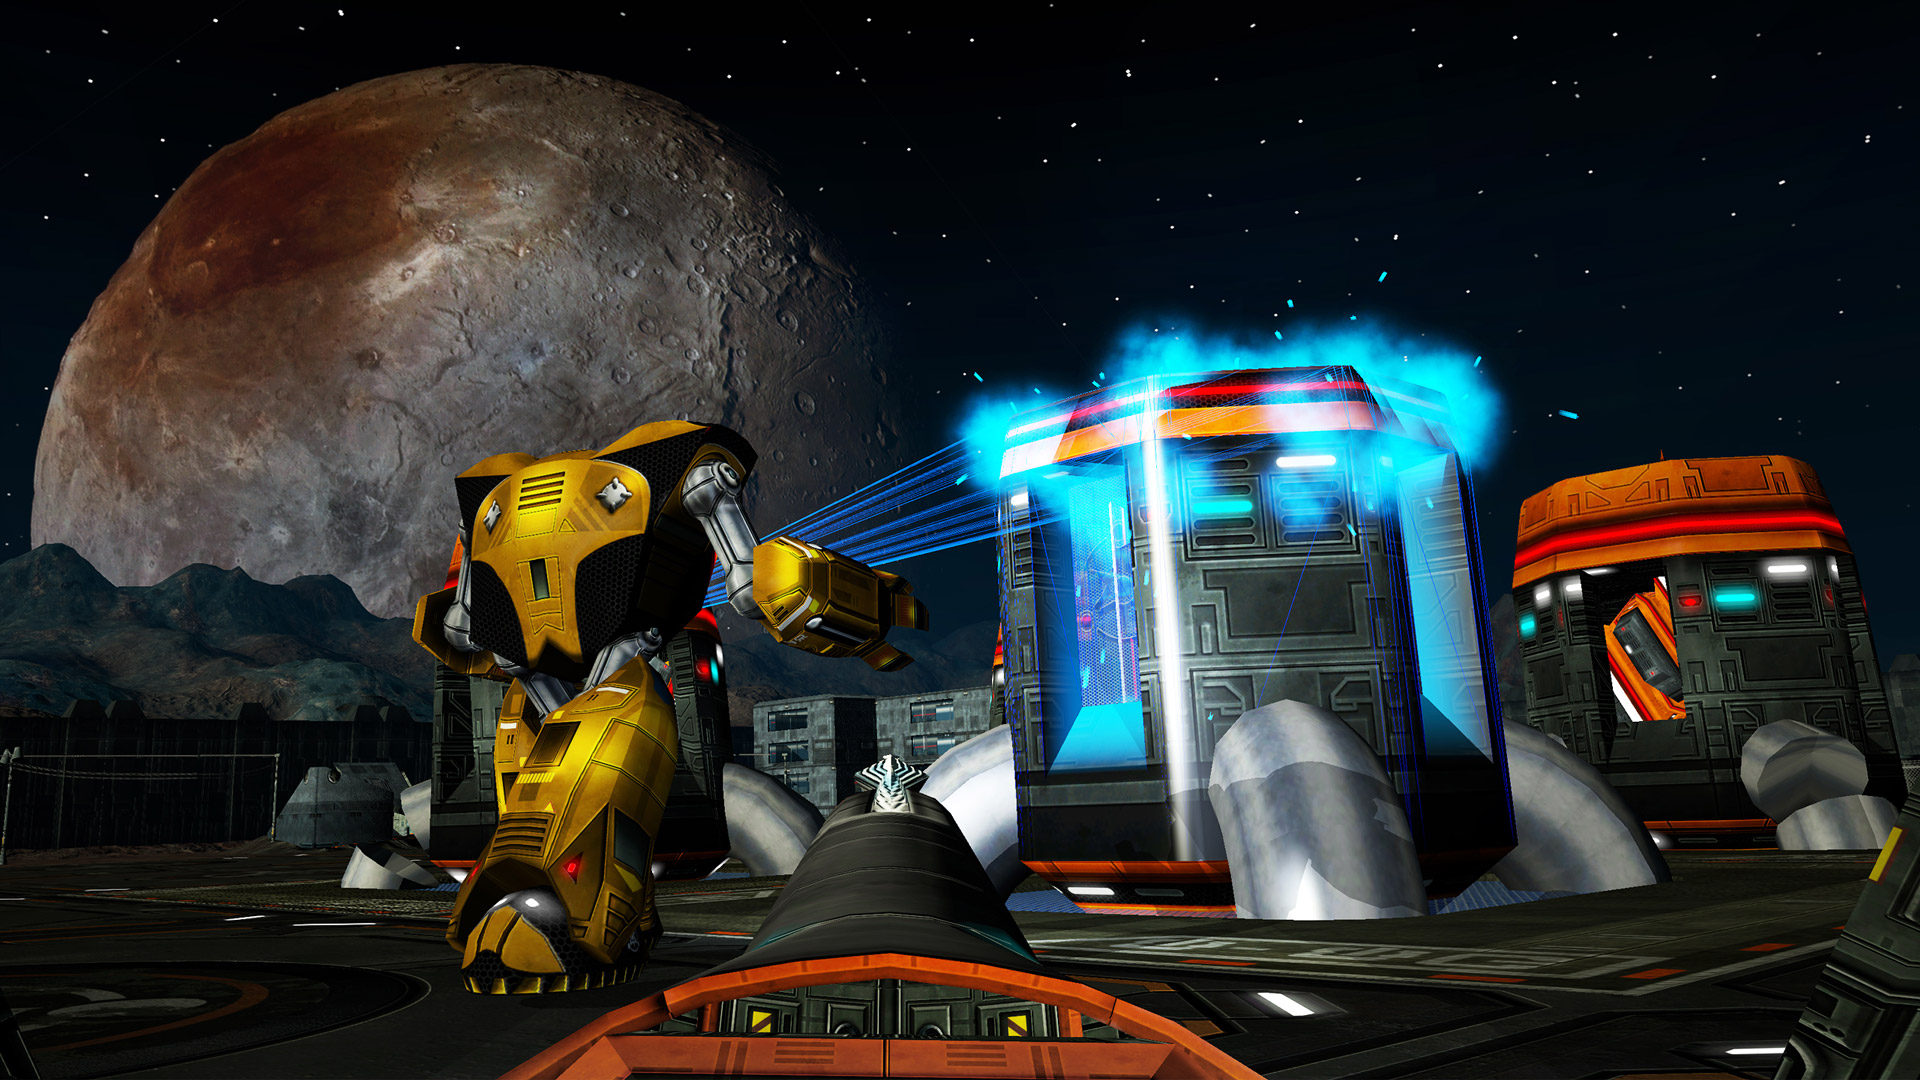
Units learn and improve as they gain combat experience - new units fight like recruits, while experienced units are a lot more effective in combat, using strafing manoeuvres, choosing weapons to suit the situation, or even retreating when necessary.
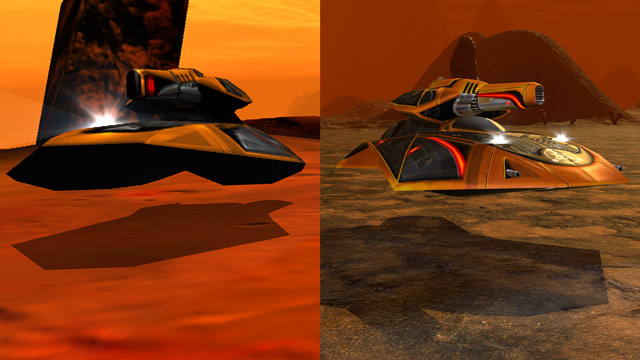
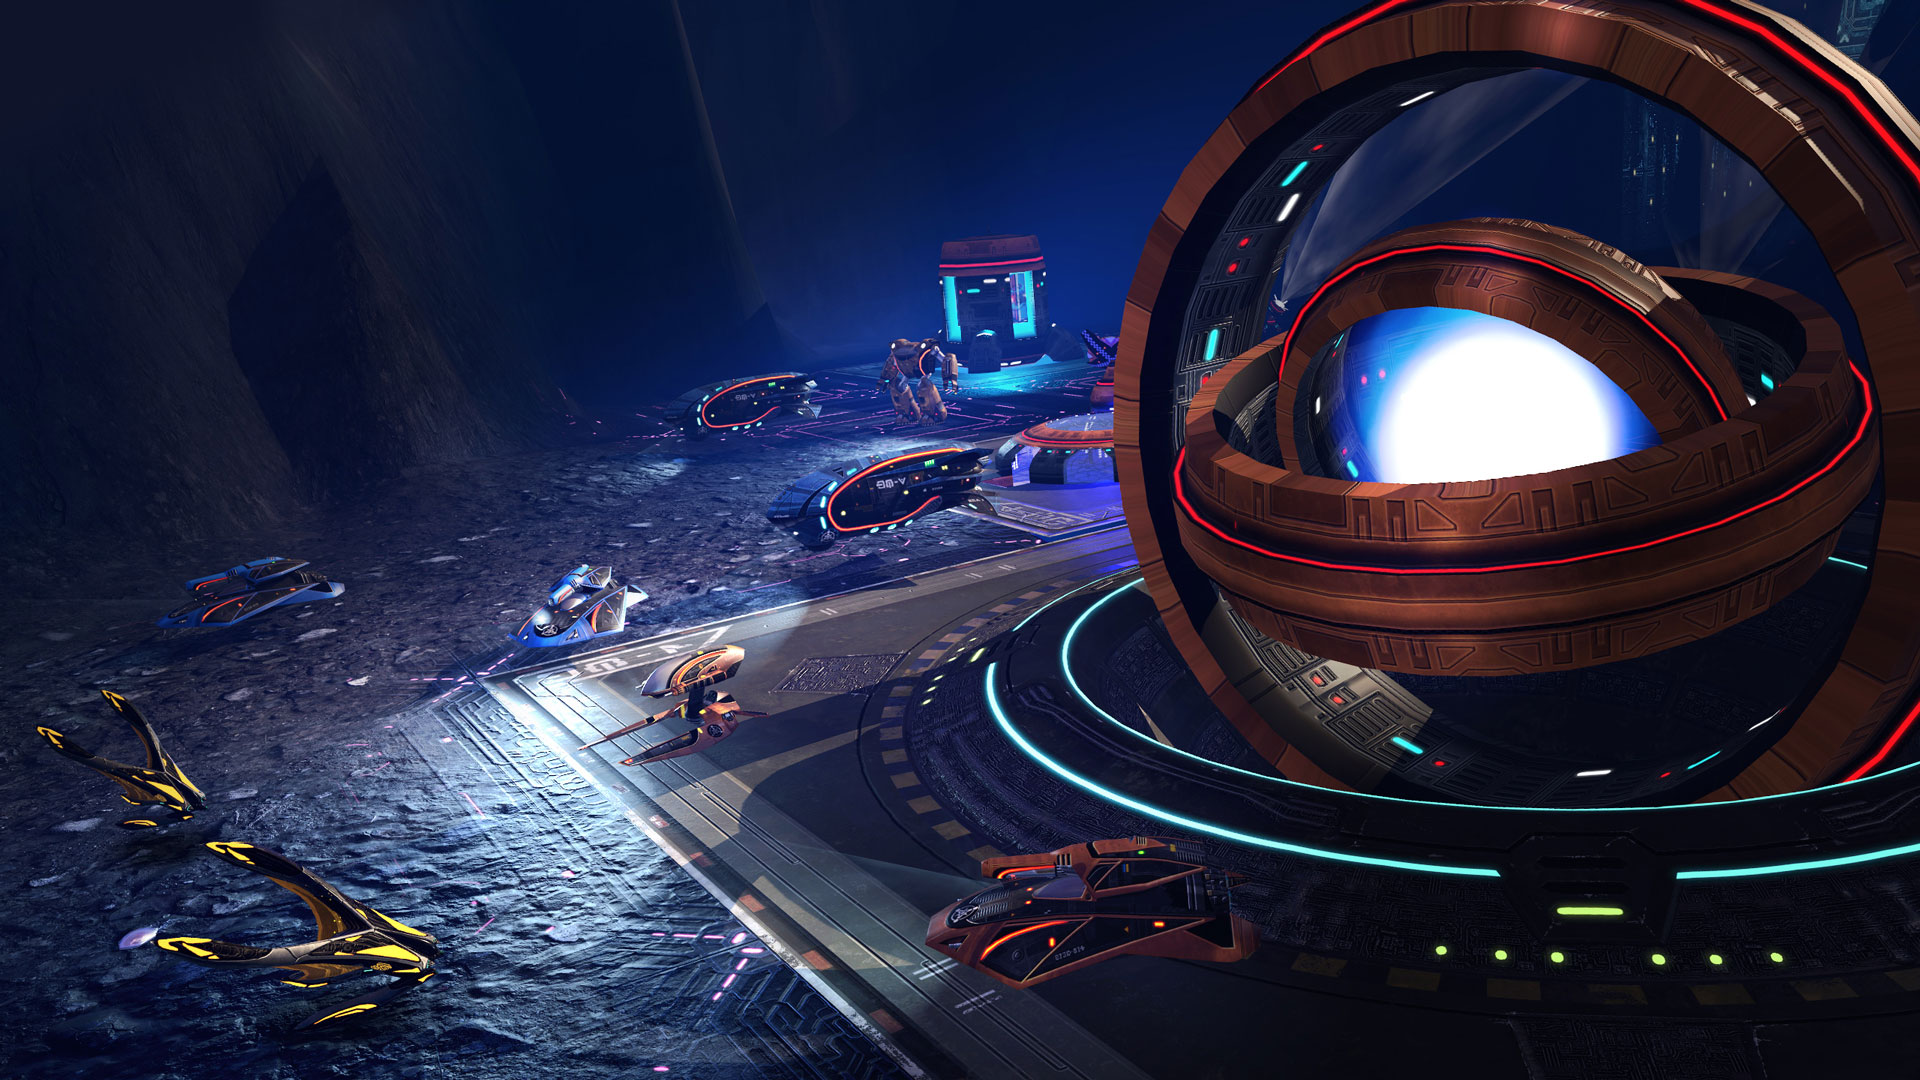
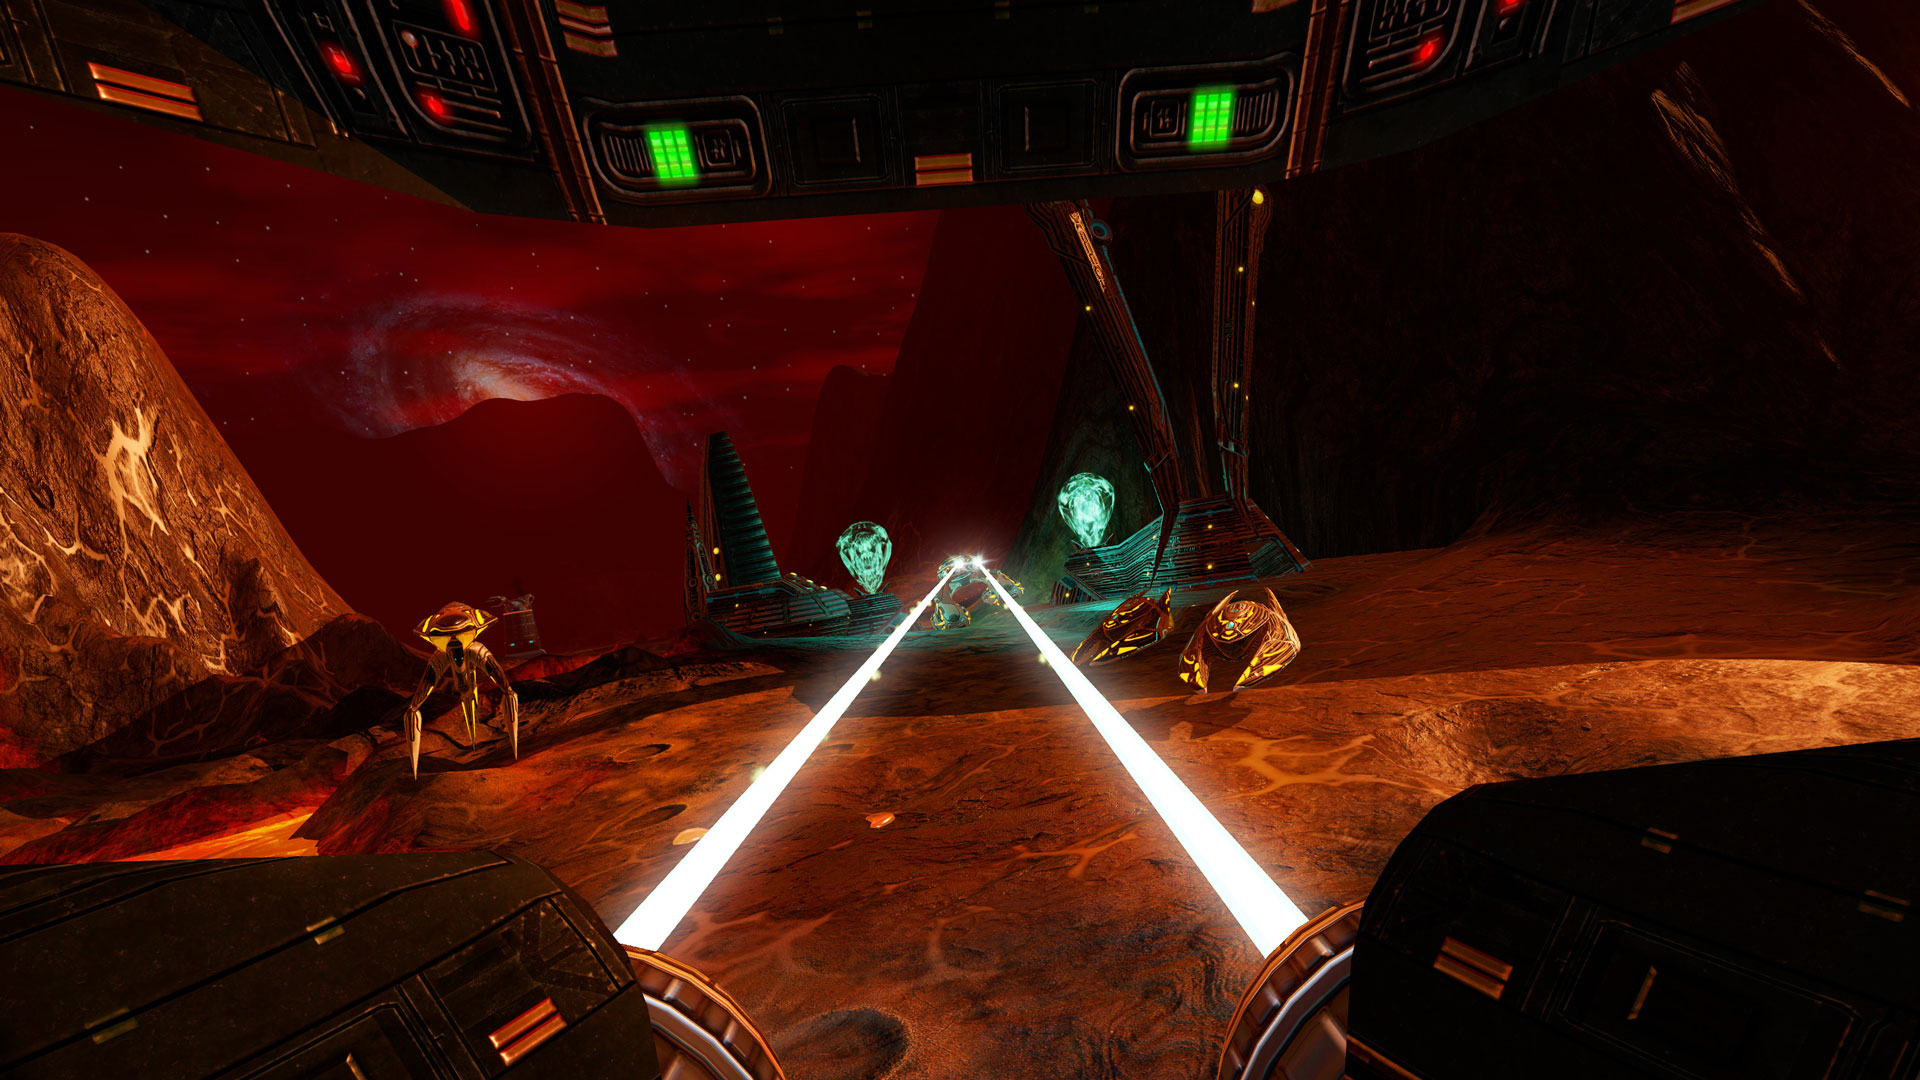
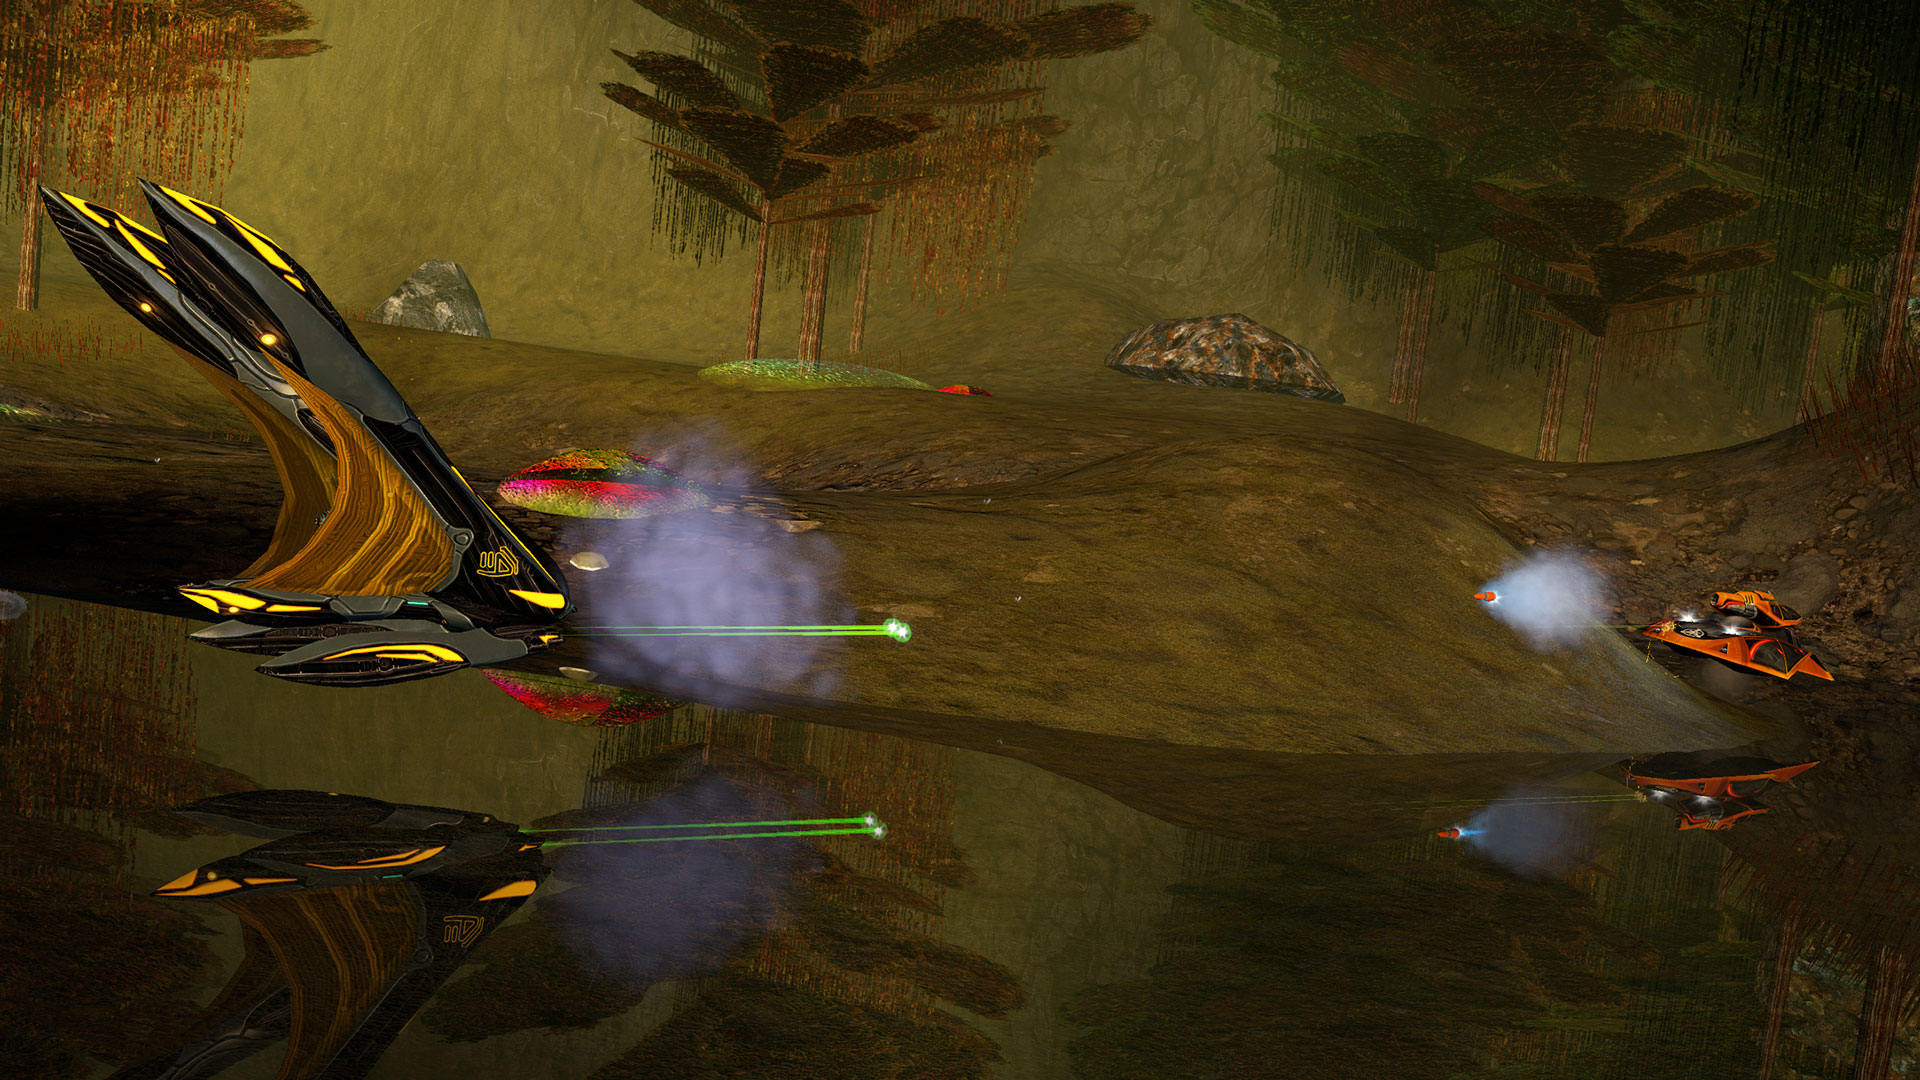
Experience Battlezone: Combat Commander like never before, with an all new DX11 renderer, shader based rendering, and a completely retextured and upscaled terrain.

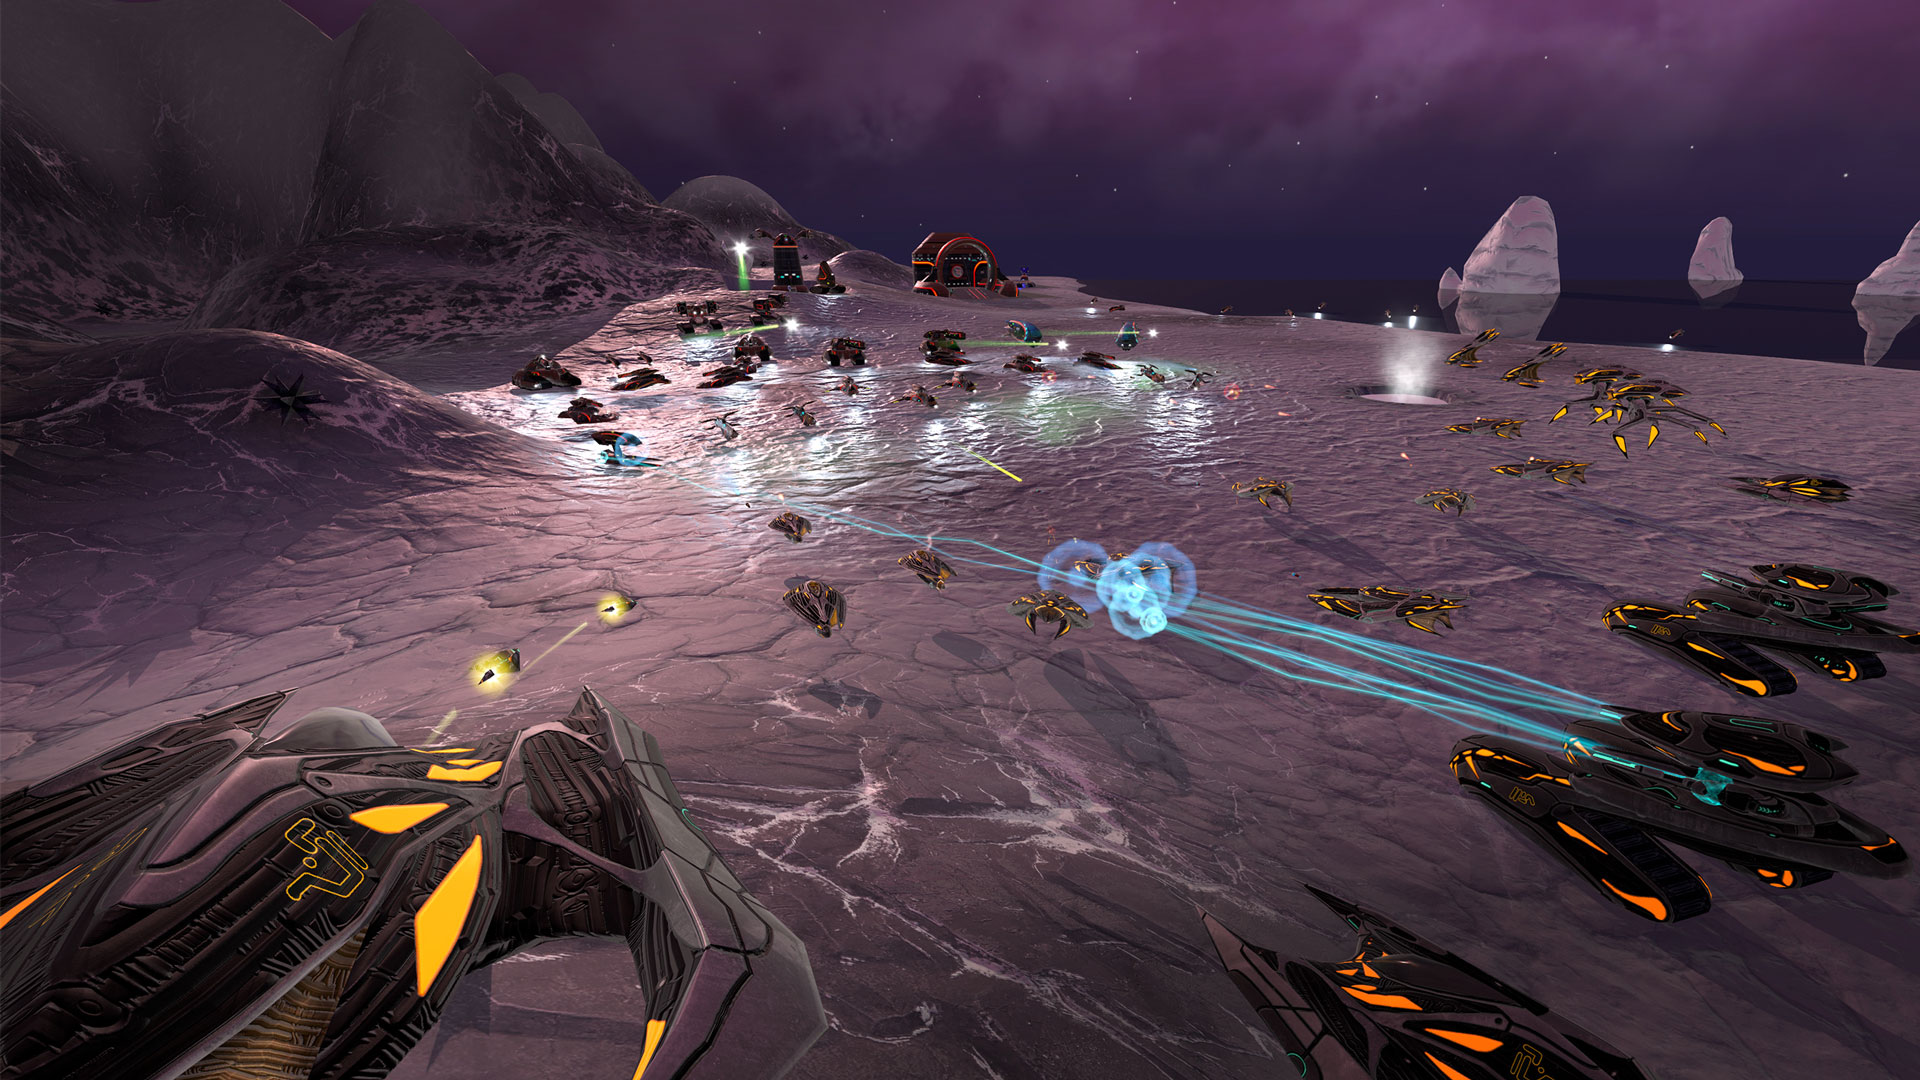
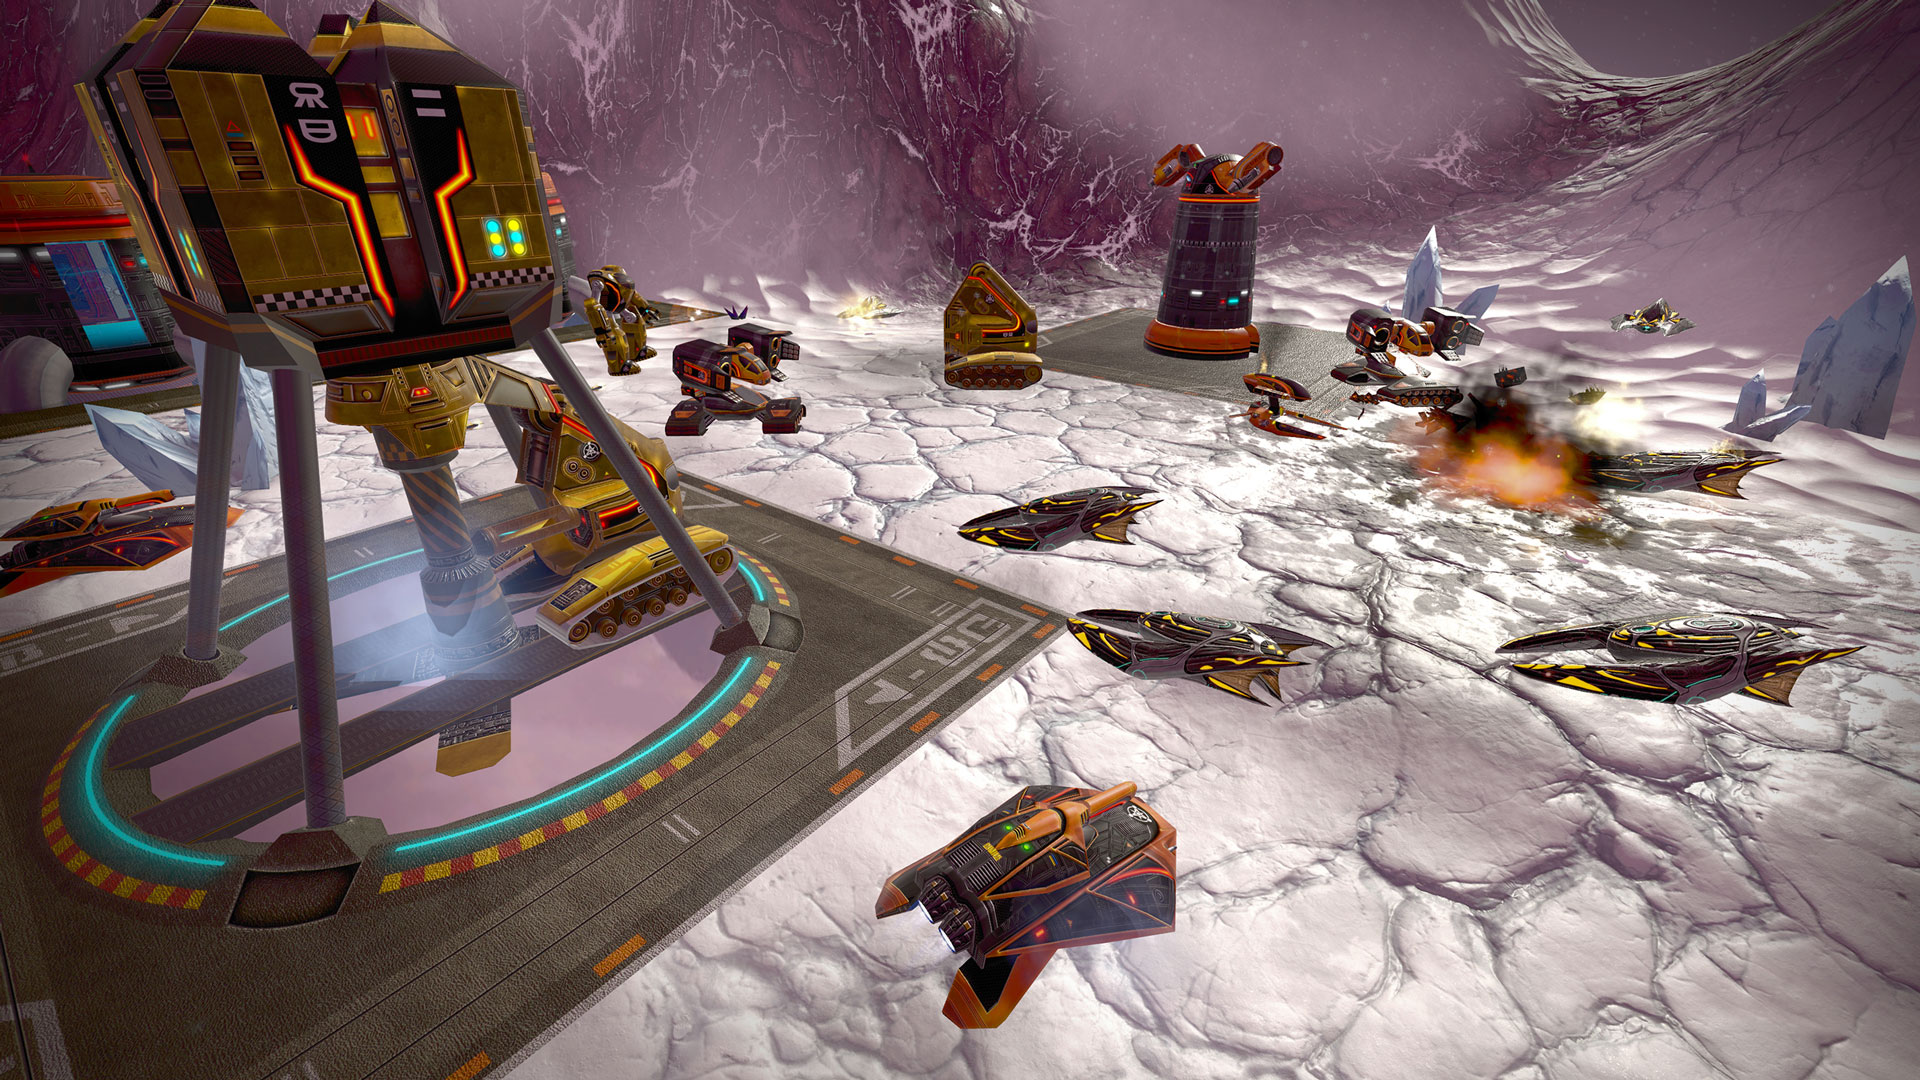
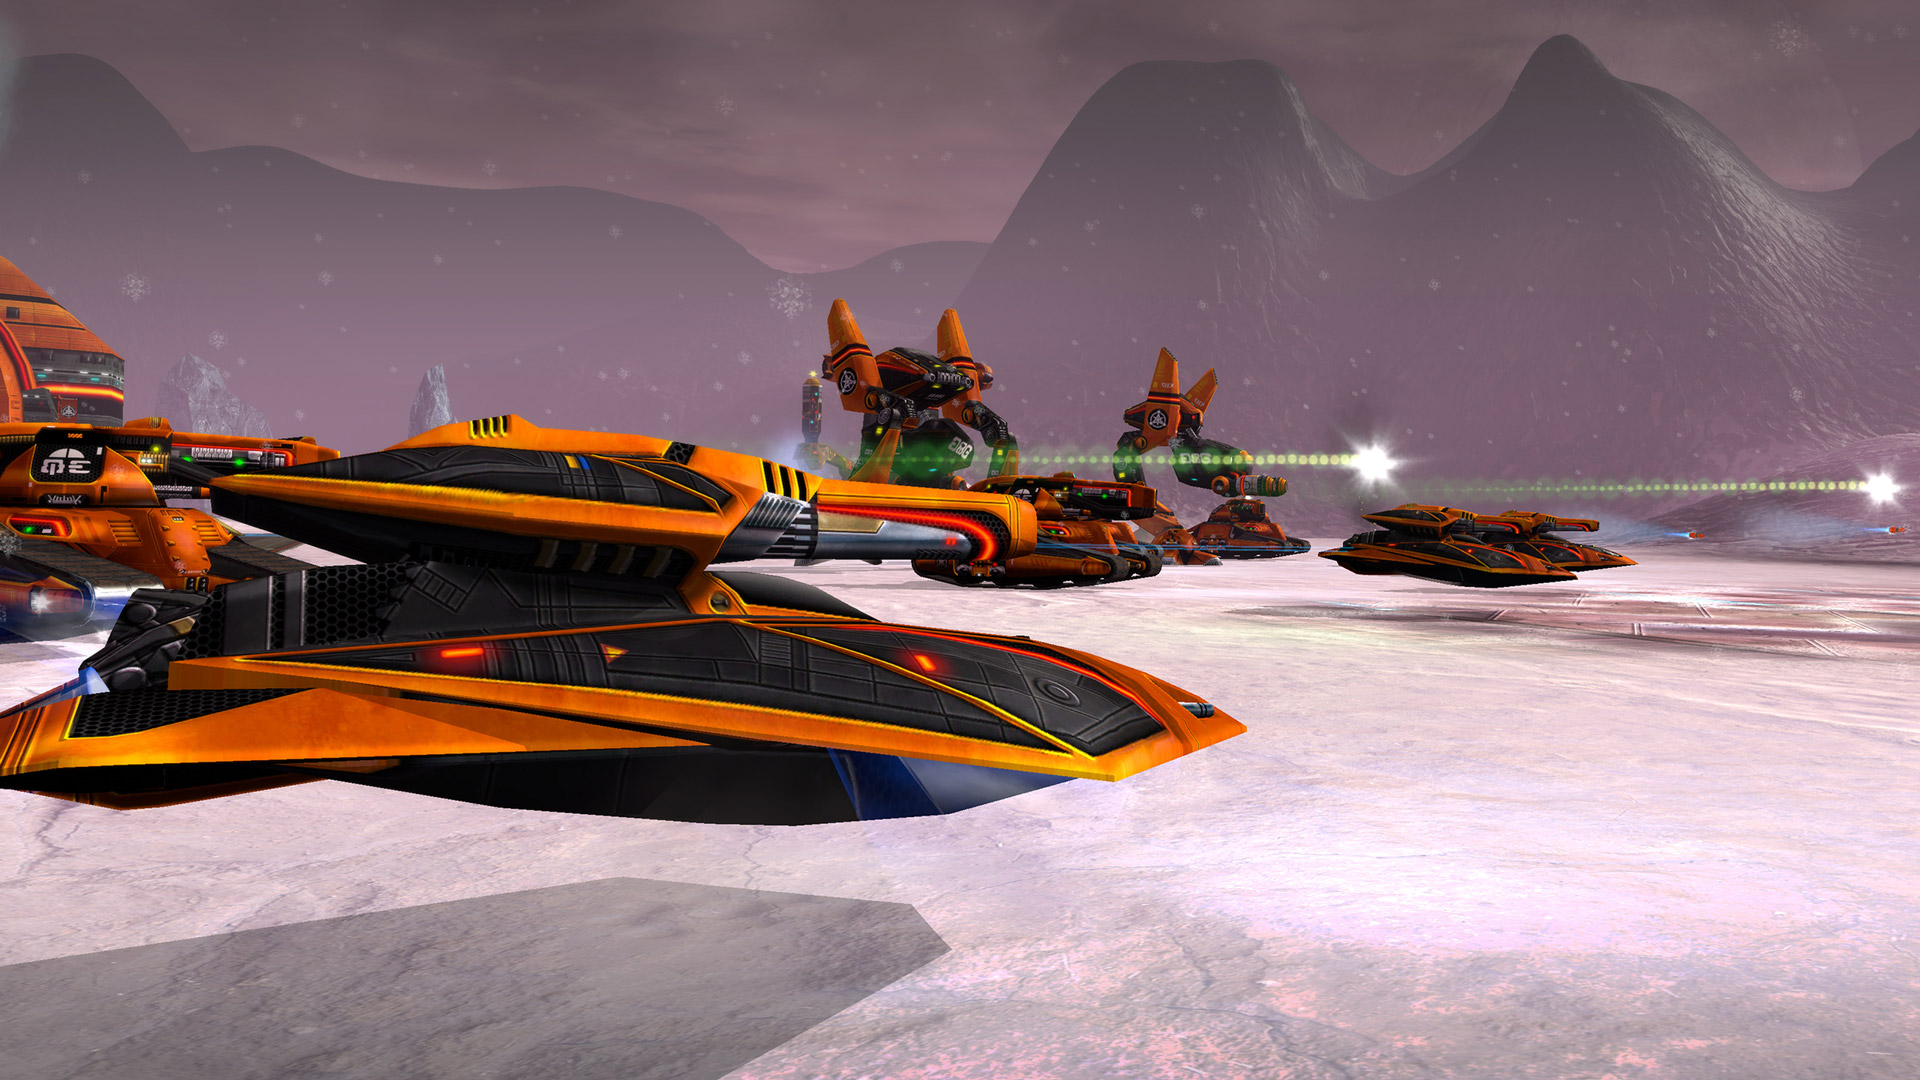
Invite your friends for a cross-play multiplayer experience, including the classic Deathmatch mode, and a co-operative mode ‘MPI’ where players must work together to win by managing their offence, defence, and scrap collection.
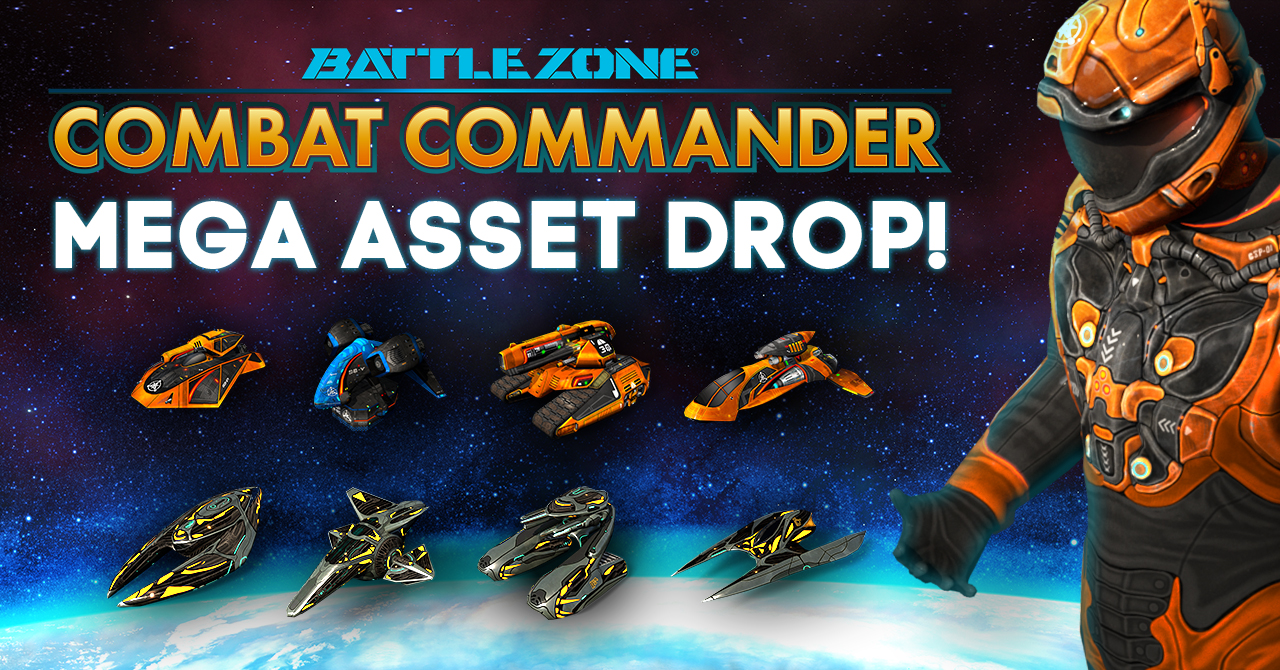
Enjoy unique community generated content with support for mods, such as new singleplayer and multiplayer map mods, new vehicles, HUDs, assets, custom scripts and much more.

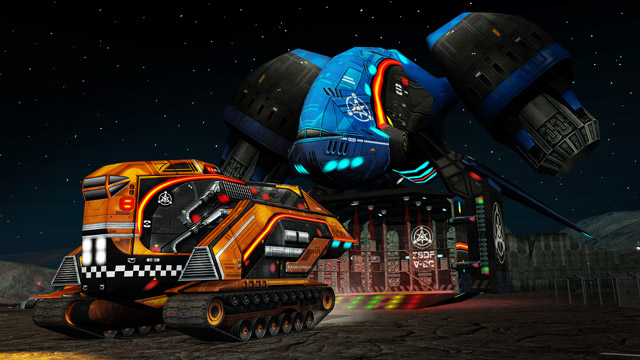
Control of over 30 unique unit types, from lethal tanks and tough ground units, to towering walkers and relentless air-support, and face off against the enemy in intense first-person combat.
1st March 2018
Welcome to Battlezone: Combat Commander. This guide is designed to introduce you to the game if you are a new player. We’ll begin with an overview of the basic controls you will need, followed by some helpful tips, and finally walkthroughs for the first two missions to get you started.
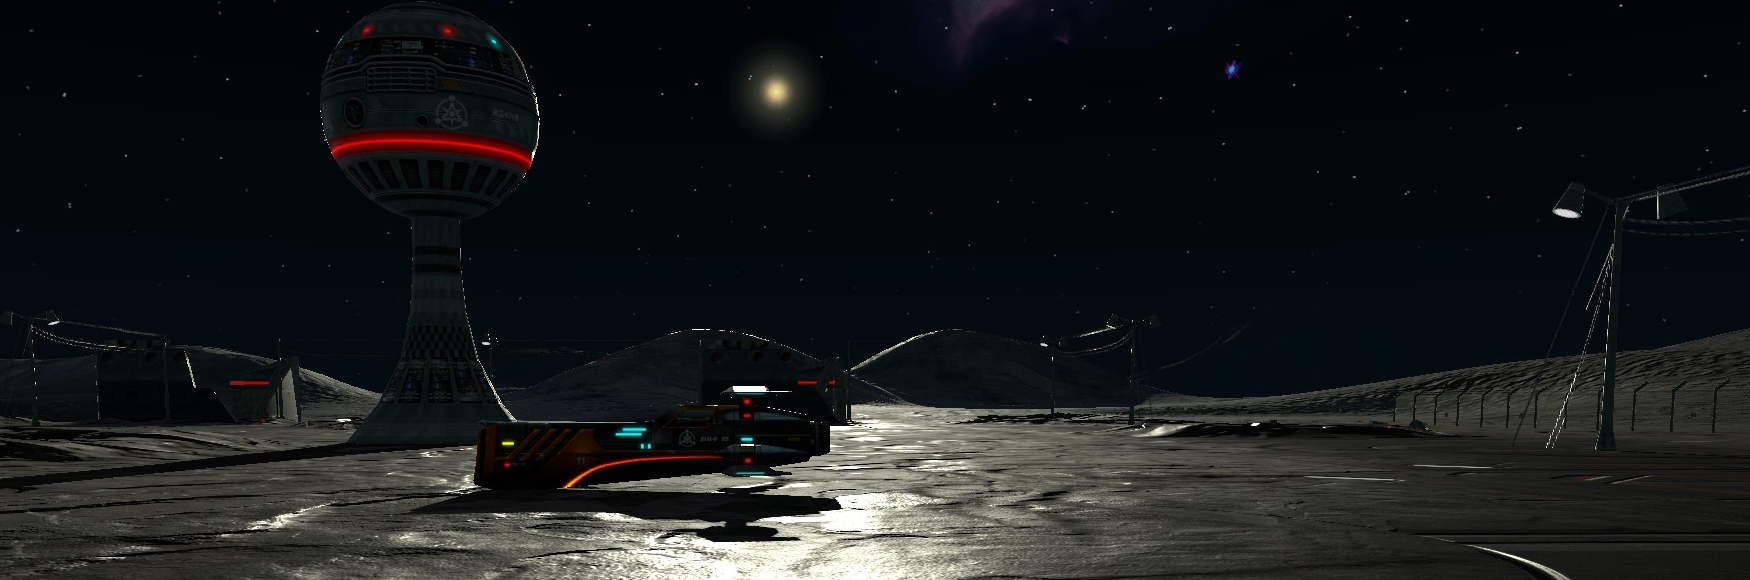

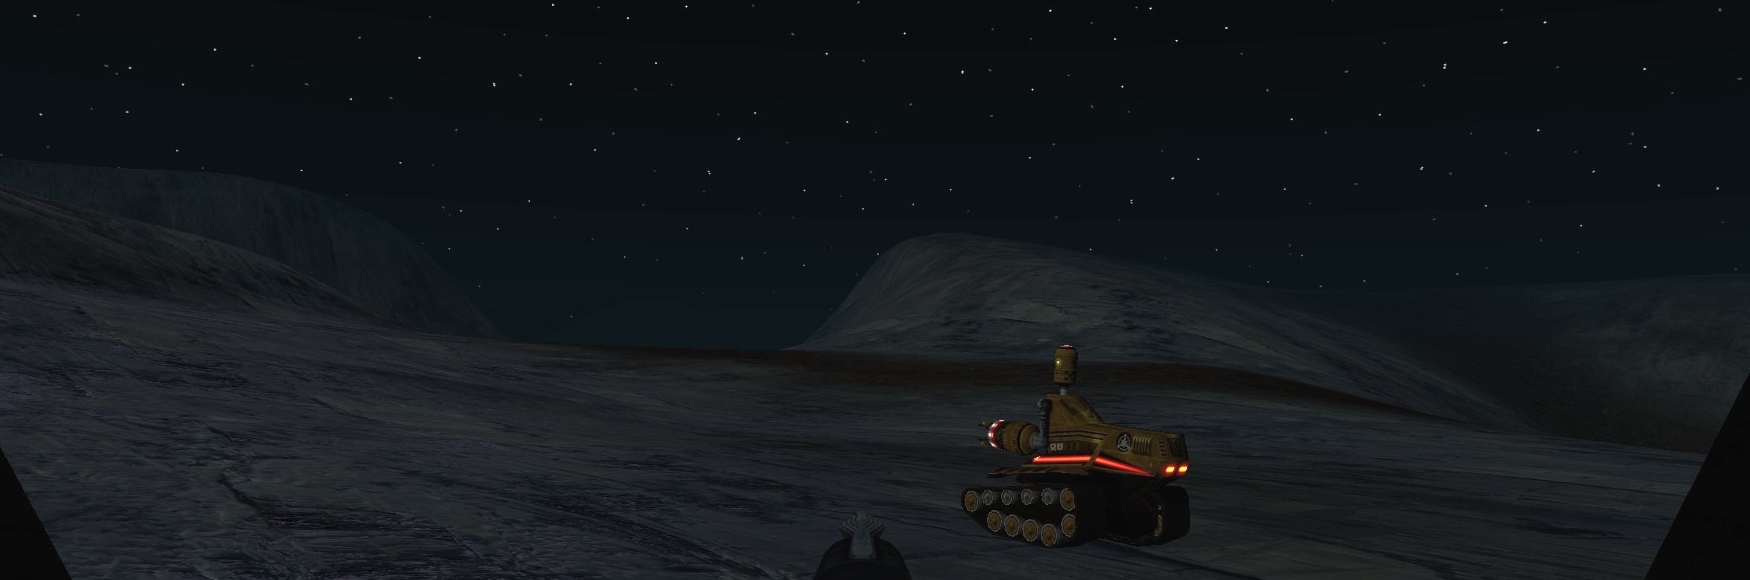
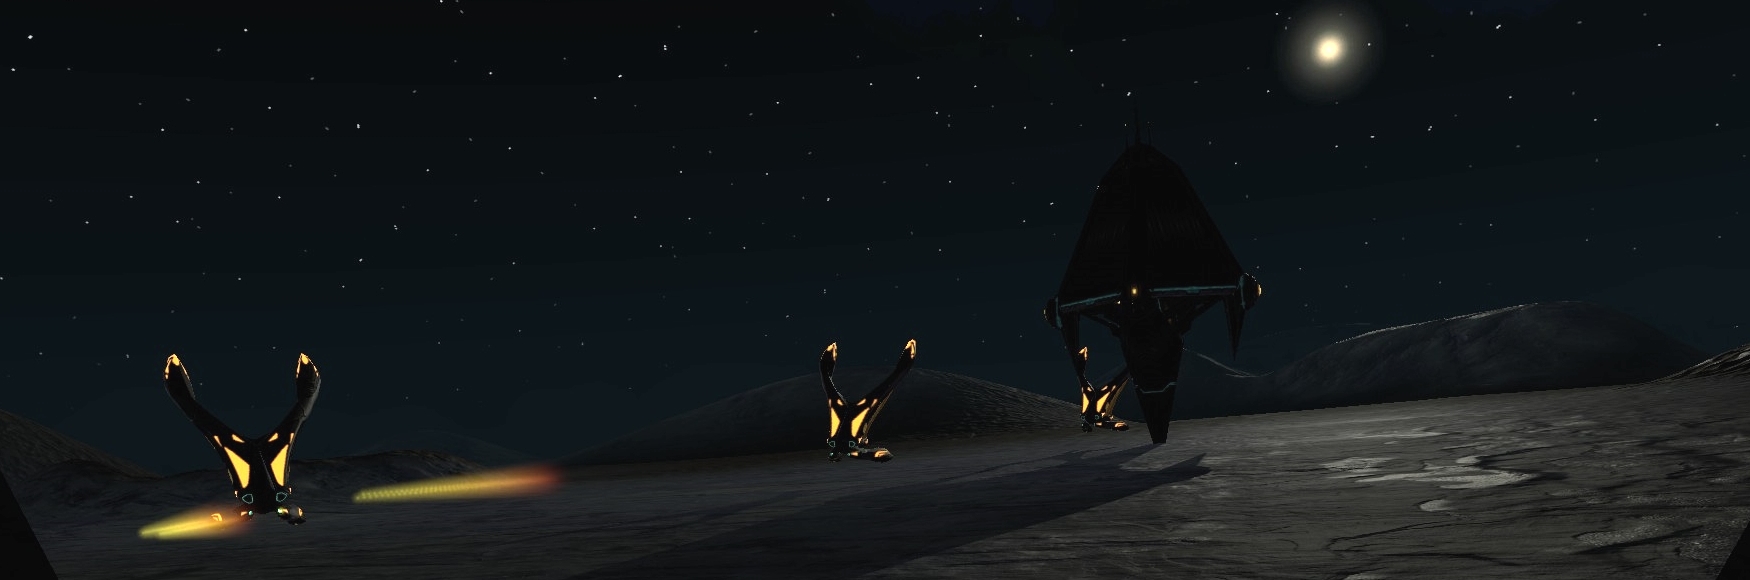
Welcome to Pluto. In this mission you are following the orders of Commander Shabayev, investigating an attack on a scout outpost.
When the mission starts you will be inside a landing craft with two other scout vehicles, one of which is piloted by Commander Shabayev. Due to magnetic locks in the floor you cannot move until the craft has made its landing and the doors are open. Use WASD to move around. Follow Shabayev onto the surface.
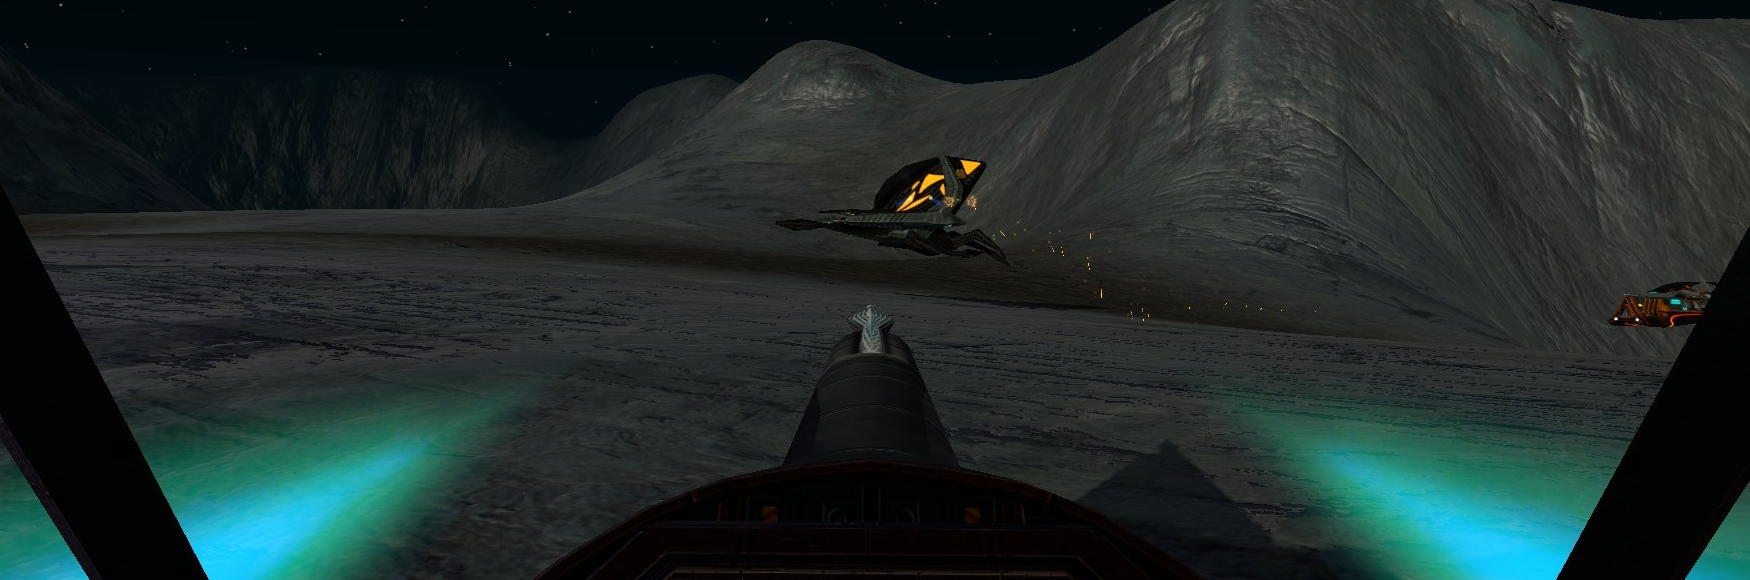
After meeting up with Red 1, continue to follow Shabayev. Use the E key to jump. A red dot will appear on your radar, signifying an enemy. Hang a left with Shabayev, while the other scout pursues them into a valley. The two of you will get ahead of the enemy unit and drop down from its left. Use RMB to change weapons, and LMB to fire.
If at any point you are not sure of what you are supposed to be doing, press O to see your current objectives.
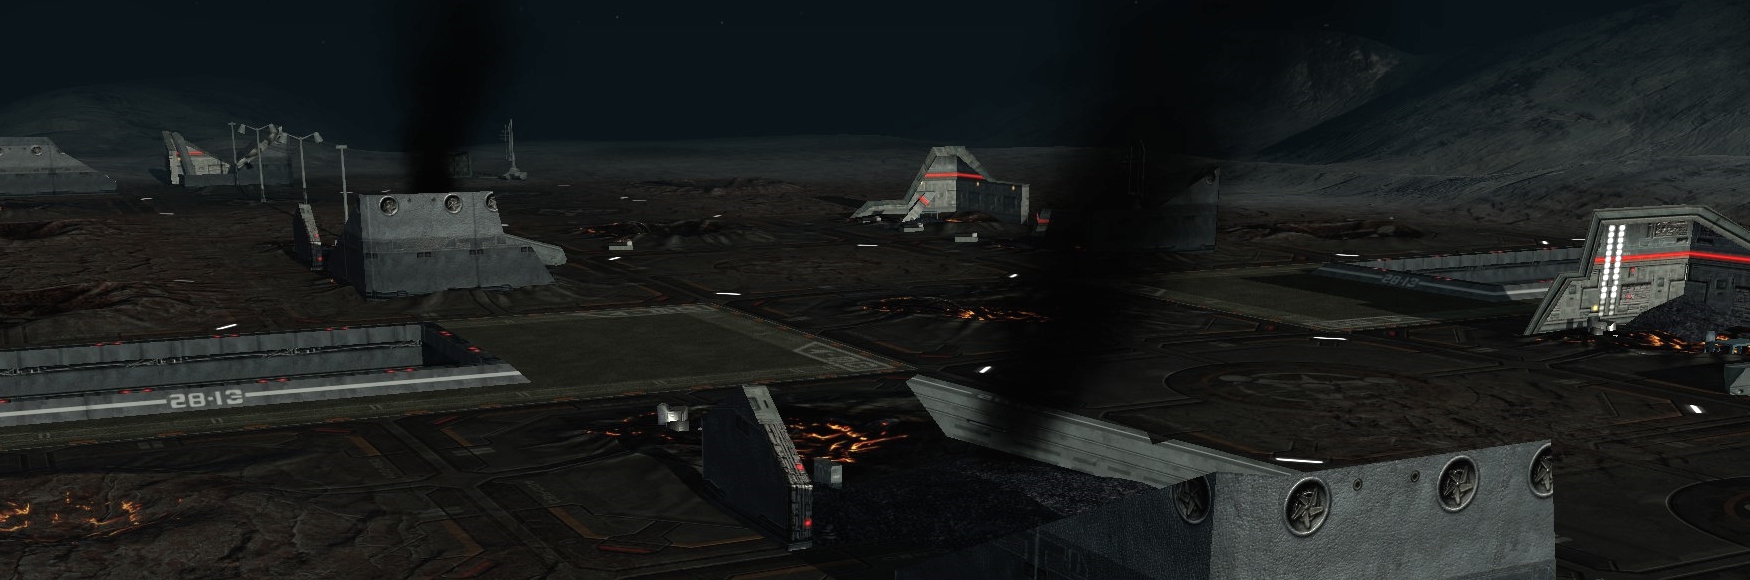
At the Outpost
The three of you arrive at the outpost, with which contact has been lost. It has been mostly destroyed. Shabayev will command you to find the Communication Station. Point your crosshairs at buildings and press I to show information about them. Once you have found it, your commander instructs you to search inside.
Press H to hop out of your scout and walk inside the building.
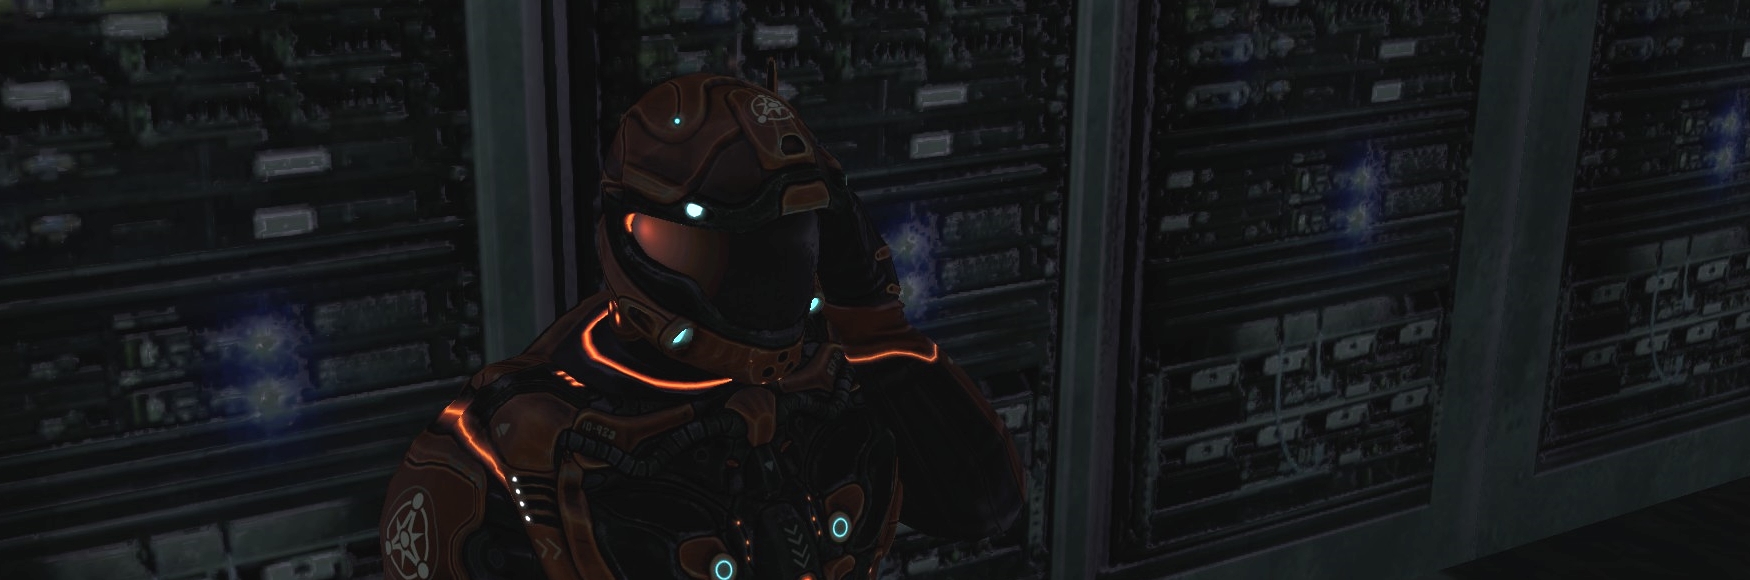
Inside you will find Major Manson. He tells Shabayev that there are hostile forces in the area. There is limited radio contact with friendly forces, and Manson warns them to find any nearby help they can. Return to your ship (walk into it to enter). Once again you will be following Shabayev. Head North behind her.
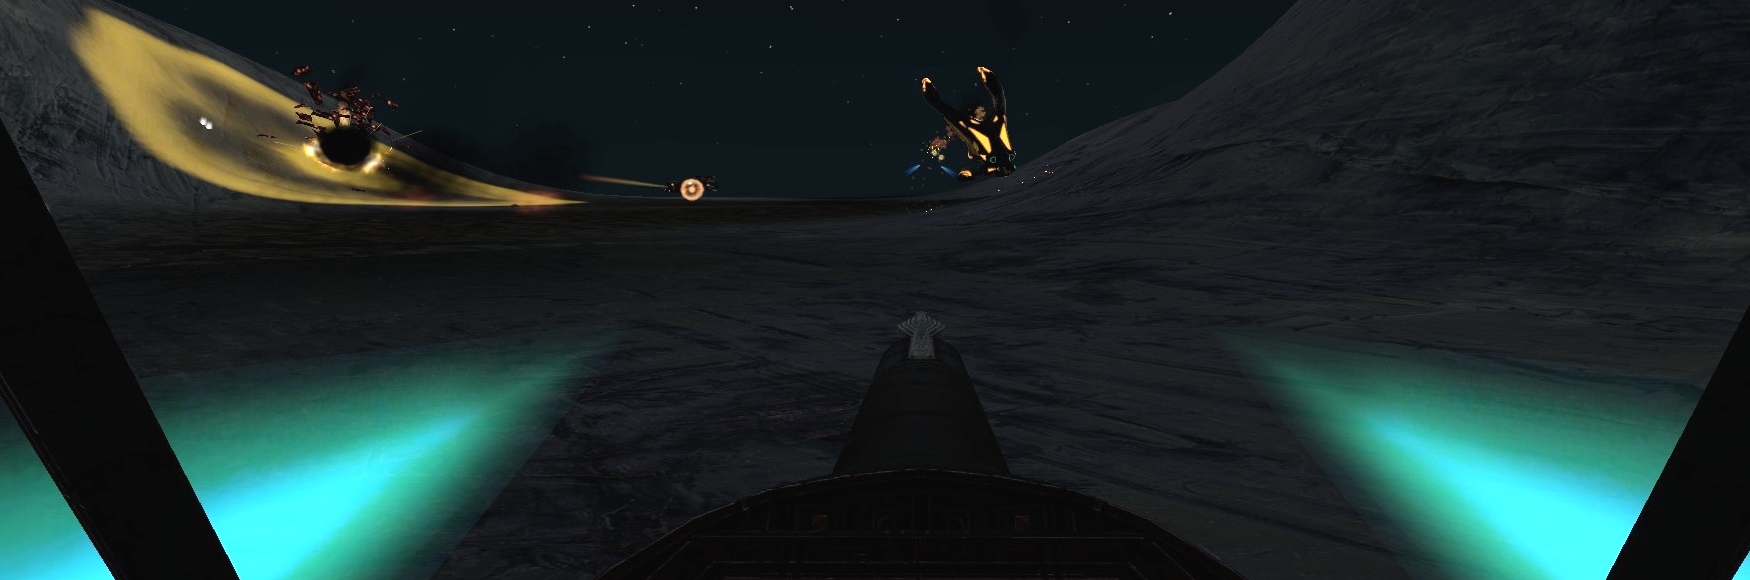
First Battle
Soon more enemies will appear on radar. Help to take them out. You can target an enemy by aiming at them and pressing T. This will help you compensate for an enemy's movement when shooting by providing a point for you to aim for.
With the enemies dealt with, and the accompanying scout badly damaged, you all return to the outpost.
Along the way you may see ammo and health pickups - simply drive into these to grab them. Sometimes they will be inside crates that need to be shot apart first.
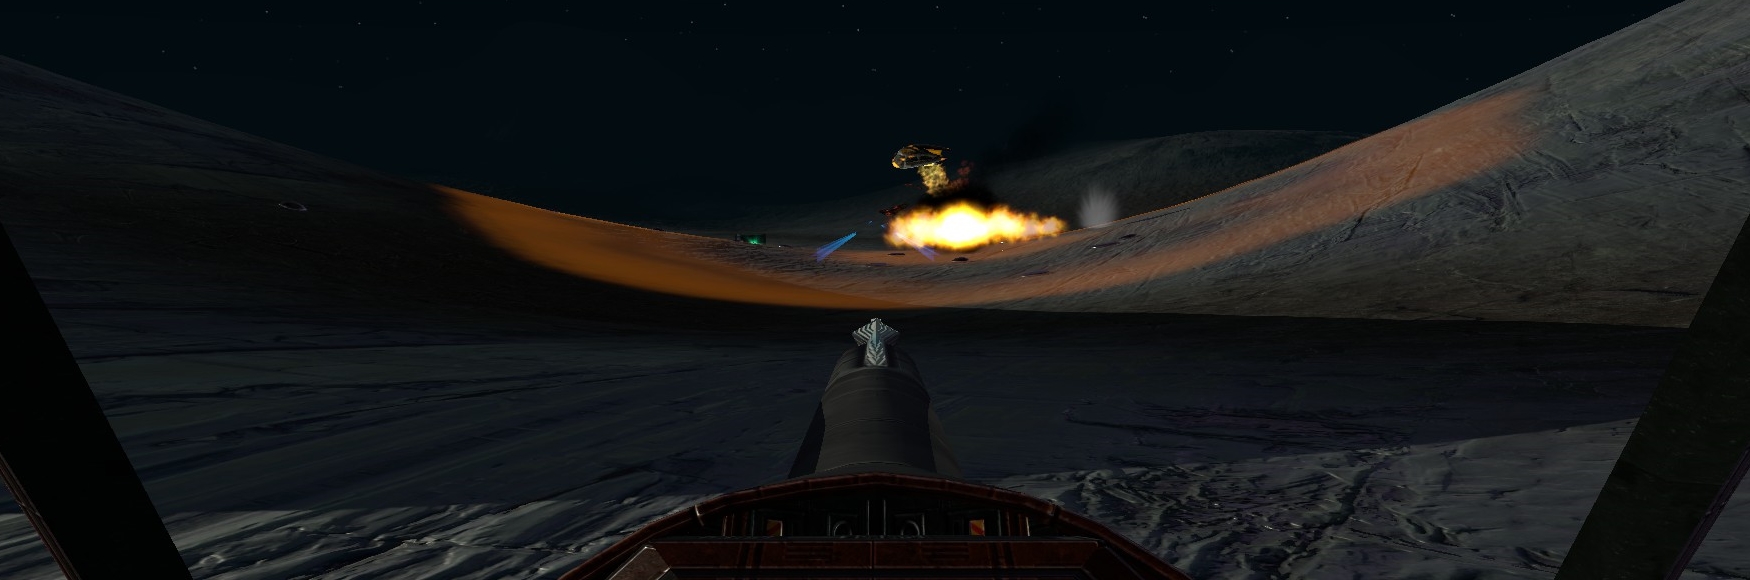
There is a brief respite before the outpost is attacked by two enemies. You will see their dots on the radar first. Aim in their general direction and press T to highlight their positions. Take them out.
The Service Truck
Follow Shabayev south until she stops and tells you to assist Red 1. They will be highlighted in blue, and will also appear on your radar. Rendezvous with them and clear the enemies pinning them down.
Next meet up with the Service Truck which is hiding in a crater. It will automatically heal you if you are damaged.
Follow it as it moves slowly back to the outpost. Three enemies will attack you from behind, and Shabayev will come to assist you.
Once the Service Truck reaches the outpost safely, the mission is complete!
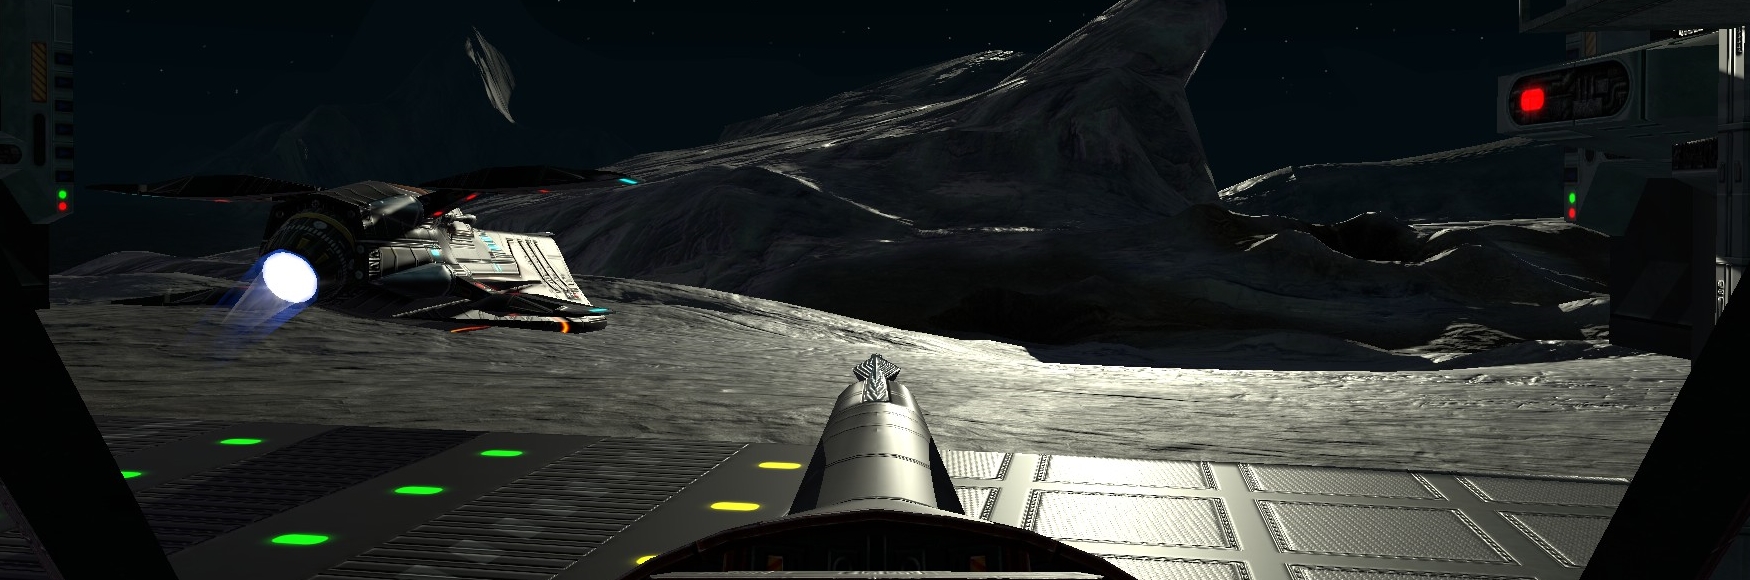
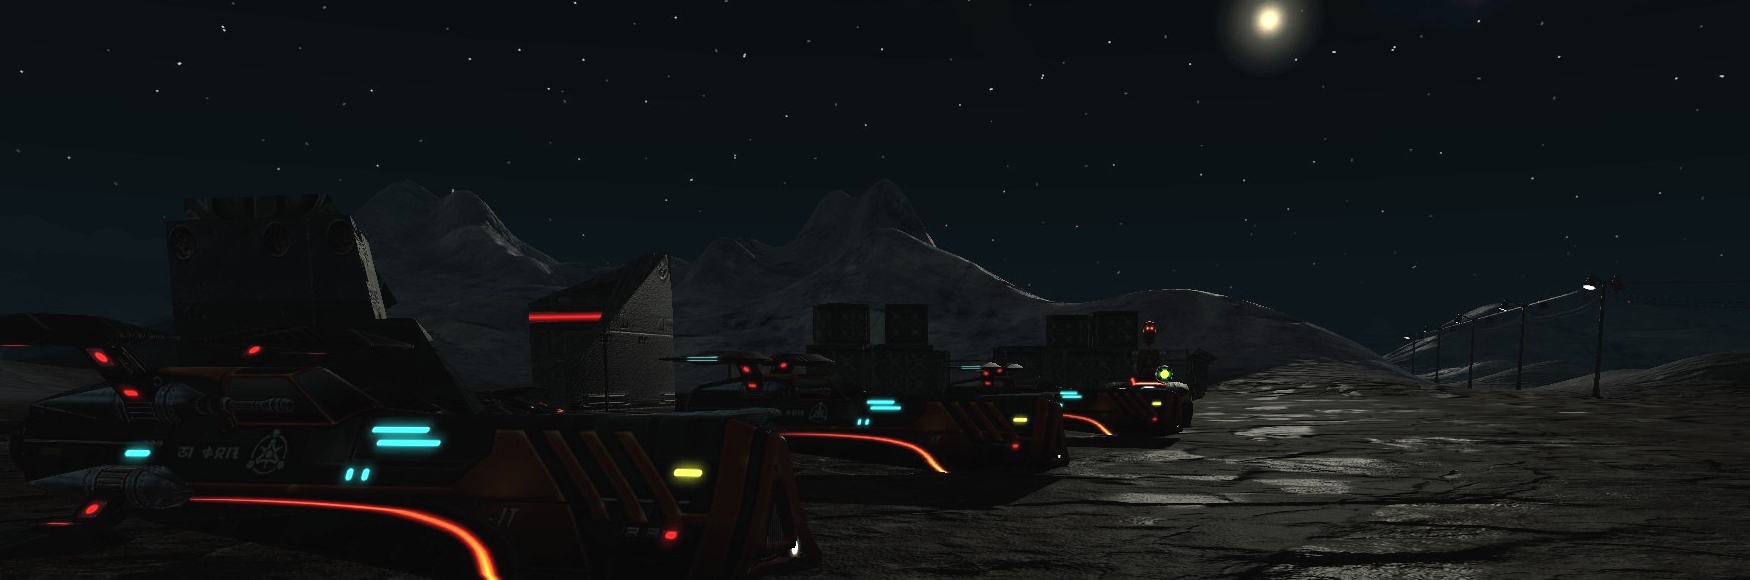
All is not as it seems at Cerberus base. Next you will help Commander Shabayev track down more of your attackers.
Follow Shabayev to a group of Scout vehicles, and pick one to get into.
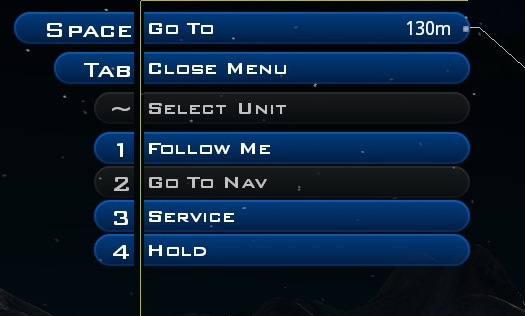
Next select the Service Truck - Either press F1, or aim at the truck and press Space. Press 1 to have it follow you.
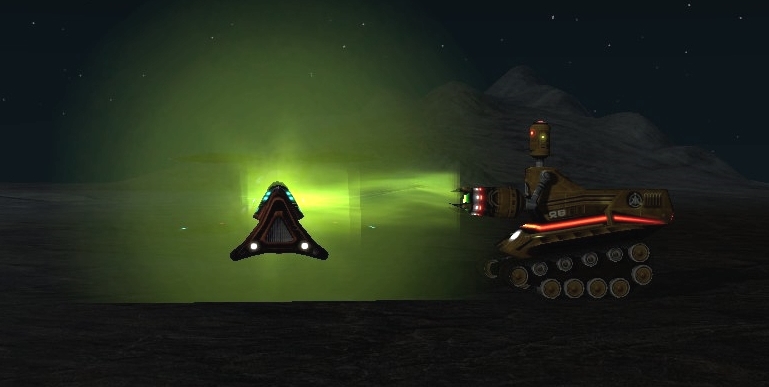
Follow Shabayev to a valley where an enemy unit is building something. It creates a large craft called a Jammer that blocks your communications.
After a brief fight, the damaged enemy will lead you to more.
Follow Shabayev to the base. She will pilot a walker, and you need to cover her from attackers.
With the last attacker dealt with she can build a power unit, and the mission is complete!